6 Expert Steps to Plant Dino Kale
The smell of damp, anaerobic earth dissipates as you turn the soil; it is replaced by the sharp, metallic scent of mineral-rich loam. Successful cultivation begins with the turgor of a healthy leaf, a state where internal water pressure keeps the foliage rigid and upright. To achieve this, your steps to plant dino kale must prioritize soil structure and nutrient density. This brassica requires a firm foundation to support its heavy, blistered leaves.
Lacinato kale, commonly known as dino kale, thrives when the rhizosphere is optimized for rapid nutrient uptake. If the soil is compacted, the plant will struggle with stunted growth and poor gas exchange. You are looking for a substrate that crumbles under slight pressure while retaining enough moisture to prevent wilting. This balance ensures the plant can maintain maximum photosynthetic efficiency throughout the growing season. By following precise horticultural protocols, you can transform a simple seed into a high-yielding, nutrient-dense crop that withstands the first frosts of autumn.
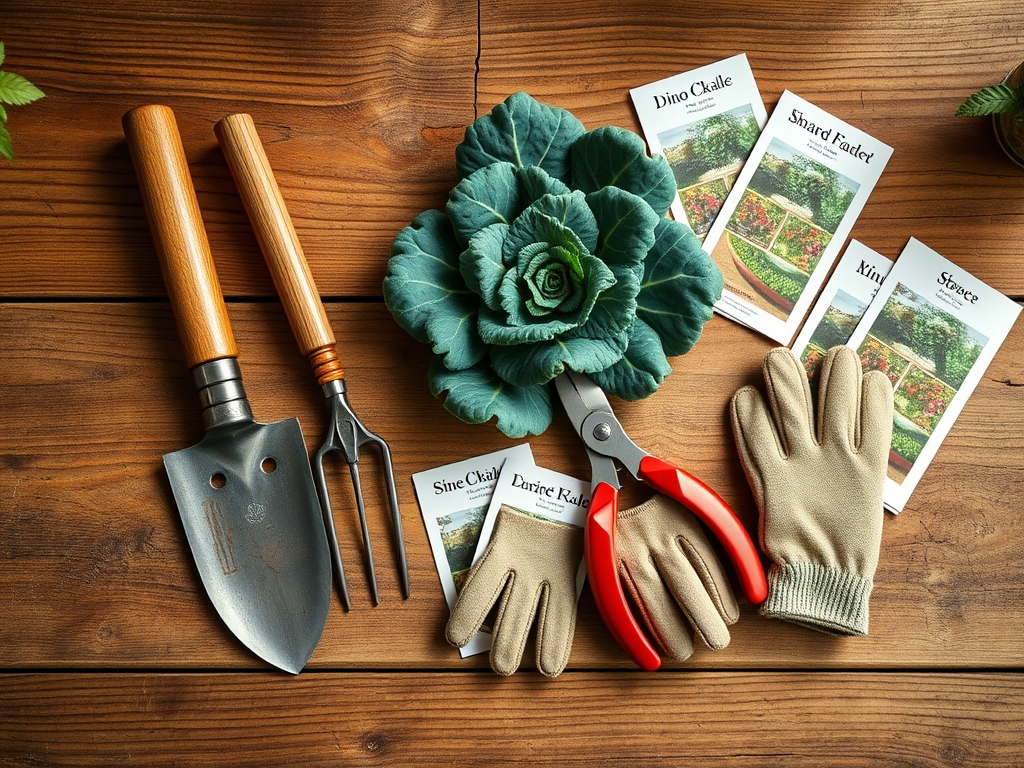
Materials:
The ideal substrate for dino kale is a **friable loam** with a high Cation Exchange Capacity (CEC). A high CEC ensures the soil can hold and release essential nutrients like calcium and magnesium. Aim for a **soil pH between 6.5 and 6.8**. If the pH drops below 6.0, the availability of phosphorus decreases, leading to purpling of the lower leaves.
Your fertilizer regimen should focus on a specific NPK ratio. During the initial growth phase, a 10-5-5 NPK ratio provides the nitrogen necessary for leaf expansion. Incorporate well-rotted organic matter to a depth of 8 inches to improve soil porosity. Dino kale is a heavy feeder; it requires approximately 2 pounds of nitrogen per 1,000 square feet over the course of its life cycle. Ensure your seed starting mix is sterile and contains perlite to facilitate drainage and prevent damping-off.
Timing:
Dino kale is a biennial typically grown as an annual. It performs best in USDA Hardiness Zones 2 through 11, though it is most productive when daytime temperatures range between 60 and 70 degrees Fahrenheit. The biological clock of the plant is governed by the photoperiod and temperature. Exposure to temperatures below 20 degrees Fahrenheit can trigger a process called vernalization, where the plant shifts from vegetative growth to reproductive stages, causing it to bolt and produce seeds prematurely.
For a spring crop, sow seeds indoors 6 to 8 weeks before the last frost. For a fall harvest, which often produces sweeter leaves due to the conversion of starches into sugars during light frosts, sow seeds 10 to 12 weeks before the first expected autumn frost. The goal is to establish a robust root system before the plant experiences extreme heat or cold.
Phases:
Sowing
Sow seeds at a depth of 1/4 inch. Maintain a consistent soil temperature of 65 to 75 degrees Fahrenheit for optimal germination, which typically occurs within 5 to 10 days. Use a heat mat if necessary to stabilize the rhizosphere temperature.
Pro-Tip: Maintain high turgor pressure in seedlings by bottom-watering. This prevents fungal pathogens from colonizing the cotyledons and encourages the roots to grow downward toward the moisture source, a process known as hydrotropism.
Transplanting
Transplant seedlings when they have reached a height of 4 to 6 inches and possess at least two sets of true leaves. Space plants 18 to 24 inches apart in rows spaced 30 inches apart. This spacing ensures adequate airflow, reducing the risk of powdery mildew.
Pro-Tip: When transplanting, inoculate the root ball with mycorrhizal fungi. This symbiotic relationship extends the reach of the root system, allowing the plant to access phosphorus and water that would otherwise be unavailable in the bulk soil.
Establishing
Once in the ground, dino kale requires a steady supply of nitrogen. Apply a side-dressing of compost tea or fish emulsion every 3 weeks. Monitor the apical meristem for signs of growth; if the center of the plant is damaged, the kale will fail to produce new leaves.
Pro-Tip: Avoid disturbing the soil surface near the stem to prevent damaging the shallow lateral roots. Use a hori-hori knife for precise weeding rather than a broad hoe to minimize root trauma and maintain auxin suppression, which keeps the plant focused on leaf production rather than lateral branching.
The Clinic:
Physiological disorders often mimic disease but are usually rooted in environmental stress or nutrient imbalances.
- Symptom: Yellowing of older leaves (Chlorosis).
- Solution: This indicates a nitrogen deficiency. Apply a high-nitrogen liquid fertilizer immediately to restore chlorophyll production.
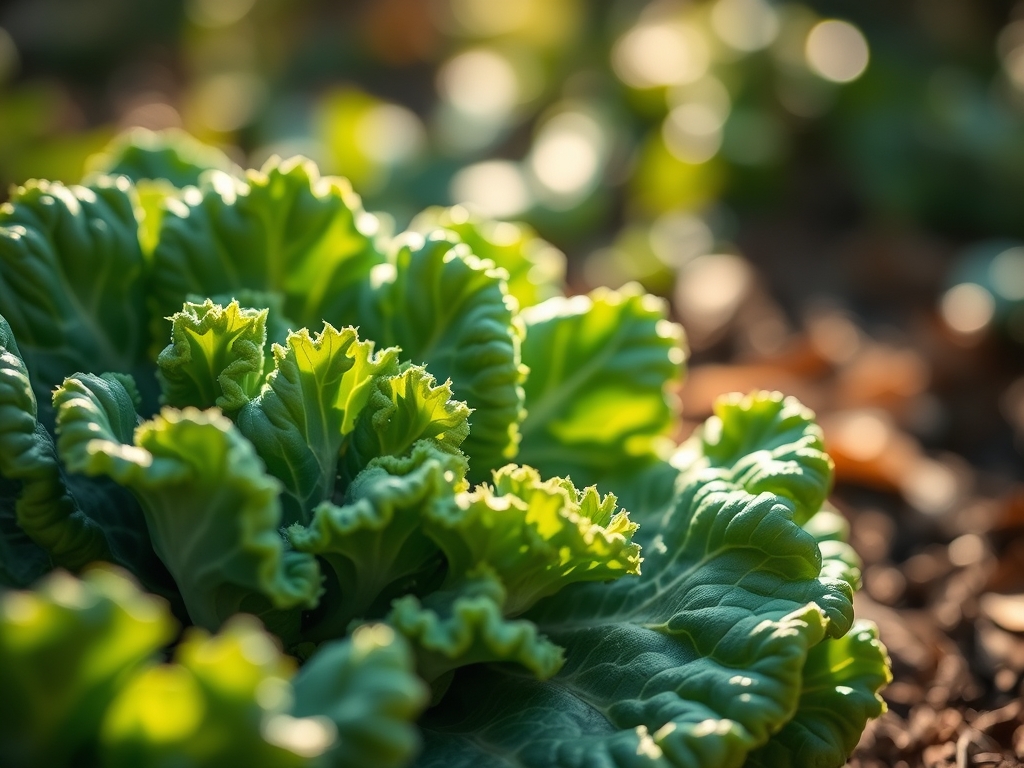
- Symptom: Distorted or cupped new leaves.
- Solution: This often signals a calcium deficiency or inconsistent watering. Calcium is immobile in the plant; it requires steady transpiration to move from the roots to the new growth.
- Symptom: Tip burn on young foliage.
- Solution: Likely caused by excessive salt buildup from synthetic fertilizers. Flush the soil with 2 inches of water to leach out excess salts.
Fix-It: For magnesium deficiency, characterized by interveinal chlorosis, apply a foliar spray of 1 tablespoon of Epsom salts per gallon of water. This provides an immediate boost to the plant's magnesium levels, supporting the central atom of the chlorophyll molecule.
Maintenance:
Precision is required for high-yield kale. Provide 1.5 inches of water per week delivered directly to the drip line. Use a soil moisture meter to ensure the root zone remains consistently moist but not saturated. Over-watering leads to root senescence due to a lack of oxygen in the soil pores.
Utilize bypass pruners to remove any yellowing or damaged lower leaves. This practice, known as "skirting," improves air circulation and prevents soil-borne pathogens from splashing onto the healthy foliage. Mulch the base of the plants with 3 inches of clean straw or shredded bark to regulate soil temperature and suppress weed competition. If the plants become top-heavy, use a small stake to support the main stem, ensuring the vascular system remains intact.
The Yield:
Harvesting dino kale is a continuous process that can begin when leaves are approximately 10 inches long. Use a sharp knife to cut the outermost leaves near the base of the stem, working from the bottom up. Never harvest the central "bud" or apical meristem, as this is the point of new growth.
For "day-one" freshness, harvest in the early morning when the plant's turgor pressure is at its peak. Immediately submerge the stems in cold water or place the leaves in a sealed container at 34 degrees Fahrenheit. This rapid cooling slows down the rate of respiration and enzymatic breakdown, preserving the crisp texture and nutritional profile of the kale for up to two weeks.
FAQ:
How deep should I plant dino kale seeds?
Sow seeds 1/4 inch deep in well-draining soil. Ensure the substrate remains consistently moist but not waterlogged to facilitate rapid germination. Seeds usually emerge within 5 to 10 days when soil temperatures are between 65 and 75 degrees Fahrenheit.
What is the best fertilizer for dino kale?
Use a fertilizer with a 10-5-5 NPK ratio. High nitrogen levels are essential for vegetative leaf growth. Supplement with organic matter to maintain a high Cation Exchange Capacity, ensuring the plant can access calcium and magnesium throughout the season.
Why are my kale leaves turning purple?
Purpling often indicates a phosphorus deficiency, frequently caused by soil temperatures below 50 degrees Fahrenheit or a pH below 6.0. Test your soil pH and ensure it stays between 6.5 and 6.8 for optimal nutrient availability.
Can dino kale survive a hard frost?
Yes, dino kale is frost-tolerant and can survive temperatures down to 20 degrees Fahrenheit. Light frosts actually improve the flavor by triggering the plant to convert stored starches into sugars, acting as a natural antifreeze for the cellular structure.