6 Organization Steps for Installing Garden Path Edging to Organize Your Beds
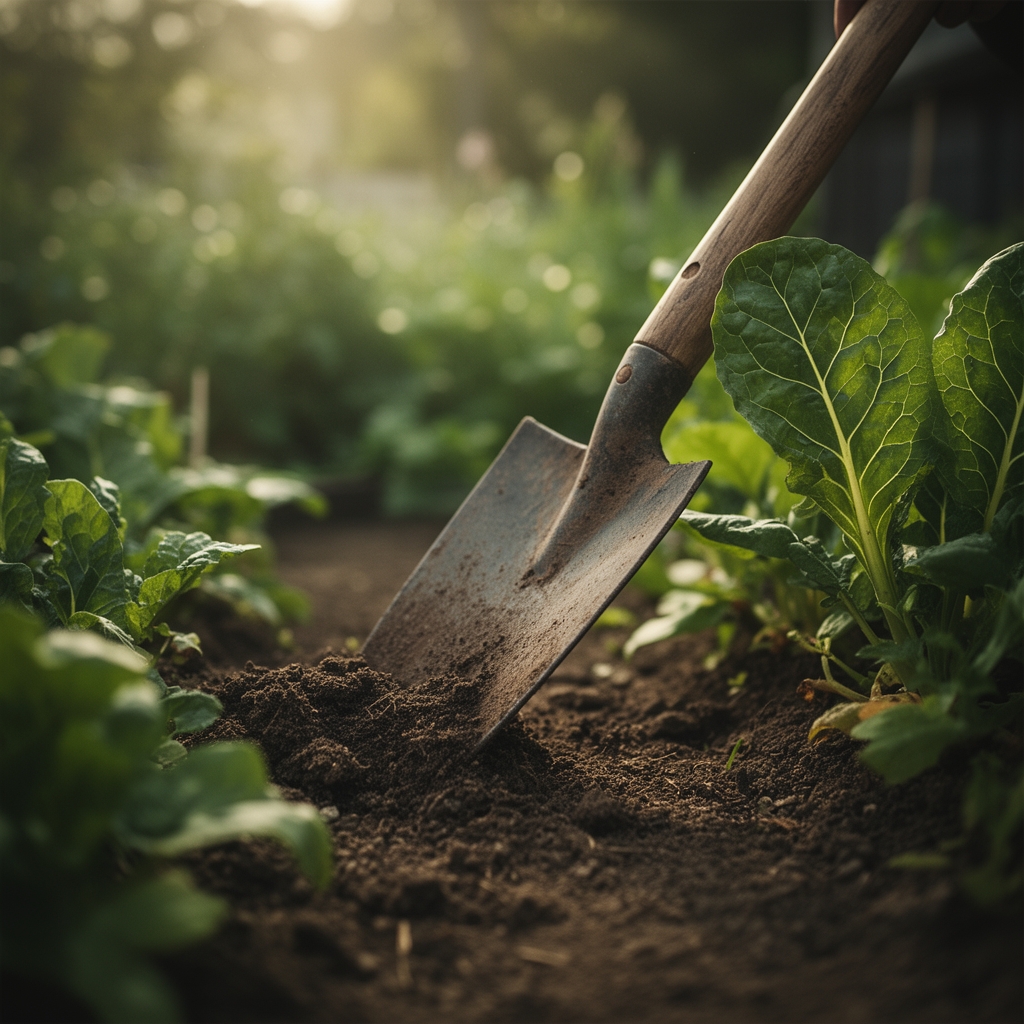
The cool, crumbly texture of well-amended soil between your fingers signals the perfect moment to define your growing spaces. That earthy smell after spring rain tells experienced gardeners it’s time to separate pathways from productive beds. Installing proper edging transforms chaotic garden sprawl into organized, high-yield zones. Learning the steps for installing a garden path edging for veg beds protects your soil structure, prevents compaction in growing areas, and creates clean lines that make maintenance simpler throughout the season.
Materials and Supplies
Edging Materials (Choose One):
- Aluminum or steel landscape edging (0.125 inches thick minimum)
- Cedar or black locust boards (1×6 or 2×6, naturally rot-resistant)
- Recycled plastic composite edging (UV-stabilized, 4-6 inches height)
- Stone or brick (4-6 inches depth for stability)
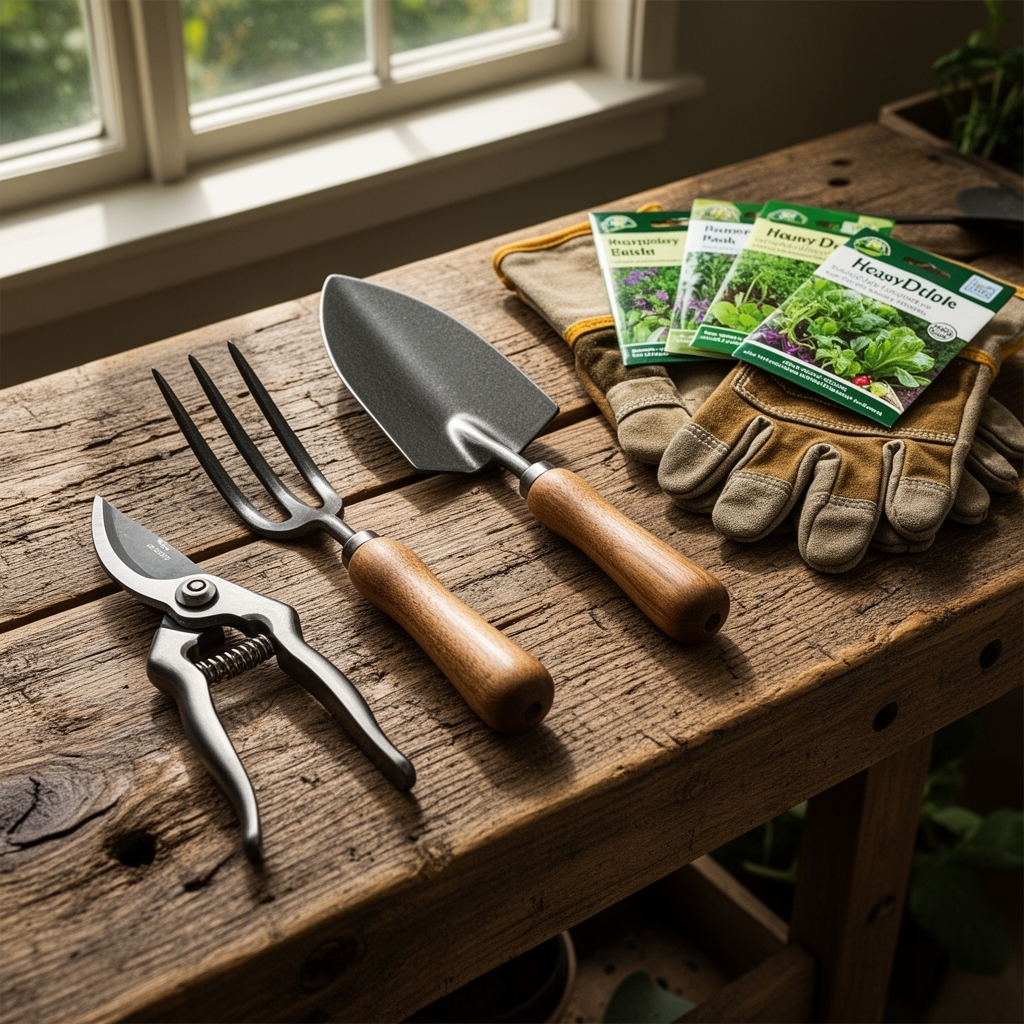
Installation Tools:
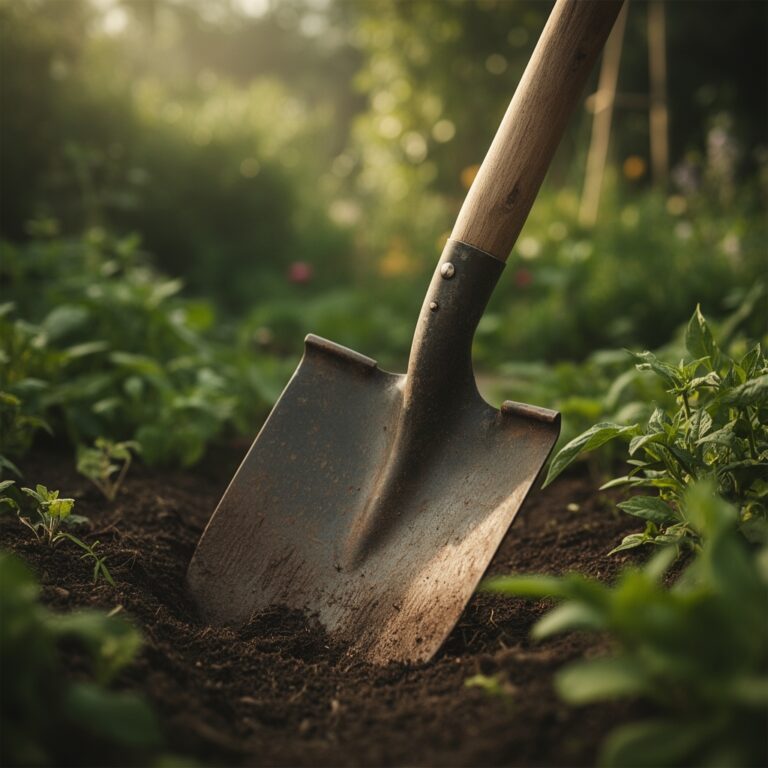
- Flat-edge spade or half-moon edging tool
- Rubber mallet (for driving stakes)
- String line and stakes (for marking straight runs)
- 4-foot level
- Tape measure
- Work gloves
Soil Amendments for Path Areas:
- Hardwood mulch (3-4 inch depth, pH 6.0-7.0)
- Pea gravel or crusher fines (compacts well, 2-3 inch depth)
- Landscape fabric (weed barrier, 3-4 oz weight minimum)
Bed Amendment Requirements:
- Compost (finished, pH 6.5-7.0, apply 2-3 inches)
- Balanced organic fertilizer (5-10-5 NPK for vegetable production)
- Mycorrhizal fungi inoculant (apply at installation, 1 oz per 10 square feet)
Timing and Growing Schedule
Garden path edging installation works best during early spring (March-April in Zones 5-7, February-March in Zones 8-9) or fall (September-October). Soil must be workable but not waterlogged. The ground should yield to a spade without excessive force.
Complete edging installation 2-3 weeks before transplanting seedlings into beds. This timing allows soil to settle and nitrogen fixation processes to stabilize after disturbance. Early installation also prevents root damage to established plants.
In cold climates (Zones 3-5), avoid installing rigid edging materials until after final frost when freeze-thaw cycles stop heaving materials. Flexible plastic or metal edging handles temperature fluctuations better than rigid stone or wood in these zones.
For succession planting schedules, edging creates permanent boundaries that simplify crop rotation. Define bed widths at 3-4 feet for easy reach from pathways. This measurement allows harvesting without stepping into growing areas and compacting root zones.
Step-by-Step Instructions

Step 1: Mark Your Layout
Drive stakes at corners and run string lines to mark bed edges. Measure pathway widths at 18-24 inches minimum for wheelbarrow access. Use a square to ensure 90-degree corners where beds intersect.
Pro Tip: Spray-paint directly on grass or soil along string lines. Remove strings during digging to prevent tangling with tools, then reinstall for alignment checks.
Step 2: Cut the Trench
Use a flat spade to cut vertical edges along marked lines. Create a trench 4-6 inches deep and wide enough to accommodate your edging material plus 2 inches. Remove sod and roots completely from pathway areas.
Pro Tip: Angle your spade blade slightly toward the pathway side, creating a 5-degree slope. This prevents bed soil from sliding under edging over time.
Step 3: Level and Compact
Check trench depth with a level every 3-4 feet. Remove high spots and fill depressions with native soil. Tamp the bottom of the trench firmly with a hand tamper or the flat side of your spade.
Pro Tip: Add 1 inch of coarse sand to trench bottoms before setting edging. Sand allows micro-adjustments during installation and improves drainage at the boundary line.
Step 4: Install Edging Material
Position edging material in trenches, maintaining consistent height above pathway grade (2-3 inches exposed). Drive support stakes every 4-5 feet for flexible materials. For rigid materials like boards, secure with rebar stakes driven through pre-drilled holes.
Pro Tip: Overlap flexible edging sections by 6 inches and secure with manufacturer-provided connectors plus one additional stake at each joint. This prevents separation during freeze-thaw cycles.
Step 5: Backfill and Secure
Fill behind edging on the bed side with removed soil, packing firmly every 2 inches. On the pathway side, leave trench open for mulch or gravel application. Ensure edging remains vertical and level throughout backfilling.
Pro Tip: Water the backfilled soil lightly to settle it naturally. Top up any sunken areas after 24 hours before adding mulch to pathways.
Step 6: Finish Pathways and Beds
Lay landscape fabric in pathways, overlapping seams by 6 inches. Cover with 3-4 inches of mulch or 2-3 inches of gravel. In beds, add compost and balanced fertilizer, then incorporate to 6-8 inch depth.
Pro Tip: Leave a 1-inch gap between mulch and the bed-side base of wooden edging. This air space prevents rot and extends material lifespan by 3-5 years.
Nutritional and Environmental Benefits
Defined bed systems concentrate soil amendments where plants need them. This precision reduces fertilizer waste by 30-40% compared to broadcast application methods. Compaction-free beds maintain soil oxygen levels that support beneficial organisms like earthworms and ground beetles.
Permanent pathways create habitat corridors for predatory insects. Mason bees, lacewings, and parasitic wasps use pathway edges as travel routes between bed ecosystems. Mulched paths retain moisture that supports these beneficial populations during dry periods.
Edged beds warm faster in spring because raised profiles increase sun exposure. This temperature advantage extends growing seasons by 1-2 weeks in northern zones (4-6), allowing earlier transplanting of warm-season crops like tomatoes and peppers.
Clear boundaries reduce herbicide drift and prevent pathway weeds from invading growing areas. Studies show properly edged systems reduce weeding time by 50-60% over the growing season.
Advanced Methods
Small Space Adaptations:
Install 18-inch pathways instead of standard 24-inch widths. Use vertical trellising on bed edges to maximize growing area without pathway encroachment. Consider keyhole bed designs with central pathways radiating outward, reducing total pathway square footage by 25%.
Organic and Permaculture Integration:
Plant nitrogen-fixing clover or creeping thyme in pathways instead of mulch. These living pathways feed beneficial insects while suppressing weeds. Mow pathways monthly to prevent flowering plants from reseeding into beds. Clippings become green mulch that adds nitrogen when raked onto bed surfaces.
Season Extension Techniques:
Install edging at bed heights of 8-12 inches to accommodate low tunnels or cold frames. This elevated design improves drainage during winter months and simplifies attachment of hoops for row covers. Deeper beds also allow greater root development for overwintering crops like carrots and parsnips.
Troubleshooting Common Installation Errors
Symptom: Edging heaves upward after winter freeze-thaw cycles.
Solution: Reinstall with deeper trenches (6-8 inches) and add drainage gravel beneath rigid materials. In clay soils, mix coarse sand into backfill to improve water movement away from edging.
Symptom: Grass and weeds grow under edging into beds.
Solution: Remove edging section, dig additional 2 inches deep, and install commercial root barrier fabric vertically along the boundary. Reinstall edging against fabric before backfilling.
Symptom: Wooden edging rots within 2-3 years.
Solution: Replace with naturally rot-resistant species (black locust, white oak, or cedar heartwood only). Apply organic wood sealer to cut ends. Ensure 1-inch air gap exists between mulch and wood base.
Symptom: Water pools in pathways after rain.
Solution: Grade pathways to slope 2% away from bed edges (1/4 inch drop per foot of length). Install French drains in low spots using perforated pipe surrounded by gravel.
Symptom: Edging sections separate at joints during heavy foot traffic.
Solution: Add extra stakes within 12 inches of each joint. Switch to thicker-gauge metal edging (0.156 inches) or upgrade flexible plastic to commercial-grade materials rated for landscaping (not lawn edging).
Storage and Maintenance
Water Management:
Deliver 1 inch of water weekly to beds during active growth, measured with rain gauges. Drip irrigation works best with edged systems because lines run along bed centers without crossing pathways. Mulched pathways reduce evaporation from bed edges by maintaining humidity at soil level.
Feeding Schedule:
Side-dress vegetables with compost tea (1:5 dilution) every 3 weeks during fruiting stages. Apply granular organic fertilizer (5-10-5 NPK) at 2 pounds per 100 square feet when flowering begins. Scratch fertilizer into top 2 inches of soil and water immediately.
Seasonal Maintenance:
Refresh pathway mulch annually each spring, maintaining 3-4 inch depth. Inspect edging for frost heave or separation after winter; make repairs before spring planting. Check that edging still protrudes 2-3 inches above pathway grade. Add soil to pathways if settling has increased exposure height.
Tool and Material Storage:
Store unused edging materials vertically in a dry location to prevent warping. Keep extra stakes and connectors in labeled containers for quick repairs. Maintain dedicated edging tools (half-moon edger, stakes) separately from cultivation tools to prevent cross-contamination of pathway soil into beds.
Conclusion
Success with garden path edging depends on proper material selection, precise installation depth, and consistent pathway maintenance. These six organization steps create permanent infrastructure that increases yields while reducing labor throughout multiple growing seasons. Well-defined beds transform random garden plots into efficient production systems that support both crops and beneficial organisms.
Share your edging installation results with local garden clubs or cooperative extension offices. Document your bed layouts with measurements and photos to help other growers in your community optimize their spaces. Teaching these techniques multiplies their impact across your local food production network.
Expert FAQs
How deep should I install garden path edging for vegetable beds?
Install edging 4-6 inches deep for standard applications. In clay soils prone to frost heave, increase depth to 6-8 inches and add drainage gravel beneath rigid materials. The top edge should sit 2-3 inches above finished pathway grade to prevent soil migration.
What is the best material for long-lasting vegetable bed edging?
Aluminum or steel edging (0.125 inches thick minimum) lasts 20+ years without maintenance. For wood options, choose black locust or cedar heartwood, which resist rot for 10-15 years. Avoid pressure-treated lumber near edible crops due to chemical leaching concerns.
Can I install garden edging on sloped terrain?
Yes, but step bed edges into the slope rather than following the contour. Create level terraces 12-16 inches high with flat bed surfaces. This prevents soil erosion and water runoff from washing through beds. Secure edging with extra stakes (every 3 feet instead of 5) on downhill sides.
How wide should pathways be between raised vegetable beds?
Maintain 18-inch minimum width for foot traffic and 24-inch width for wheelbarrow access. Primary pathways connecting to garden entrances should measure 36 inches to accommodate carts and equipment. Narrower pathways reduce growing space but create accessibility problems during harvest.
Do I need landscape fabric under pathway mulch with proper edging?
Landscape fabric significantly reduces pathway maintenance by blocking weed germination from below. Use commercial-grade fabric (3-4 oz weight) rather than thin plastic sheeting. Overlap seams by 6 inches and secure with landscape staples every 2-3 feet. Without fabric, expect to refresh mulch twice annually instead of once.