6 Removal Steps: Using a Garden Lopper for Heavy-Duty Vegetable Stalks
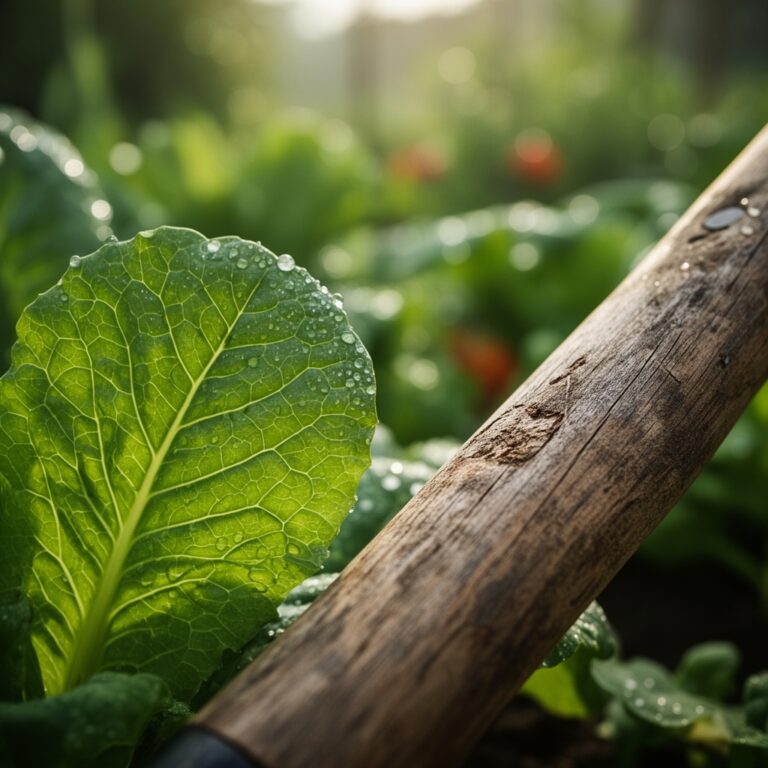
The snap of a thick Brussels sprout stalk echoes across the October garden, releasing that sharp, sulfurous scent of brassicas mingling with damp earth. Your pruning shears strain against woody stems that grew tougher than you expected, forcing you to twist and tear instead of making clean cuts. Using a garden lopper for vegetable branch removal solves this frustration immediately, transforming end-of-season cleanup from a wrestling match into surgical precision. These long-handled tools deliver the leverage needed to sever inch-thick asparagus crowns, spent tomato trunks, and fibrous okra stalks without the joint pain that comes from repetitive squeezing motions.
Heavy-duty vegetable plants develop lignified tissues, essentially turning into woody shrubs by late summer. Corn stalks, sunflower stems, and mature eggplant branches contain cellulose structures that defeat standard bypass pruners. A quality lopper brings 18 to 32 inches of mechanical advantage, allowing you to cut through 1.5-inch diameter growth with minimal effort while standing upright. The clean cuts prevent disease transmission and create compostable pieces that break down faster than jagged tears.
Materials & Supplies
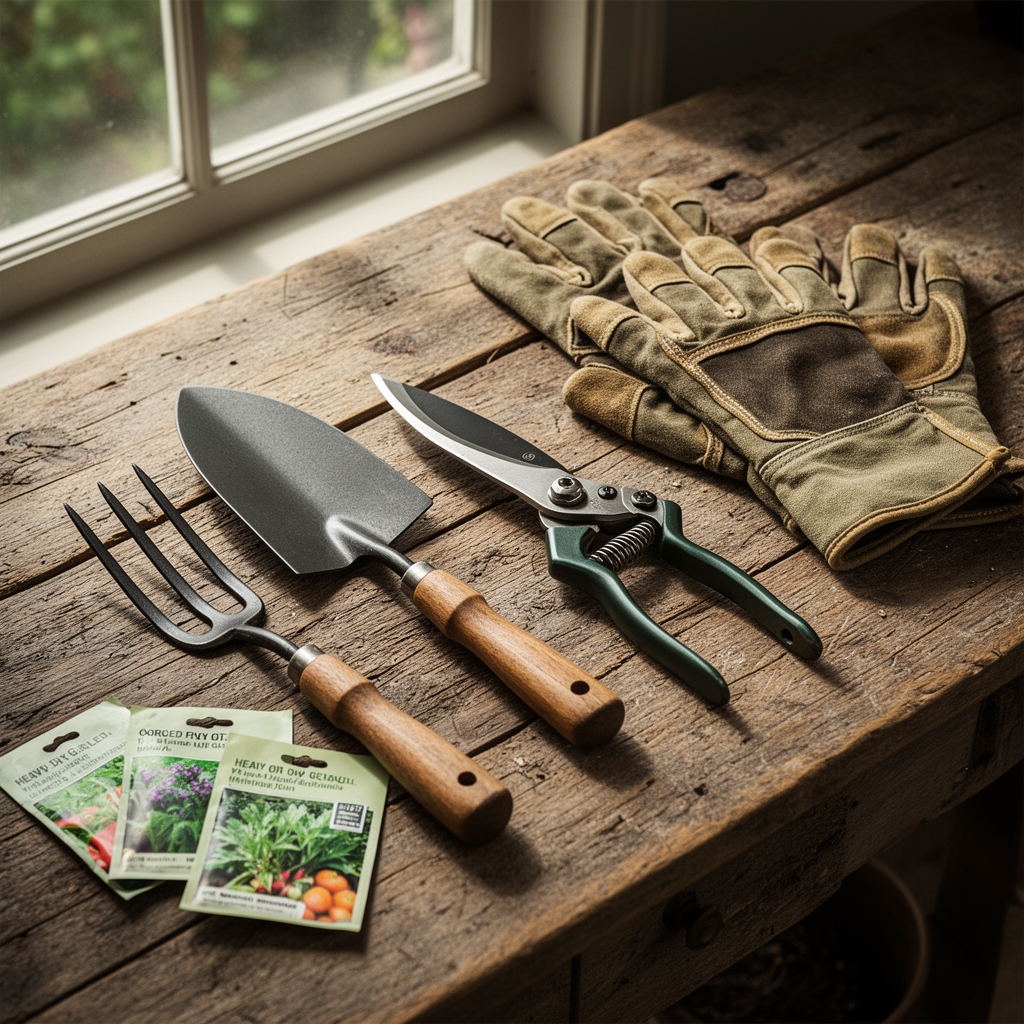
Cutting Tools:
- Bypass loppers with 28-inch handles (cuts up to 1.75 inches)
- Anvil loppers for dead wood removal (cuts up to 2 inches)
- Replacement cutting blades and tension springs
- 3-in-1 sharpening oil for carbon steel blades
Safety Equipment:
- Leather gauntlet gloves (forearm protection from thorny brassica stems)
- Safety glasses rated for flying debris
- Closed-toe boots with ankle support
Soil Amendment Supplies:
- Compost tea (0-1-1 NPK ratio) for immediate bed restoration
- Aged manure (3-2-3 NPK) for fall incorporation
- Bone meal (4-12-0 NPK) for phosphorus boost
- Sulfur powder to lower pH if needed (target 6.2-6.8 for most vegetables)
Collection Materials:
- Heavy-duty tarp for hauling woody debris
- Pruning saw for stalks exceeding 2-inch diameter
- Garden cart with pneumatic tires
Timing & Growing Schedule
Execute heavy-duty stalk removal after first frost in Zones 5-7, typically mid-October through November. Zones 8-9 can delay until late November when nighttime temperatures consistently drop below 40°F. Removing vegetation before it fully decomposes prevents overwintering pests like squash vine borers and tomato hornworm pupae from completing their life cycles.
For spring cleanup, cut back asparagus fronds after they yellow completely (usually November in Zone 6, January in Zone 8). Leave 2 inches of stub to mark crown locations. Remove bolted lettuce, arugula, and cilantro stalks within 48 hours of flowering to prevent self-seeding that creates maintenance headaches next season.
Perennial vegetables demand different schedules. Artichoke stalks should be removed to ground level after harvest in summer (Zones 9-10) or after first frost (Zones 7-8). Jerusalem artichoke stalks can stay until spring, providing winter interest and wildlife cover, then cut to 6 inches in March before new growth emerges.
Plan Days to Maturity backward from first frost date. If growing Brussels sprouts (90-120 days), knowing your harvest window helps schedule removal. The same stalks you're cutting today should have been seeded 16-18 weeks prior.
Step-by-Step Instructions
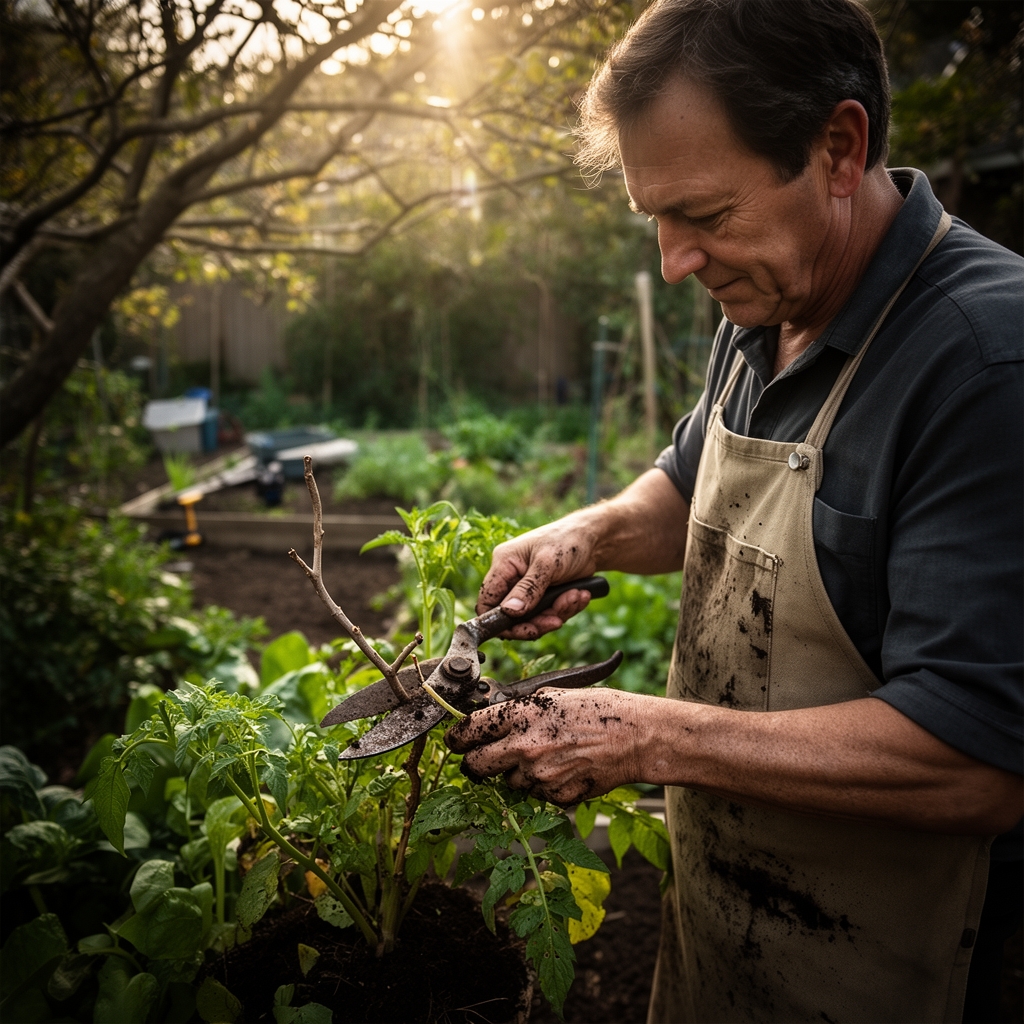
Step 1: Assess Stalk Diameter and Tool Selection
Walk the garden rows and identify stalks requiring lopper intervention versus those manageable with pruners. Anything thicker than your thumb needs loppers. Check for hollow stems (tomatoes, peppers) versus solid cores (brassicas, sunflowers), as hollow stems crush more easily with dull blades.
Pro-Tip: Make test cuts on sacrificial branches first. If the lopper crushes instead of slices, sharpen blades before proceeding. Crushed tissue harbors bacterial soft rot and creates entry points for pathogens.
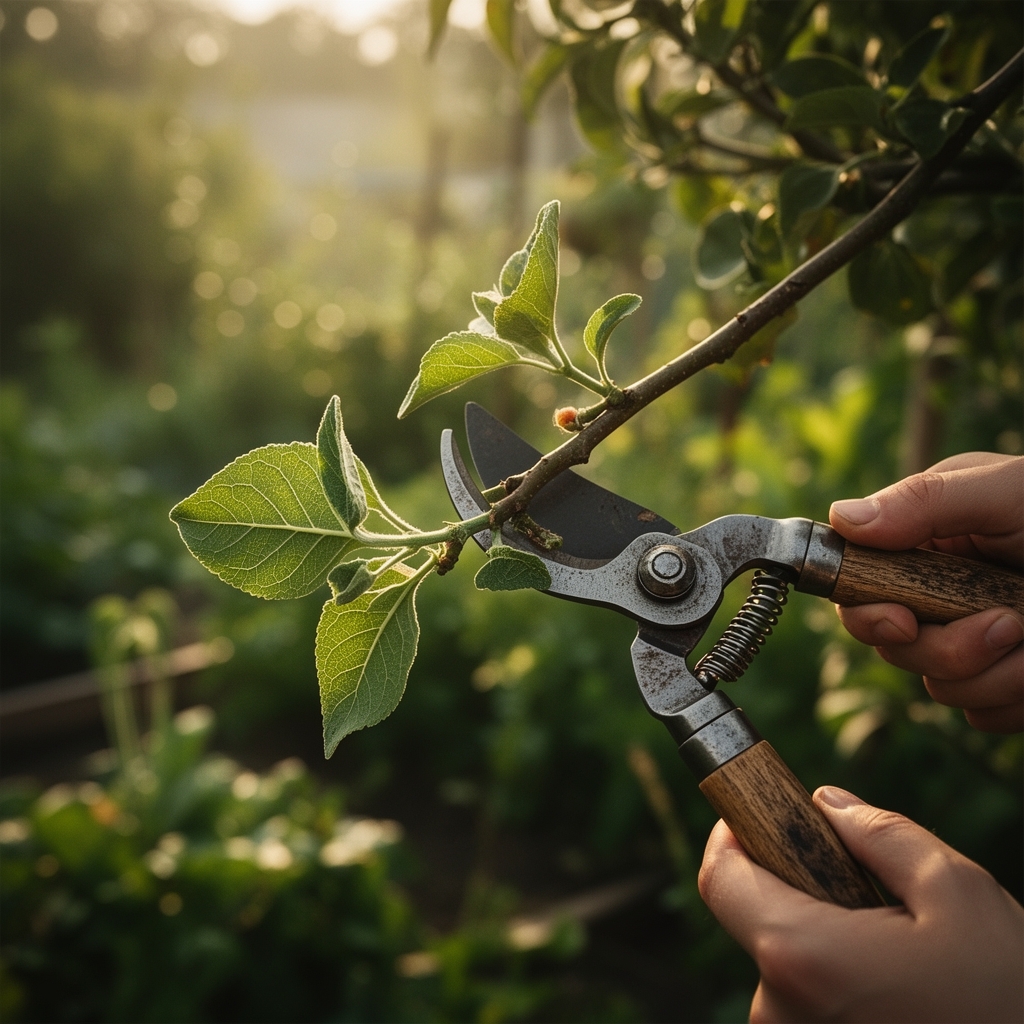
Step 2: Cut from Bottom to Top
Position yourself upwind of the plant to avoid debris in your face. Place lopper blades 2-3 inches above soil line, angling 15 degrees to prevent water pooling on cut surfaces. Use smooth, steady pressure rather than jerking motions that bend stalks instead of cutting them.
Pro-Tip: For multi-stemmed plants like okra, remove outer stems first, working toward the center. This prevents branch crowding that pinches lopper blades mid-cut.
Step 3: Section Large Stalks into Manageable Pieces
Cut corn stalks, sunflowers, and Brussels sprouts into 12-18 inch segments for easier handling and faster composting. Make cuts at node joints where possible, as these natural weak points require less force.
Pro-Tip: Leave one 4-foot tall sunflower stalk in place through winter. Cavity-nesting bees including mason bees overwinter in the hollow pith, emerging in spring to pollinate your fruit trees.
Step 4: Remove Root Crowns from Perennial Vegetables
For asparagus, rhubarb, and artichoke, cut foliage to 2-inch stubs first, then use loppers to sever any woody root material sitting above soil surface. Do not disturb crowns below ground.
Pro-Tip: Mark perennial locations with bamboo stakes immediately after cutting. Dormant crowns disappear visually, and you risk damaging them during spring bed preparation.
Step 5: Clean and Sharpen Blades Between Plant Families
Wipe blades with 70% isopropyl alcohol when moving from diseased plants (tomatoes with late blight) to healthy ones. This prevents cross-contamination. Sharpen blades after every 50 cuts or when you notice increased effort required.
Pro-Tip: Coat blades with food-grade mineral oil after cleaning. This prevents rust and makes sticky sap slide off during the next use.
Step 6: Compost or Dispose Based on Plant Health
Separate healthy woody debris (for composting) from diseased material (for municipal green waste or burning where permitted). Thick stalks benefit from splitting lengthwise with a hatchet before adding to compost, increasing surface area for microbial decomposition.
Pro-Tip: Layer 3 inches of chopped stalks with 1 inch of fresh grass clippings or kitchen scraps. This 30:1 carbon-to-nitrogen ratio accelerates breakdown and reaches thermophilic temperatures (130-150°F) that kill weed seeds.
Nutritional & Environmental Benefits
Proper stalk removal and composting returns 60-70% of plant nutrients back to your soil ecosystem. A single 6-foot tomato plant contains approximately 0.15 pounds of nitrogen, 0.04 pounds of phosphorus, and 0.18 pounds of potassium locked in its tissues. When composted correctly, these macronutrients become available for next season's crops within 8-12 months.
The woody biomass from vegetable stalks feeds saprophytic fungi that form partnerships with living plant roots. These mycorrhizal networks extend root reach by 10-100 times, accessing water and phosphorus beyond the depletion zone around root hairs. One study from Washington State University found that gardens incorporating woody vegetable debris increased available phosphorus by 23% compared to those removing all plant material.
Cut sunflower and corn stalks left standing provide overwintering habitat for beneficial insects. Ladybug larvae, lacewings, and predatory wasps shelter in hollow stems, emerging in spring to control aphid and whitefly populations before they explode. This biological pest control reduces or eliminates the need for even organic pesticides like neem oil or pyrethrin.
Removing diseased stalks breaks pest cycles that cost home gardeners hundreds of dollars in lost production. Late blight spores overwinter on tomato debris, causing reinfection rates above 80% in untreated gardens. Squash vine borer larvae pupate in soil near host plant bases; removing stalks reduces next year's adult emergence by 65%.
Advanced Methods
Small Space Adaptations:
Container-grown vegetables develop smaller root systems and proportionally thinner stalks. A compact 18-inch bypass lopper handles 95% of patio garden needs. Focus on determinate tomato varieties (Celebrity, Bush Early Girl) that grow 3-4 feet tall rather than indeterminate types requiring 8-foot stakes.
Vertical growing systems using trellises concentrate vegetation removal into linear zones. Run loppers along the trellis base, cutting bean poles, pea vines, and cucumber stems in a single pass. This technique reduces removal time by 40% compared to free-standing plants.
Organic & Permaculture Applications:
Chop-and-drop mulching uses loppers to section heavy stalks directly onto bed surfaces without composting. This sheet composting technique feeds soil life in place, eliminating the energy cost of hauling material. Works best with non-diseased legume stalks (beans, peas) that add nitrogen as they decompose.
Integrate lopped stalks into hugelkultur beds by laying them in trenches before covering with soil. The wood absorbs spring moisture and releases it during summer drought, reducing irrigation needs by 30-50%. Brassica stalks excel at this due to their dense cellular structure.
Season Extension:
Create instant cold frames by driving four cut corn stalks into bed corners and draping row cover over the framework. The stalks provide 18-24 inches of clearance for winter greens (spinach, mache, claytonia) without investing in PVC hoops. Corn stalk frames last 8-12 weeks before requiring replacement.
Use lopped sunflower stalks as pea trellis supports the following spring. Push 4-foot sections 8 inches into soil in March, then sow peas at the base. The dried stalks provide climbing structure while slowly decomposing, adding organic matter exactly where roots access it.
Troubleshooting
Symptom: Lopper blades slip off stalks without cutting, leaving bark stripped but stems intact.
Solution: Dull blades cause this frustration. Sharpen cutting edges to 20-degree bevel using a mill file or bench grinder. Test on paper; properly sharpened blades slice cleanly through newsprint. Replace blades if nicks or chips exceed 1/8 inch depth.
Symptom: Handles separate from blade assembly mid-cut, requiring awkward reattachment.
Solution: Tighten pivot bolt to proper torque (typically 15-20 inch-pounds). Apply threadlocker compound to prevent loosening from vibration. Replace cracked or split handles immediately, as partial failures cause blade misalignment that crushes rather than cuts.
Symptom: Thick stalks require multiple cutting attempts, leaving frayed ends.
Solution: Switch to anvil-style loppers for stalks exceeding 1.5 inches diameter. Bypass loppers work like scissors and bind on dense material, while anvil types use crushing force against a flat surface. Keep both styles in your tool shed for appropriate applications.
Symptom: Hands develop blisters or joint pain after 30 minutes of cutting.
Solution: Grip handles in middle third, not at ends where leverage concentrates pressure on fingers. Take 5-minute breaks every 20 cuts to prevent repetitive strain. Consider ratcheting loppers that cut in stages, reducing force needed per squeeze by 50%.
Symptom: Cut stalks regrow from remaining stumps, creating maintenance problems.
Solution: Make cuts below lowest node or growth point. Many vegetables (tomatoes, peppers) maintain dormant buds 1-2 inches above soil that activate after topping. Drop cutting height to ground level, or apply flame weeding to remaining stubs.
Storage & Maintenance
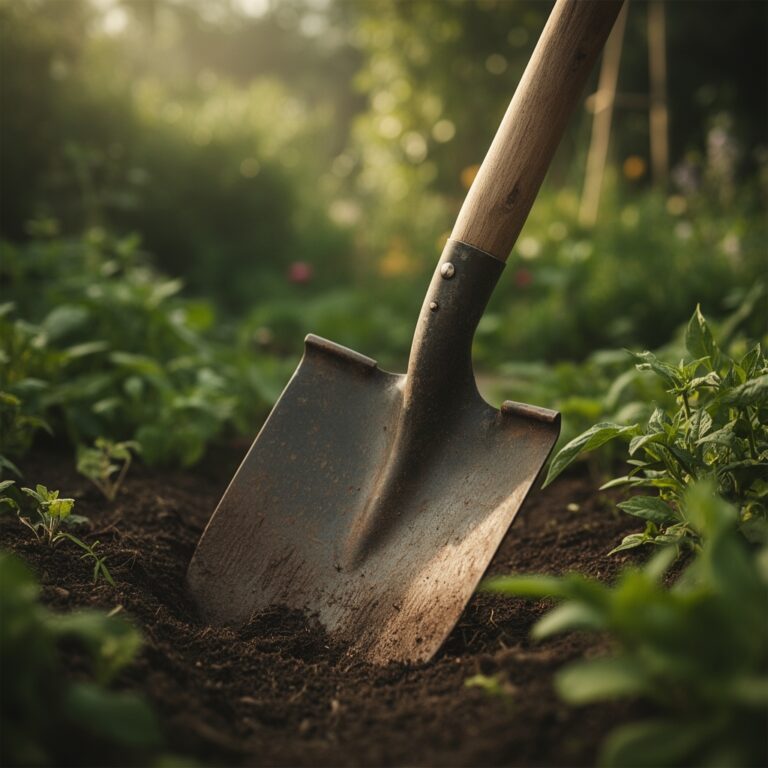
Water newly cleared beds with 1 inch of irrigation immediately after stalk removal. This settles soil around exposed roots and rehydrates areas that became hydrophobic under dense canopy cover. Continue weekly 1-inch applications until ground freezes (Zones 5-7) or reduce to twice monthly in warmer zones.
Apply aged manure or compost at 2-3 inches depth within 48 hours of clearing. This timing allows soil microorganisms to begin breaking down added organic matter before cold weather slows biological activity. Incorporate amendments into top 4 inches using a broadfork, avoiding tilling that destroys fungal networks.
Feed beds with bone meal (4-12-0) at 2 pounds per 100 square feet after clearing summer vegetables. This replenishes phosphorus depleted by heavy-feeding crops like tomatoes and peppers. Supplement with greensand (0-0-3) at 5 pounds per 100 square feet for potassium replacement.
Store loppers in a dry location with blades slightly open to prevent spring tension fatigue. Coat all metal surfaces with light machine oil monthly during storage. Inspect bolts and fasteners each spring, replacing any showing rust penetration or thread damage.
Post-harvest storage of lopped plant material depends on health status. Healthy stalks compost in dedicated bins with 3-part brown to 1-part green ratio by volume. Turn piles weekly to maintain aerobic conditions that reach 140°F internal temperature. Material becomes usable compost in 3-4 months when ambient temperatures stay above 60°F.
Diseased material requires different handling. Municipal composting facilities reaching 160°F for 3 consecutive days kill most pathogens. Home composters rarely achieve this temperature consistently. Burn diseased stalks where local regulations permit, or dispose via municipal yard waste programs. Never compost tomato plants showing late blight, cucurbit family members with downy mildew, or any vegetation displaying viral symptoms (mosaic patterns, ring spots).
Conclusion
Using a garden lopper for vegetable branch removal transforms end-of-season cleanup from exhausting struggle into efficient garden maintenance that protects next year's harvest. The six-step process (assessment, bottom-up cutting, sectioning, crown removal, sanitation, and composting) creates clean beds ready for fall amendments and spring planting. Investing 3-4 hours in proper stalk removal prevents disease cycles, builds soil fertility through composting, and extends tool lifespan through correct application.
Share your lopper techniques and end-of-season cleanup photos with your local garden club or extension office master gardener program. Your experience helps newer growers avoid common mistakes and builds community knowledge around sustainable practices.
Expert FAQs
What diameter vegetable stalks require loppers instead of pruning shears?
Switch to loppers for any stalk exceeding 0.75 inches in diameter. Standard bypass pruners strain on thick brassica stems, corn stalks, and mature tomato trunks, causing hand fatigue and incomplete cuts. Loppers provide 3-4 times the cutting force through extended handle leverage.
Should I remove vegetable stalks immediately after harvest or wait until frost?
Remove stalks showing disease symptoms immediately to prevent spore spread. Healthy plants can remain until frost kills foliage, making cutting easier as moisture content drops. Waiting until frost also allows late-season beneficial insects to complete their life cycles in the vegetation.
Can garden loppers cut through dried corn stalks left standing all winter?
Yes, but dried stalks require sharper blades than fresh growth. Winter weathering concentrates cellulose fibers, making stalks tougher. Cut in early spring when morning dew softens tissues slightly, or make cuts 6 inches above ground where moisture content stays higher.
How do I dispose of lopped vegetable stalks showing disease symptoms?
Never compost diseased material in home systems. Burn stalks where permitted, maintaining 450°F fire temperature for complete pathogen destruction. Alternative disposal includes bagging for municipal yard waste pickup (facilities compost at pathogen-killing temperatures) or burying 12 inches deep away from garden areas.
What maintenance extends garden lopper lifespan beyond 5 years?
Oil pivot points monthly with 3-in-1 oil to prevent rust and maintain smooth action. Sharpen blades after every 100 cuts using a mill file at 20-degree angle. Replace bumper pads when compressed below 1/8 inch thickness. Store in dry location with blades slightly open to prevent spring fatigue.