6 Safe Steps for Repotting a Cactus Using Tongs
Spines pierce leather gloves with surgical precision. Translucent glochids embed themselves into fingertips and remain invisible until inflammation begins hours later. The steps for repotting a cactus with safety tools eliminate these hazards while preserving root architecture and minimizing transplant shock. Proper technique preserves the delicate balance between protective handling and the preservation of mycorrhizal fungi colonies that colonize cacti roots at depths of 2 to 4 inches below the soil surface.
Materials
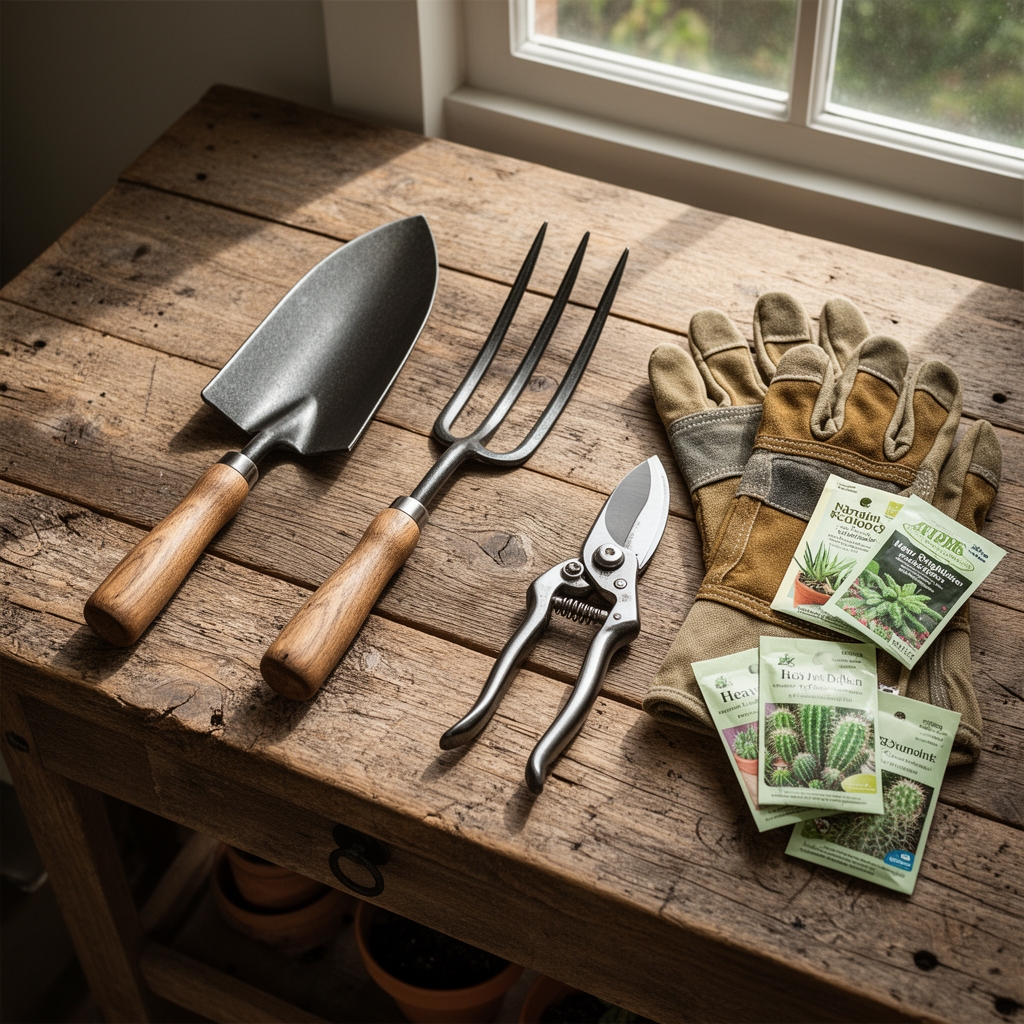
Kitchen tongs with silicone-coated grips provide 8 to 12 inches of distance from spines. Choose tongs with a spring-loaded mechanism rated for 3 pounds of sustained pressure. Heavy-duty nitrile gloves rated at 8 mils thickness serve as a secondary barrier during soil manipulation.
Cactus-specific potting medium requires a pH between 5.5 and 6.5. Mix 2 parts coarse sand with 2 parts perlite and 1 part standard potting soil amended with a 4-4-4 organic fertilizer at a rate of 1 tablespoon per gallon of medium. The low nitrogen ratio prevents excessive cell elongation that weakens epidermal tissue. Add horticultural grit at 15 percent by volume to improve cation exchange capacity and prevent water retention beyond 48 hours post-irrigation.
Terra cotta pots with drainage holes measuring 0.5 inches in diameter allow air pruning of roots. Select containers 1 to 2 inches wider than the current root ball diameter. Avoid glazed ceramic unless drainage exceeds standard specifications.
Sterilize all tools in a 10 percent bleach solution for 60 seconds. This eliminates Fusarium oxysporum spores that cause crown rot in stressed specimens.
Timing
Repot cacti during active growth phases between late March and early June in USDA Hardiness Zones 9 through 11. In Zones 5 through 8, wait until nighttime temperatures stabilize above 50 degrees Fahrenheit for 14 consecutive days. Auxin distribution peaks during this window, accelerating root regeneration by 40 percent compared to dormant-season repotting.
Avoid repotting within 6 weeks of the last frost date. Sudden temperature drops below 35 degrees Fahrenheit rupture cell walls in freshly disturbed roots. Monitor soil temperature at 4-inch depth using a digital thermometer. Proceed only when readings remain above 55 degrees Fahrenheit.
Phases

Phase 1: Pre-Extraction Preparation
Withhold water for 7 to 10 days before repotting. Dry soil detaches cleanly from roots without tearing the delicate root hairs responsible for 80 percent of water uptake. Place newspaper in a 3-foot radius around the work surface to capture soil and dislodged spines.
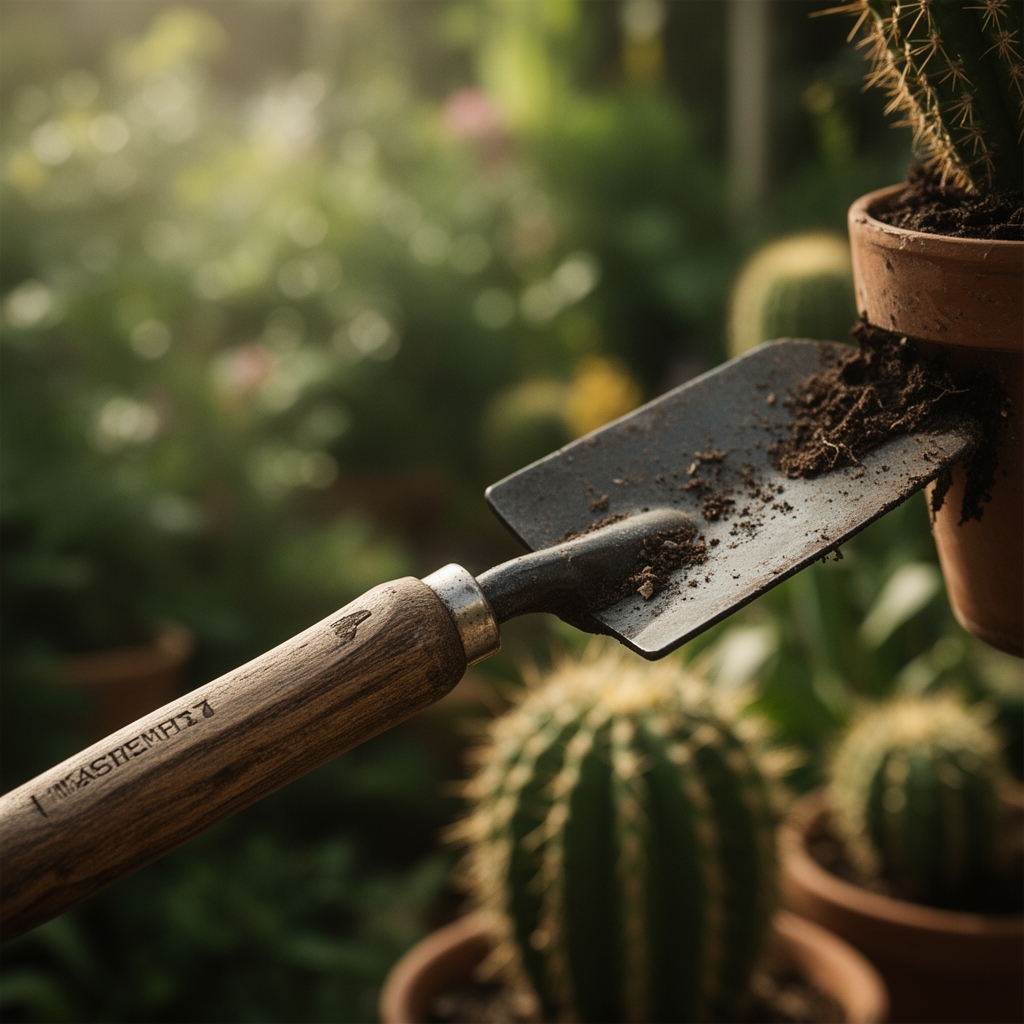
Position the old pot on its side. Grip the base of the cactus with kitchen tongs 2 inches above the soil line. Apply steady horizontal pressure while tapping the pot's rim against a padded surface. The root ball should slide free within 8 to 10 taps.
Pro-Tip: Roll a section of corrugated cardboard into a collar around cylindrical cacti. This distributes pressure across 6 to 8 inches of stem tissue rather than concentrating force at a single contact point.
Phase 2: Root System Assessment
Inspect roots for black or brown discoloration indicating Phytophthora infection. Healthy roots appear white to tan with firm texture. Prune damaged roots at a 45-degree angle using sterilized scissors. Remove no more than 25 percent of total root mass to maintain adequate surface area for nutrient absorption.
Examine the root ball for compacted zones where roots circle the perimeter. Score these sections vertically with a sterile blade to a depth of 0.25 inches. This encourages lateral root development and prevents girdling.
Pro-Tip: Dust cut root surfaces with sulfur powder at a concentration of 2 percent. This fungicide prevents opportunistic Pythium colonization during the 72-hour healing window.
Phase 3: Installation and Stabilization
Add 1 inch of fresh potting medium to the new container. Center the cactus using tongs while backfilling with soil. Maintain the original planting depth. Burying the stem below its previous soil line traps moisture against non-suberized tissue and initiates rot.
Tamp soil with a wooden dowel to eliminate air pockets larger than 0.5 inches. These voids prevent mycorrhizal fungi from establishing hyphal networks. Leave 0.75 inches between the soil surface and pot rim for irrigation space.
Pro-Tip: Inoculate the root zone with Glomus intraradices spores at a rate of 0.5 grams per gallon of soil. These arbuscular mycorrhizae increase phosphorus uptake by 300 percent in low-nutrient substrates.
Troubleshooting
Symptom: Stem base turns translucent and soft within 10 days of repotting.
Solution: Crown rot from overwatering or buried stem tissue. Unpot immediately. Excise affected tissue 1 inch above discolored zones. Allow cut surfaces to callus for 7 days in indirect light before replanting in sterile medium.
Symptom: New growth emerges pale yellow or etiolated.
Solution: Insufficient light during establishment. Provide 4 to 6 hours of direct sunlight daily or supplement with full-spectrum LED lights at 2000 lumens positioned 12 inches above the apex.
Symptom: Root tips dessicate and turn crispy within 14 days.
Solution: Air pruning exceeded optimal threshold due to excessive drainage. Reduce perlite content to 20 percent by volume. Water when soil moisture drops to 15 percent at 2-inch depth.
Symptom: White cotton-like masses appear at spine bases.
Solution: Mealybug (Planococcus citri) infestation. Dab affected areas with 70 percent isopropyl alcohol using a cotton swab. Apply every 5 days for 3 weeks.
Maintenance
Withhold water for 14 days post-repotting. This prevents root rot while callus tissue forms over pruning wounds. Resume irrigation when soil moisture drops to 10 percent measured with a probe at mid-pot depth.
Provide 1 inch of water per irrigation event during the growing season. Water should drain completely within 10 seconds of application. Reduce frequency to once every 21 days from November through February in temperate zones.
Apply a 2-8-4 liquid fertilizer diluted to one-quarter strength monthly from April through September. High phosphorus ratios support flower bud initiation without promoting excessive vegetative growth.
Rotate pots 90 degrees every 14 days to ensure uniform light exposure. This prevents phototropic bending exceeding 15 degrees from vertical.
FAQ
How deep should I plant a repotted cactus?
Match the original soil line exactly. Planting deeper traps moisture against non-adapted stem tissue and causes rot within 3 weeks.
Can I repot a blooming cactus?
Avoid repotting during flowering. The stress diverts auxin from reproductive structures to root regeneration, causing bud abortion rates exceeding 60 percent.
What pot material works best?
Unglazed terra cotta allows evaporation through pot walls, reducing substrate moisture by 30 percent compared to plastic. Choose based on your watering discipline.
Why are my tongs slipping on the cactus?
Waxy cuticles reduce friction. Wrap tong tips with rubber shelf liner or use foam-padded aquarium tongs designed for handling coral.
How long until roots establish?
New root growth initiates within 21 days at temperatures above 65 degrees Fahrenheit. Full establishment requires 6 to 8 weeks with adequate moisture and light.