6 Steps to Install a Wood-Slat Privacy Screen
Crushing a handful of friable loam reveals the structural integrity of your garden site; it should crumble under light pressure while retaining enough moisture to support high turgor pressure in surrounding flora. Installing a wood-slat privacy screen requires more than simple carpentry. It demands an understanding of the local rhizosphere and how structural shadows alter the microclimate for nearby specimens. These specific steps for installing a garden screen ensure that your vertical addition integrates seamlessly with the existing botanical landscape without compromising soil aeration or root health.
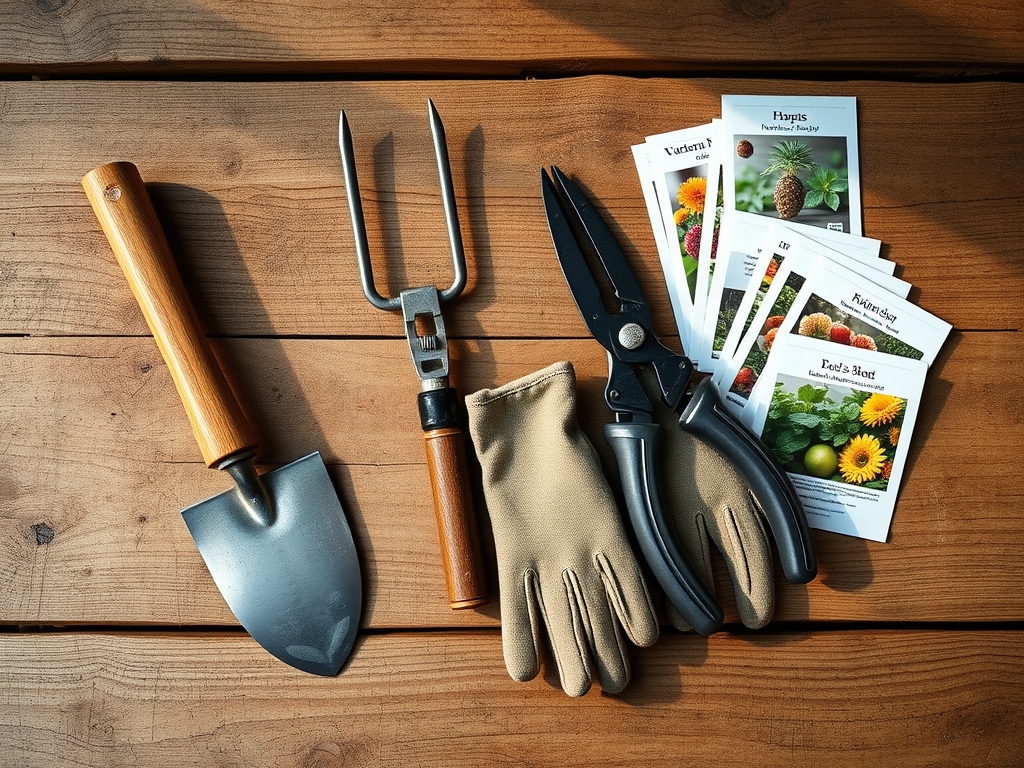
Materials:
The foundation of any garden structure begins with the substrate. For post-setting, you must evaluate the Cation Exchange Capacity (CEC) of your soil. High-clay soils with a CEC above 25 require deeper drainage aggregate to prevent frost heave. The ideal substrate for surrounding plantings is a friable loam with a pH between 6.0 and 7.0.
To support the recovery of turf or perennials disturbed during installation, prepare a nutrient-dense top-dressing. Use a 10-10-10 NPK ratio for general vegetative recovery or a 5-10-5 ratio if the screen is being placed near flowering shrubs to prioritize phosphorus for root establishment. Ensure you have 4×4 pressure-treated posts, rot-resistant cedar slats, and 304-grade stainless steel fasteners to prevent chemical leaching into the soil profile.
Timing:
Timing is dictated by the thermal properties of the soil. In Hardiness Zones 4 through 7, installation should occur after the final spring frost but before the summer solstice. This window avoids the high-stress period of mid-summer heat, which can cause wood to warp rapidly and plants to suffer from excessive transpiration.
In Zones 8 through 10, late autumn is preferable to allow the wood to cure in lower humidity. Monitor the biological clock of your garden; avoid installation during the peak reproductive stage (flowering) of adjacent plants. Disturbing the root zone during anthesis can cause premature senescence or bud drop due to sudden hydraulic stress within the xylem.
Phases:
Sowing the Foundation
Excavate post holes to a depth of at least one-third the total height of the post, plus an additional 6 inches for a gravel drainage base. This depth ensures the structure can withstand lateral wind loads without compressing the surrounding rhizosphere. Use a hori-hori knife to cleanly sever any lateral roots encountered during digging; jagged tears are susceptible to fungal pathogens.
Pro-Tip: Clean root cuts promote the release of auxins, which stimulate the growth of new lateral root tips. This ensures the plant adapts quickly to the new structural boundary rather than wasting energy on necrotic tissue.
Transplanting and Alignment
Once posts are plumb and set in concrete or compacted gravel, begin attaching the horizontal slats. Maintain a gap of 0.5 to 0.75 inches between slats. This is not merely aesthetic; it allows for laminar airflow. Stagnant air behind a solid screen increases humidity, creating a breeding ground for powdery mildew and other foliar diseases.
Pro-Tip: Proper spacing prevents the "wind-tunnel effect." By allowing air to pass through, you reduce the risk of thigmomorphogenesis, where plants grow stunted and thickened in response to excessive mechanical stress from turbulent wind.
Establishing the Microclimate
The final phase involves remediating the soil around the base of the screen. Incorporate organic matter to restore the mycorrhizal symbiosis disrupted during excavation. Mulch the base with 3 inches of shredded bark to regulate soil temperature and prevent moisture competition between the screen's posts and nearby root systems.
Pro-Tip: Mycorrhizal fungi form a mutualistic relationship with plant roots, effectively increasing the surface area for water absorption. This is critical when a new screen creates a "rain shadow" that may limit natural precipitation reaching the soil.
The Clinic:
Physiological disorders often arise when a new structure changes the light or water distribution in a garden.
Symptom: Interveinal chlorosis (yellowing leaves with green veins) on nearby plants.
Solution: This often indicates Iron or Magnesium deficiency caused by a pH spike if concrete runoff leached into the soil. Apply a chelated iron drench to restore chlorophyll synthesis.
Symptom: Etiolation (leggy, pale growth) in plants previously in full sun.
Solution: The screen has altered the photoperiod. Prune the affected plants by one-third using bypass pruners to encourage bushier growth, or relocate them to a higher light intensity zone.
Symptom: Marginal leaf burn or wilting despite moist soil.
Solution: This suggests root asphyxiation from soil compaction during construction. Use a garden fork to aerate the soil to a depth of 8 inches around the drip line.
Fix-It for Nitrogen Chlorosis: If plants show uniform paling, apply a high-nitrogen fertilizer (e.g., blood meal or 21-0-0) to boost vegetative vigor and offset the carbon-heavy mulch decomposition.
Maintenance:
A garden screen requires active management to ensure it does not become a biological liability. Monitor the soil moisture at the base of the screen using a soil moisture meter. Because the screen can block rainfall, ensure the area receives 1.5 inches of water per week at the drip line.
Inspect the wood annually for signs of fungal decay. Use bypass pruners to keep any climbing vines from infiltrating the gaps between slats; excessive biomass can trap moisture against the wood, accelerating rot. If using the screen as a trellis, ensure the plant's weight does not exceed the structural load-bearing capacity of the 304-grade fasteners.
The Yield:
If your garden screen supports edible climbers like Actinidia arguta (hardy kiwi) or Phaseolus coccineus (scarlet runner beans), timing the harvest is critical for nutrient density. Harvest beans when the pods are firm and snap cleanly; this indicates peak turgor pressure.
For woody perennials grown against the screen, post-harvest maintenance involves removing "the three Ds" (dead, damaged, or diseased wood) to maintain airflow. This ensures the plant remains productive for the following season and prevents the screen from becoming a vector for pests.
FAQ:
How deep should post holes be for a garden screen?
Posts should be buried at a depth equal to one-third of their total height. Add 6 inches of gravel at the bottom for drainage. This prevents frost heave and ensures structural stability against lateral wind forces in varying soil types.
What is the best wood for a garden screen?
Western Red Cedar or Redwood are superior choices due to their natural tannins, which resist rot and insect infestation. These woods maintain dimensional stability better than pressure-treated pine, which is prone to warping as it loses moisture.
How does a privacy screen affect nearby plants?
Screens create microclimates by altering light patterns and airflow. They can cause "rain shadows," requiring supplemental irrigation. Conversely, they provide essential windbreaks that reduce transpiration rates and mechanical stress on delicate, broad-leafed species in high-wind areas.
Can I use a garden screen as a trellis?
Yes, provided the structure is anchored for vertical loads. Use stainless steel hardware to prevent corrosion. Ensure the plant species selected does not have aggressive "holdfast" roots, like English Ivy, which can physically degrade the wood fibers over time.