6 Steps to Prepare a Garden Gazebo Foundation Site
Learning how to prepare a site for a garden gazebo begins with understanding soil compaction thresholds and drainage coefficients. A well-prepared foundation site prevents settling, pooling water, and structural instability. The soil beneath a gazebo must support 800 to 1,200 pounds per square foot while maintaining lateral stability. Most gardeners underestimate the importance of subgrade preparation, leading to costly repairs within 18 to 24 months of installation.
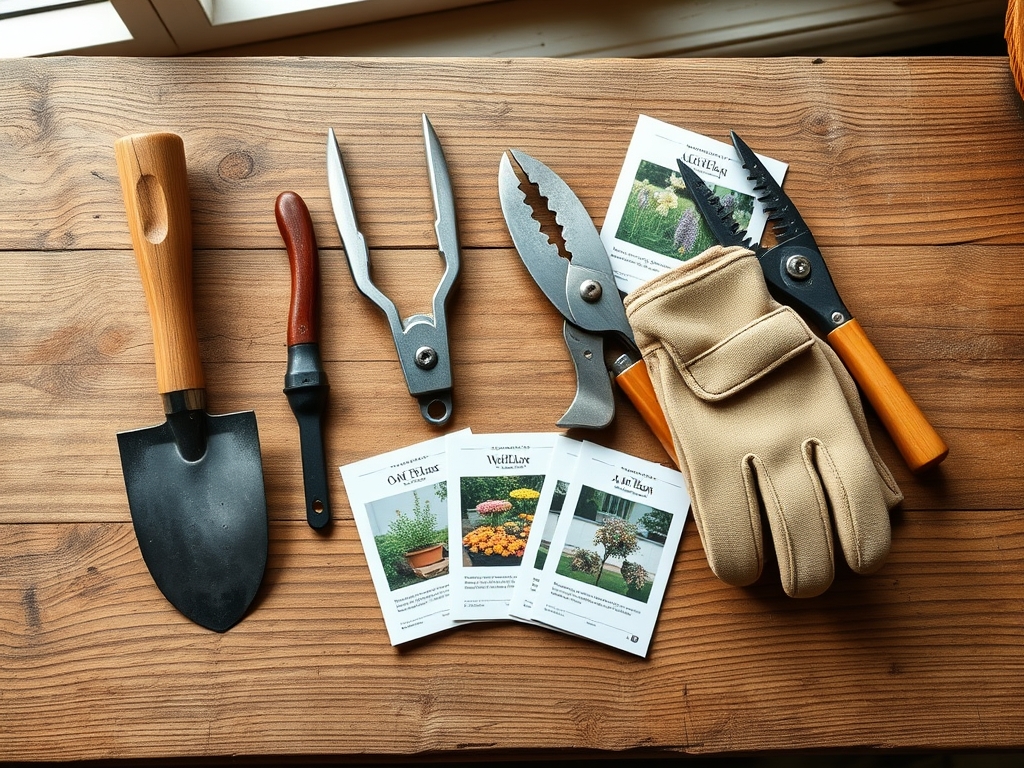
Materials
Site preparation requires materials organized by structural function and soil chemistry. For soil amendment, select composted organic matter with a 4-4-4 NPK ratio to maintain neutral pH between 6.5 and 7.0 in surrounding plantings. The foundation itself demands crushed limestone aggregate in 3/4-inch diameter, providing superior compaction compared to pea gravel. This aggregate size achieves 95 percent Modified Proctor density under mechanical tamping.
Acquire landscape fabric with a minimum burst strength of 300 psi to prevent weed penetration without blocking water drainage. Geotextile membranes stabilize base layers and distribute loads across weak subsoils. For perimeter establishment, source mycorrhizal fungi inoculant containing Glomus intraradices at 300 propagules per gram to colonize adjacent ornamental roots.
Additional materials include mason's line, 12-inch steel stakes, a 4-foot carpenter's level, and a plate compactor generating 5,000 pounds of centrifugal force. Rent a sod cutter if removing established turf over areas exceeding 100 square feet. Hand tools prove inefficient at this scale.
Timing
Execute site preparation 4 to 6 weeks before gazebo delivery to allow settling and adjustment. In USDA Hardiness Zones 3 through 5, schedule groundwork between May 15 and September 30 when soil moisture content remains below 18 percent. Excess moisture prevents proper compaction and creates unstable voids.
Zones 6 through 8 permit year-round foundation work except during freeze-thaw cycles. Avoid preparation when soil temperatures drop below 40°F at 6-inch depth. Frozen ground resists compaction and thaws unevenly, causing differential settling.
Zones 9 through 11 require attention to monsoon seasons. Complete excavation and base installation before peak rainfall months. Clay soils with high cation exchange capacity expand when saturated, generating lateral forces that shift foundations by 2 to 4 inches annually.
Phases

Site Clearing: Remove all vegetation within the footprint plus 18 inches on all sides. Extract roots deeper than 2 inches to eliminate decomposition voids. Rhizomes of perennial grasses such as Agropyron repens penetrate 12 inches and must be completely removed. Mark utility locations before any excavation.
Pro-Tip: Apply a 2-inch layer of coarse sand over cleared soil and wet thoroughly. This reveals low spots where water pools, indicating areas requiring additional fill.
Excavation and Leveling: Excavate to 6 inches below finished grade across the entire footprint. Check level every 3 feet in both axes. Slopes exceeding 1/4 inch per foot create uneven load distribution. Compact exposed subsoil with three passes of the plate compactor, overlapping each pass by 6 inches.
Pro-Tip: Test compaction by driving a 1/2-inch diameter steel rod into the base. Properly compacted soil resists penetration beyond 1 inch under firm hand pressure.
Base Layer Installation: Spread crushed limestone in two 3-inch lifts. Rake each lift level before compaction. Water lightly to achieve optimum moisture content of 12 to 15 percent. Over-saturation creates a pumping effect that prevents proper densification. Compact each lift separately with four overlapping passes.
Pro-Tip: Spray-paint a grid pattern on the base layer before compaction. Complete compaction eliminates visible lines, confirming uniform density.
Perimeter Definition: Install treated 4×4 lumber or concrete edging around the foundation perimeter. This contains the base material and prevents lateral creep. Secure edging with 12-inch galvanized spikes every 24 inches. Backfill the exterior with native soil amended with 30 percent compost to support perimeter plantings.
Pro-Tip: Incorporate controlled-release fertilizer with 14-14-14 NPK ratio at 2 pounds per 100 square feet in the backfill zone. This promotes rapid establishment of ornamental plants without encouraging weed growth.
Troubleshooting
Symptom: Water pooling after rainfall. Solution: Core aerate the perimeter to 4-inch depth. Install a French drain with 4-inch perforated pipe in a 12-inch gravel-filled trench, sloped at 1/4 inch per foot toward daylight or a dry well.
Symptom: Base material migrating into surrounding soil. Solution: Excavate the perimeter to base depth. Install geotextile fabric vertically along the foundation edge before backfilling. This barrier prevents intermixing while permitting water flow.
Symptom: Settling at corners exceeding 1 inch. Solution: Remove affected aggregate. Re-compact subsoil with a jumping jack tamper, applying eight passes in different directions. Replace base material and compact in 2-inch lifts.
Symptom: Frost heave displacement in spring. Solution: Extend excavation depth below local frost line (36 inches in Zone 5, 48 inches in Zone 4). Backfill with non-frost-susceptible material such as coarse sand or crushed rock.
Maintenance
Inspect the foundation semi-annually for settling or erosion. Add and compact aggregate if depressions exceed 1/2 inch. Maintain a 2-foot vegetation-free zone around the perimeter to reduce moisture accumulation. Apply 1 inch of water weekly to perimeter plantings during establishment, tapering to 1/2 inch after 90 days.
Reapply mycorrhizal inoculant annually at 1 tablespoon per square foot around ornamental plantings. This enhances drought tolerance and nutrient uptake through improved auxin distribution in root zones. Remove encroaching grass rhizomes monthly to prevent foundation undermining.
FAQ
How deep should excavation extend? Excavate 6 inches below finished grade for standard gazebos under 200 square feet. Larger structures require 8 to 10 inches to distribute increased loads.
Can existing grass remain around the perimeter? Remove all turf within 18 inches of the foundation edge. Grass roots create channels for water infiltration and destabilize base materials.
What compaction percentage is adequate? Achieve 95 percent Modified Proctor density. Verify with a nuclear density gauge or soil penetrometer reading above 300 psi.
How long before installing the gazebo? Wait 7 to 10 days after final compaction. This allows settling and reveals any soft spots requiring additional work.
Is landscape fabric necessary? Yes. Install fabric between subsoil and aggregate to prevent mixing while maintaining drainage. Omitting this layer reduces foundation lifespan by 40 percent.