7 Organized Steps to Prepare a DIY Indoor Container Tray
Crushing a handful of damp, friable loam releases the sharp scent of geosmin; this is the smell of a healthy rhizosphere. When a seedling maintains high turgor pressure, its cell walls remain rigid and upright, signaling a successful start. Learning how to prepare a DIY plant tray requires more than just filling plastic cells with dirt. It demands an understanding of soil physics and the physiological requirements of young cultivars. Proper preparation ensures that the delicate balance of moisture and aeration is maintained, preventing the anaerobic conditions that lead to root rot. Success starts with a clean tray and a scientifically balanced substrate.
Materials:
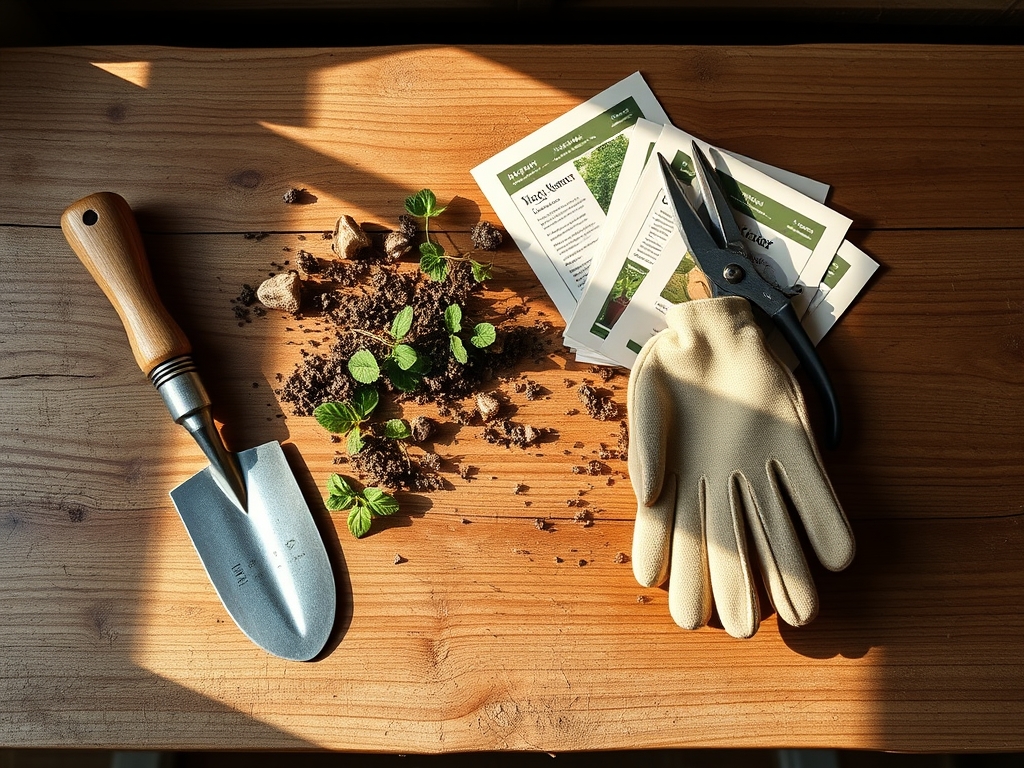
The foundation of a productive tray is the substrate. Avoid standard garden soil, which often has a low Cation Exchange Capacity (CEC) and poor drainage. Instead, utilize a soilless mix consisting of 60 percent peat moss or coconut coir, 20 percent perlite for aeration, and 20 percent vermiculite for moisture retention.
For the initial sowing phase, the nutrient profile should remain lean to prevent salt burn on sensitive radicles. Target an NPK ratio of 0.5-0.5-0.5 or use a specialized seed-starting mix with no added synthetic fertilizers. The ideal soil pH for most indoor containers sits between 6.0 and 6.8. This range ensures that macronutrients like Nitrogen and Phosphorus remain chemically available to the plant. If the pH drops below 5.5, Calcium and Magnesium become locked away, leading to stunted development. The texture must be friable; it should hold its shape when squeezed but crumble easily when poked.
Timing:
Indoor tray preparation is dictated by the local frost-date window and the specific photoperiod requirements of the species. In Hardiness Zones 5 through 7, seed trays are typically started 6 to 8 weeks before the last predicted spring frost. This timing aligns with the plant's biological clock, ensuring it moves through the vegetative stage under controlled conditions before facing environmental stressors.
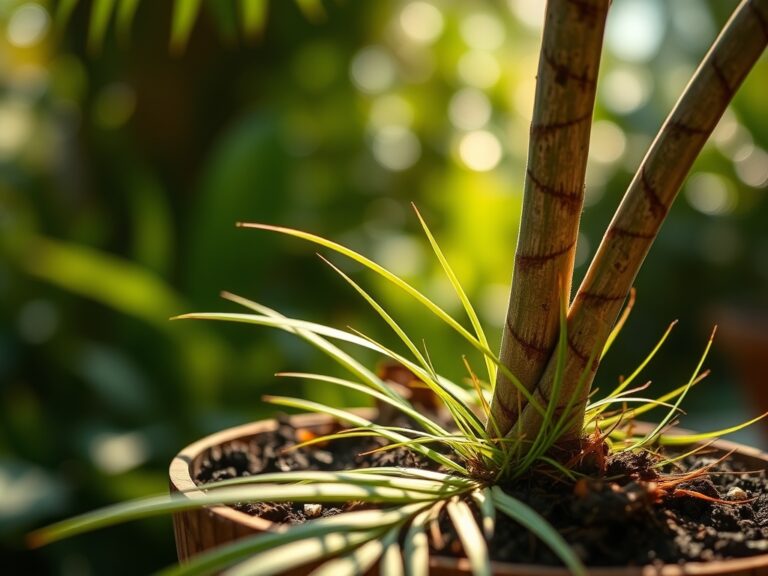
Understanding the transition from the vegetative to the reproductive stage is critical. If a plant remains in a small tray for too long, it may become root-bound, triggering early senescence. This premature aging reduces the overall yield and vigor. Monitor the soil temperature using a probe; most temperate species require a consistent 65 to 75 degrees Fahrenheit for optimal germination rates.
Phases:
Sowing
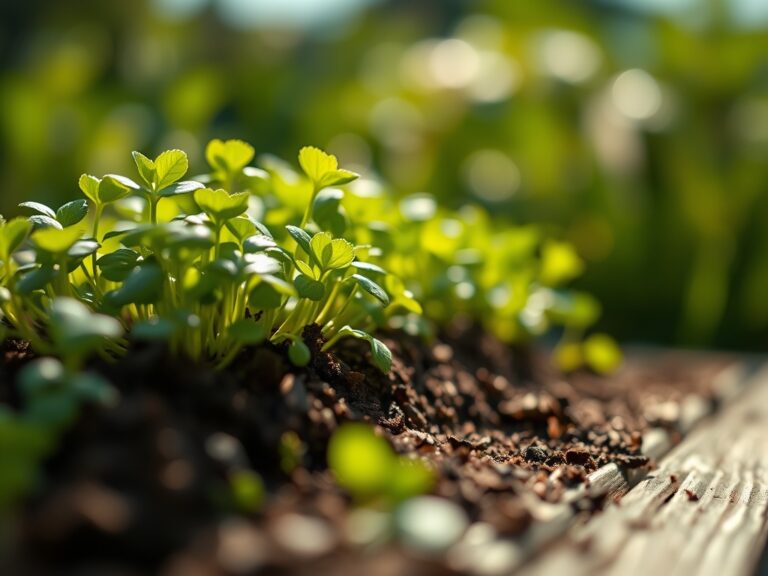
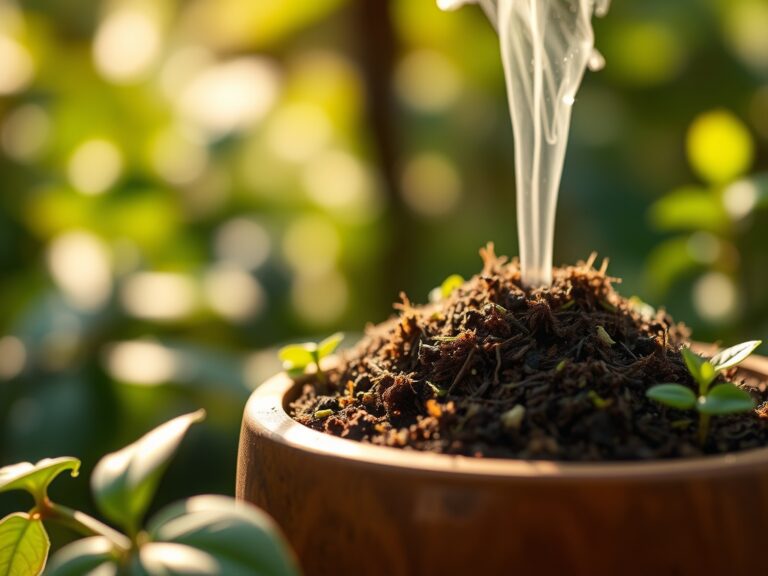
Fill the tray with the pre-moistened substrate. Level the surface without compressing the medium, as compaction reduces the oxygen available to the developing roots. Place seeds at a depth approximately twice their diameter.
Pro-Tip: Maintain high humidity during this phase to prevent the seed coat from hardening. This supports the biological process of imbibition, where the seed absorbs water to activate metabolic enzymes.
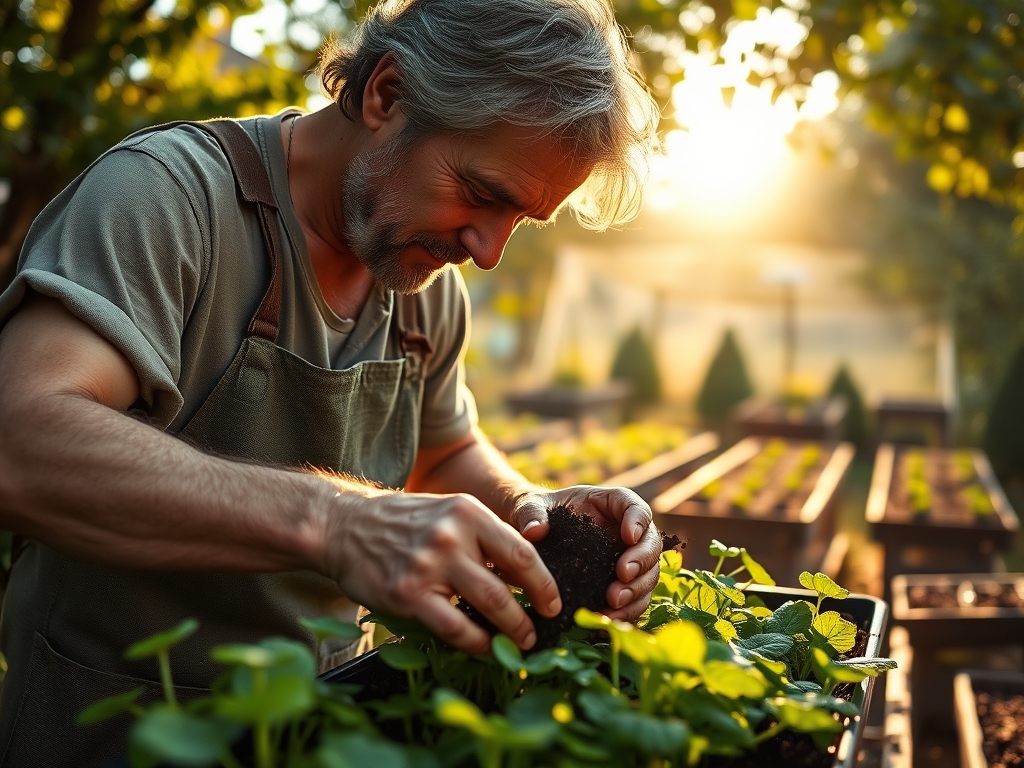
Transplanting
Once the seedlings develop their first set of true leaves, they may require more space or a higher nutrient load. Move the seedlings carefully to prevent transplant shock. Use a hori-hori knife to lift the root ball without shearing the delicate root hairs.
Pro-Tip: Inoculate the new medium with mycorrhizal fungi. This symbiotic relationship extends the reach of the root system, allowing the plant to access deep-seated Phosphorus and water that would otherwise be unreachable.
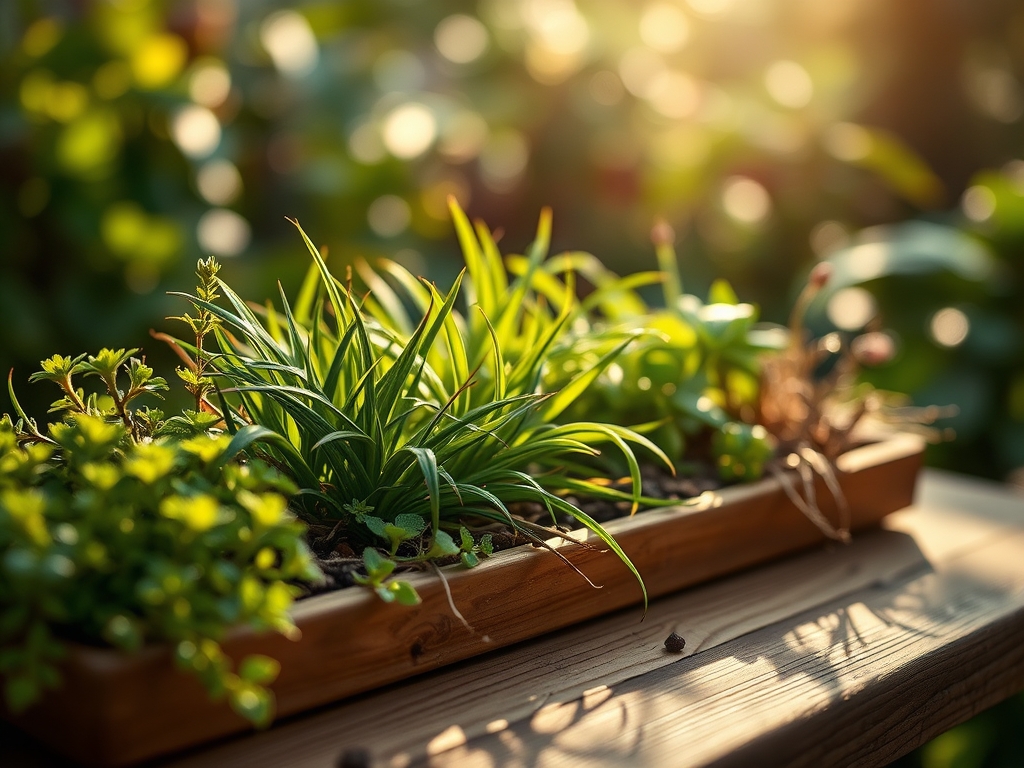
Establishing
As the plants grow, they must be "hardened off" or acclimated to higher light intensities. Increase light exposure by one hour per day over a week. Ensure the tray has adequate drainage holes to prevent the accumulation of mineral salts.
Pro-Tip: Use a small oscillating fan to create a gentle breeze over the tray. This mechanical stress stimulates the production of lignin in the stems, a process known as thigmomorphogenesis, resulting in shorter and sturdier plants.
The Clinic:
Physiological disorders often mimic infectious diseases but are usually caused by environmental imbalances.
- Damping Off: Seedlings collapse at the soil line. This is caused by fungal pathogens thriving in cool, overly wet conditions. Solution: Increase airflow and ensure the substrate temperature remains above 65 degrees Fahrenheit.
- Nitrogen Chlorosis: Older leaves turn pale yellow while veins remain slightly green. Solution: Apply a water-soluble fertilizer with a higher Nitrogen ratio, such as 10-5-5, at half strength.
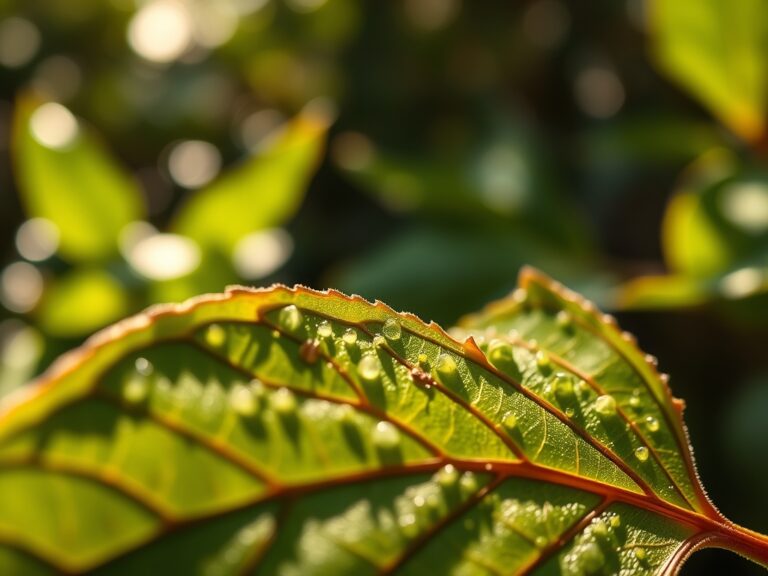
- Edema: Small bumps or blisters appear on the underside of leaves. This happens when the plant absorbs water faster than it can transpire. Solution: Reduce watering frequency and improve room ventilation.
- Purpling Leaves: Often seen on the underside of leaves, this indicates a Phosphorus deficiency, usually triggered by soil temperatures below 55 degrees Fahrenheit. Fix-It: Increase the ambient temperature to improve nutrient uptake.
Maintenance:
Precision is the hallmark of a master horticulturist. Use a soil moisture meter to ensure the substrate never drops below 20 percent moisture content. For most standard 1020 trays, applying approximately 0.5 to 1.0 liters of water every two to three days is sufficient, depending on the ambient humidity.
Always water at the base of the plants to keep the foliage dry, which reduces the risk of foliar pathogens. Use bypass pruners to remove any dead or decaying lower leaves that could harbor pests. If the plants begin to lean toward the light source, they are experiencing phototropism. Rotate the tray 180 degrees every two days to ensure even growth and prevent the stems from becoming leggy.
The Yield:
When harvesting microgreens or herbs from your DIY tray, timing is everything. Harvest in the early morning when the plants are at peak turgor. Use sharp, sterilized shears to make a clean cut above the first node. For "day-one" freshness, immediately place the harvested stems into a container with a damp paper towel and refrigerate at 40 degrees Fahrenheit. This rapid cooling slows the respiration rate, preserving the sugars and volatile oils within the plant tissues. If you are growing flowers, harvest just as the buds show color but before they fully open to maximize vase life.
FAQ:
What is the best soil for a DIY plant tray?
Use a sterile, soilless mix of peat moss, perlite, and vermiculite. This ensures optimal aeration and drainage. Avoid garden soil, which is too heavy and may contain pathogens that cause damping off in young seedlings.
How deep should I plant my seeds?
General horticultural practice is to plant seeds at a depth of two to three times their width. Very small seeds, like lettuce or lobelia, require light for germination and should be surface-sown with a very light dusting of fine vermiculite.
How often should I water my indoor tray?
Water when the surface of the substrate feels dry to the touch. Use a soil moisture meter to maintain consistent levels. Typically, trays require watering every 48 to 72 hours depending on the indoor humidity and temperature.
Why are my seedlings tall and skinny?
This condition, known as etiolation, occurs when plants do not receive enough light. The plant rapidly elongates its stem to search for a light source. Increase light intensity or move the tray closer to a window or grow light.
When should I start fertilizing my tray?
Begin fertilization once the seedling has developed its second set of true leaves. Use a balanced, water-soluble fertilizer diluted to half strength. Initial seed-starting mixes usually contain enough nutrients for the first two weeks of growth.