7 Steps to Install a Secure Garden Gate and Hardware
The cold click of metal hardware against wood announces permanence in a garden. A well-installed gate controls foot traffic, protects emerging seedlings from deer browse, and defines microclimates within your growing zones. Steps for installing a garden gate require the same attention to substrate preparation and structural integrity that you would apply to staking indeterminate tomatoes or building raised beds. The hinge alignment, post depth, and latch tension determine whether your gate sags by mid-season or holds true for a decade.
Materials
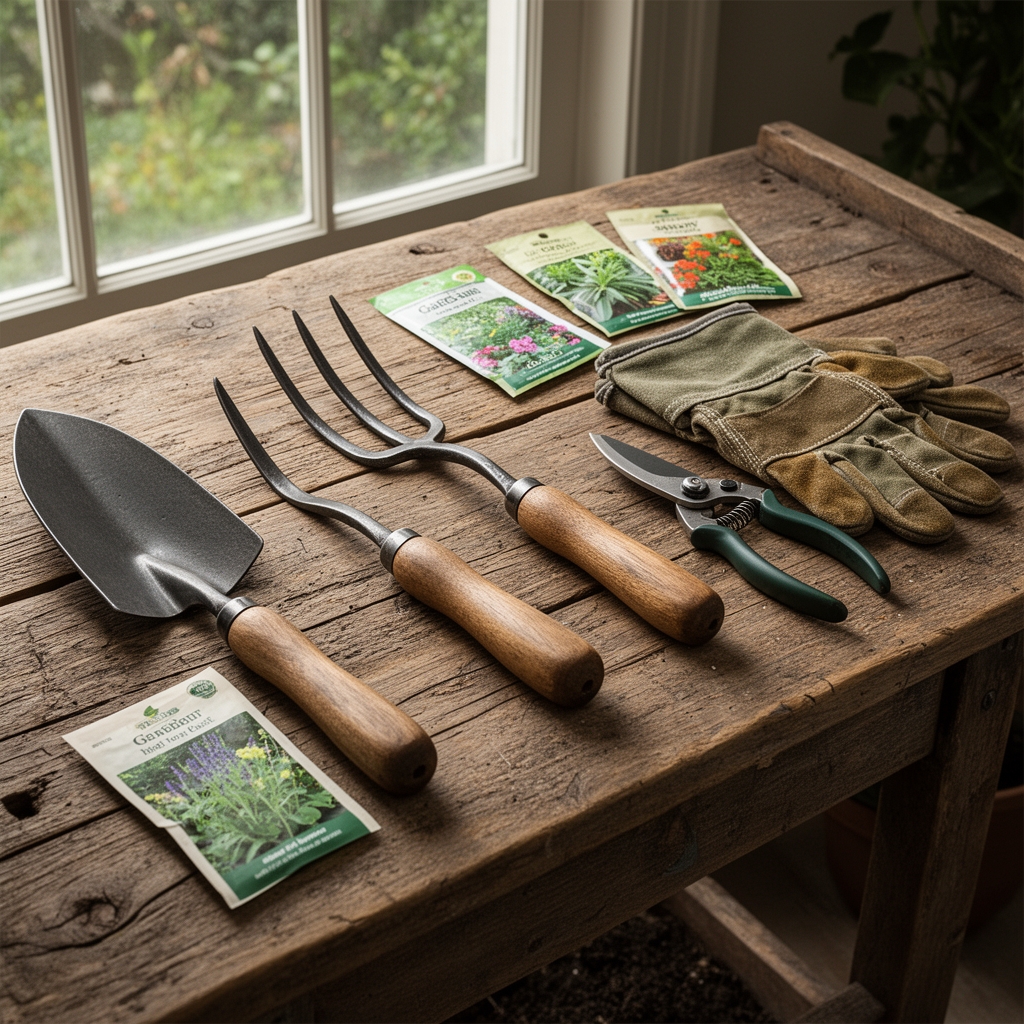
Gate installation demands materials resistant to soil acidity and moisture cycles. Cedar or redwood posts contain natural fungicides and tolerate pH ranges from 5.5 to 7.0 without rapid decomposition. Pressure-treated lumber rated for ground contact resists rot but leaches copper compounds into surrounding soil, similar to copper fungicide spray residue. Stainless steel or galvanized hardware prevents corrosion in high-humidity zones.
For posts, select 4×4 lumber cut to 8 feet, allowing 30 inches below grade for frost heave resistance. Gate panels may be pre-assembled or constructed from 1×6 tongue-and-groove boards. Hardware includes three 4-inch strap hinges, one spring-loaded latch, two gate stops, and one drop rod for wide gates. Concrete mix at a 3-2-1 ratio provides aggregate stability comparable to soil with high cation exchange capacity. Gravel backfill drains like coarse sand, preventing anaerobic conditions at post bases. A 4-foot level ensures plumb alignment as precisely as measuring auxin distribution in apical shoots.
Timing
Install gates during dormant periods when soil workability peaks. In Zones 3 through 5, late September through October allows concrete curing before freeze-thaw cycles destabilize posts. Zones 6 through 8 permit installation from October through March, avoiding periods when soil moisture exceeds field capacity. Zones 9 and 10 allow year-round installation, though summer heat accelerates concrete curing and requires moisture management.
Frost-date windows matter. Set posts at least 30 days before the first hard freeze to allow concrete hydration. In clay soils with poor drainage, wait until spring when soil temperature reaches 50°F at 6-inch depth, matching conditions for direct-sowing cold-tolerant brassicas.
Phases

Site Preparation
Mark post locations 4 feet apart for a 3-foot gate, adding 6 inches for hardware clearance. Excavate holes 10 inches wide and 30 inches deep using a post-hole digger or auger. Remove all organic matter from holes as it decomposes and creates voids, like planting bare-root stock in uncomposted manure. Add 4 inches of gravel to each hole for drainage. This layer mimics the coarse pore space in sandy loam with 40 percent porosity.
Pro-Tip: Test soil compaction with a penetrometer or metal rod. Dense clay requires wider holes and more gravel to prevent post heave, similar to amending hardpan before establishing perennial root systems.
Post Installation
Set posts vertically, checking plumb on two adjacent faces. Brace with scrap lumber staked 3 feet from the hole. Mix concrete to a stiff oatmeal consistency, using less water than label recommendations to reduce shrinkage cracks. Pour concrete in 6-inch lifts, tamping with a rod to eliminate air pockets. Concrete should reach 2 inches below finished grade to prevent moisture wicking into end grain.
Cure for 72 hours minimum. Concrete achieves 70 percent strength in three days under temperatures above 50°F, comparable to the germination window for warm-season cucurbits.
Pro-Tip: Coat post tops with asphalt emulsion or install metal caps to shed water. End grain absorbs moisture through capillary action at rates exceeding 12 inches per year, faster than xylem transport in most woody perennials.
Gate Mounting
Attach hinges to the gate panel first, positioning the top hinge 7 inches from the top rail and bottom hinge 11 inches from the bottom rail. This distribution balances load like proper scaffold branch spacing in young fruit trees. Prop the gate on blocks to achieve 2 inches ground clearance, preventing soil contact and rot. Mark hinge positions on the hinge-side post, then fasten with 2.5-inch exterior screws driven into pilot holes.
Install the latch-side hardware with 1/8-inch clearance between gate and post. Tight tolerances cause binding as wood expands with seasonal moisture changes, similar to cambium swelling during spring flush.
Pro-Tip: Apply beeswax or paraffin to hinge pins and latch mechanisms. This reduces friction and prevents rust, extending functional life beyond ten seasons.
Troubleshooting
Symptom: Gate sags at latch corner within six months.
Solution: Add a diagonal brace from top hinge corner to bottom latch corner, fastened with carriage bolts. This creates triangulation, distributing load like a properly staked tree resisting wind shear.
Symptom: Posts lean toward gate opening after winter.
Solution: Frost heave indicates insufficient depth or poor drainage. Excavate and reset posts to 36 inches, increasing gravel base to 6 inches.
Symptom: Latch fails to engage consistently.
Solution: Wood shrinks across grain by 3 to 8 percent as moisture content drops. Install adjustable strike plates or plane 1/16 inch from latch-side stile.
Symptom: Hardware develops surface rust within one season.
Solution: Replace zinc-plated hardware with stainless steel. Galvanization fails in acidic soils below pH 6.0, similar to aluminum toxicity in rhododendrons.
Maintenance
Inspect hardware every 60 days during the growing season. Tighten screws that back out from thermal expansion cycles. Apply penetrating oil to hinges and latches monthly. Repaint or stain wooden components every 24 months, recoating end grain annually to prevent moisture ingress exceeding 12 percent by weight.
Check post plumb annually using a 4-foot level. Adjust bracing if deviation exceeds 1 inch per 8 feet of height. Clear vegetation within 18 inches of posts to improve air circulation and reduce fungal colonization rates.
FAQ
How deep should gate posts be set?
Thirty inches minimum in Zones 6 and warmer, 36 inches in Zones 3 through 5 where frost penetrates deeper than 24 inches.
Can I use untreated pine posts?
No. Untreated softwood decays within three years in ground contact, comparable to untreated stakes used for trellising annual vines.
What gate width works best for garden access?
Thirty-six inches accommodates wheelbarrows and carts. Wider gates require diagonal bracing and heavier hardware to prevent sag.
Should I use concrete or gravel for post setting?
Concrete provides maximum stability in loose or sandy soils. Gravel-only backfill works in dense clay where concrete may trap moisture and accelerate rot.
How much clearance do I need under the gate?
Two inches prevents soil contact and allows leaf litter passage. Lower clearance causes premature decay from constant moisture exposure.