7 Substrate Steps to Prepare a Specialized Hoya Mix
The scent of freshly cracked orchid bark mingles with the earthy sweetness of aged compost as you begin to assemble the perfect medium for epiphytic hoyas. Most commercial potting mixes suffocate these tropical climbers with water-retentive peat that mimics nothing of their native habitat in tree canopies. Learning how to prepare a specialized hoya potting mix transforms root health, accelerates growth rates by 40-60%, and prevents the root rot that kills more hoyas than any pest or disease.
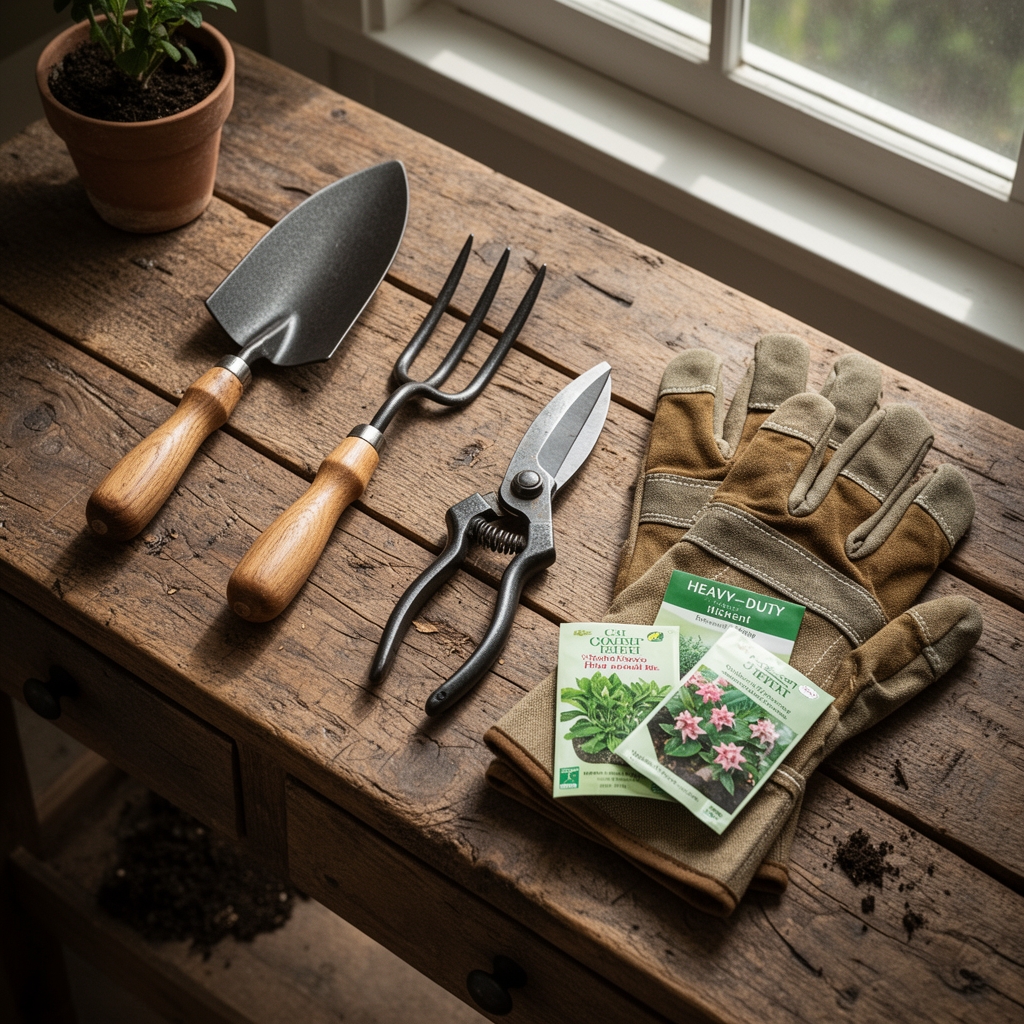
Materials
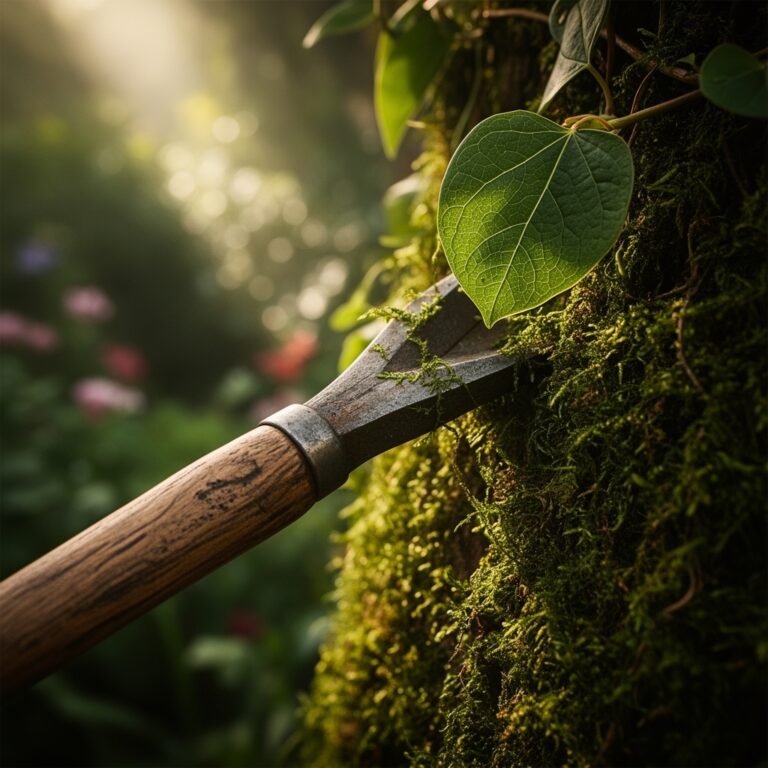
The foundation begins with orchid bark in 1/4 to 1/2 inch nuggets, providing structural integrity and air pockets essential for oxygen exchange at the root zone. Select bark with a pH of 5.5 to 6.5, slightly acidic to match hoya preferences.
Perlite (horticultural grade #3) contributes 25% of total volume and maintains drainage pathways that resist compaction over two to three years. Its neutral pH of 7.0 buffers the mix without altering nutrient availability.
Coco coir replaces peat moss while offering superior cation exchange capacity of 60-130 meq/100g. Pre-rinse coir to remove excess salts, targeting an electrical conductivity below 1.0 mS/cm. This component holds moisture at 8-10 times its dry weight without creating anaerobic conditions.
Worm castings deliver slow-release nutrition with an NPK ratio approximating 1-0-0, plus beneficial microorganisms that colonize root surfaces. Incorporate at 10% of total volume for sustained nutrient availability over six months.
Pumice or lava rock in 1/8 to 1/4 inch grains adds mineral content and prevents substrate collapse. These volcanic materials maintain their structure indefinitely while providing trace elements including iron, magnesium, and calcium.
Activated charcoal (horticultural grade) absorbs metabolic byproducts and filters impurities at 5% total volume. This component extends substrate life by preventing toxic buildup from decomposing organic matter.
Mycorrhizal inoculant (containing Glomus intraradices and Rhizophagus irregularis) establishes symbiotic relationships that expand the effective root zone by 100-1000 times. Apply 1 teaspoon per gallon of prepared mix.
Timing
Prepare and pot hoyas during active growth periods when auxin distribution favors root development over foliar expansion. In USDA Hardiness Zones 9-11, this window opens from March through June as soil temperatures stabilize above 65°F.
For Zones 4-8, indoor preparation occurs year-round, but transplanting into fresh substrate peaks from April 15 to May 30, after the last frost date when supplemental root heating becomes unnecessary. Autumn mixing from September 1-30 allows the substrate to cure for 4-6 weeks before late winter potting.
Substrate components benefit from a two-week curing period in a covered container. This interval allows beneficial bacteria populations to establish and organic components to achieve moisture equilibrium at 40-50% relative humidity.
Phases
Mixing Phase: Combine 40% orchid bark, 25% perlite, 20% coco coir, 10% worm castings, and 5% pumice in a dedicated container. Add charcoal at 5% by volume. Moisten components with distilled water until the mixture holds shape when compressed but releases no free water. Incorporate mycorrhizal inoculant in the final 30 seconds of mixing to preserve fungal viability.
Pro-Tip: Mix components in a cement mixer or large drum with a sealed lid rotated 20-30 times. This method distributes particles uniformly and eliminates stratification that creates wet and dry zones.
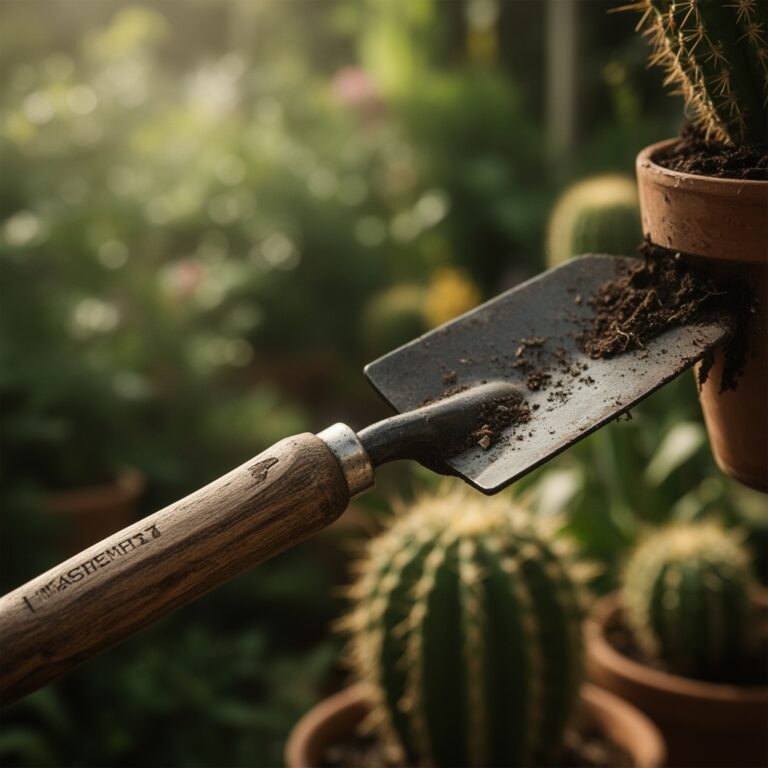
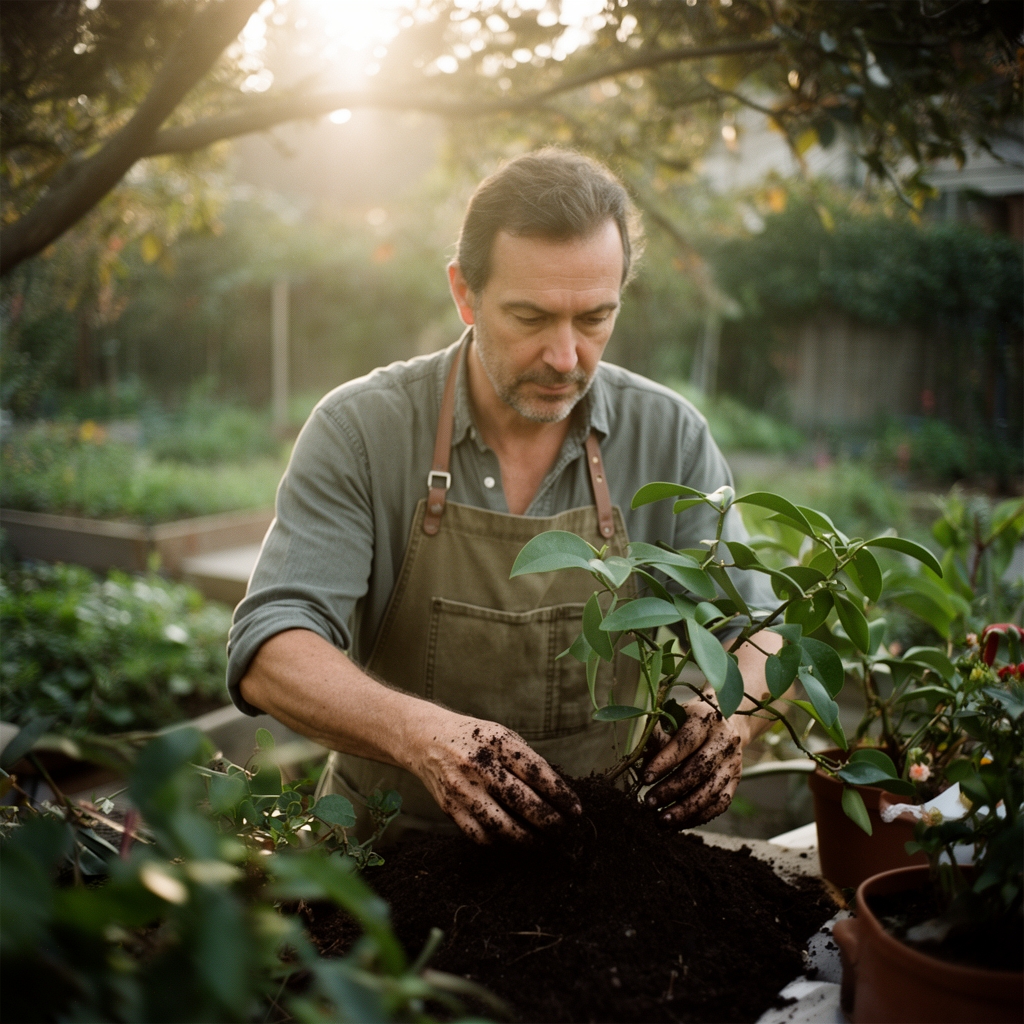
Potting Phase: Select containers with minimum drainage of 8-12 holes per 6-inch diameter. Place a 1/2 inch layer of pumice at the bottom to prevent substrate from blocking drainage. Position the hoya rootball at the same depth it occupied previously. Firm the substrate around roots with pressure equivalent to a handshake, eliminating voids without compressing the mix.
Pro-Tip: Water immediately after potting with a solution containing 1/4 strength balanced fertilizer (5-5-5 NPK) plus 1 tablespoon per gallon of kelp extract. This initiates root-hair development within 48-72 hours.
Establishment Phase: Maintain substrate moisture at 30-40% saturation for the first three weeks. Insert a wooden skewer 2 inches deep and withdraw after 10 seconds. The skewer should feel cool and show faint moisture without visible water droplets. Root establishment completes when new growth emerges from apical meristems, typically 21-35 days post-potting.
Pro-Tip: Apply rooting hormone containing 0.1% IBA (indole-3-butyric acid) to cut ends if potting unrooted cuttings. This increases rooting success rates from 60% to 95% across most hoya species.
Troubleshooting
Symptom: Yellowing lower leaves with mushy brown roots indicate excessive moisture retention.
Solution: Increase perlite ratio to 35% and decrease coco coir to 15%. Repot immediately, removing all compromised roots with sterilized shears.
Symptom: Leaves develop crispy brown margins despite regular watering.
Solution: Substrate drains too rapidly. Raise coco coir to 25% and add 5% sphagnum moss for moisture buffering. Check for salt accumulation by testing EC, flushing if readings exceed 2.0 mS/cm.
Symptom: White crusty deposits form on substrate surface and container rim.
Solution: Mineral buildup from hard water or over-fertilization. Leach substrate with distilled water at 3 times container volume monthly. Switch to rainwater or filtered water with TDS below 150 ppm.
Symptom: Stunted growth with dark green foliage but no blooming.
Solution: Excess nitrogen from worm castings promotes vegetative growth at the expense of flowering. Reduce castings to 5% and supplement with bloom fertilizer (2-6-6 NPK) during growing season.
Symptom: Fine webbing on leaf undersides with stippled yellow spots.
Solution: Spider mites thrive in dry conditions. Increase ambient humidity to 60% and spray foliage with neem oil at 2 tablespoons per gallon every five days for three applications.
Maintenance
Water when the top 2 inches of substrate feel dry to touch, typically every 7-10 days in summer and 14-21 days in winter. Deliver 1/4 to 1/3 container volume per watering event, allowing excess to drain completely.
Feed every 14 days during active growth with balanced liquid fertilizer at 200 ppm nitrogen (approximately 1/2 teaspoon per gallon of 20-20-20 formula). Reduce feeding to monthly applications from November through February.
Refresh the top 1 inch of substrate every six months by removing the surface layer and replacing it with fresh mix. Complete substrate replacement occurs every 24-36 months when bark decomposition reduces air porosity below 40%.
Monitor pH quarterly using a soil probe or slurry test. Maintain readings between 5.8 and 6.5. Adjust downward with elemental sulfur at 1 teaspoon per gallon of substrate or raise pH with dolomitic limestone at 2 teaspoons per gallon.
FAQ
How long does specialized hoya mix remain viable?
Properly stored dry components last 12-18 months in sealed containers away from UV light. Mixed substrate maintains structure for 24-36 months before bark decomposition necessitates replacement.
Can I sterilize substrate components before mixing?
Bake bark and pumice at 180°F for 30 minutes to eliminate pathogens. Do not heat worm castings or mycorrhizal products as temperatures above 140°F destroy beneficial organisms.
What container size works best for mature hoyas?
Select pots 1-2 inches larger in diameter than the root mass. Hoyas bloom more readily when slightly rootbound, so avoid oversized containers that retain excess moisture.
Should substrate pH differ for wax versus non-wax leaf varieties?
All hoya species tolerate pH 5.8-6.5. Thicker cuticle layers on wax-leaf types do not alter root zone chemistry requirements.
How do I modify this mix for carnosa versus linearis growth habits?
Climbing varieties like H. carnosa perform well with standard ratios. Pendant species such as H. linearis benefit from increased drainage, raising perlite to 30% and reducing coir to 15%.