8 Real-Time Steps to Install a Smart Plant Sensor
Modern indoor gardening fails when growers rely on intuition instead of data. A wilted leaf signals drought, nutrient lockout, or root rot, but the human eye cannot distinguish between them until damage spreads. The steps for installing a smart plant sensor convert guesswork into measurable metrics: soil moisture at 0–50% saturation, ambient temperature in degrees Celsius, and photosynthetically active radiation in micromoles per square meter per second. These sensors insert into the root zone and transmit real-time readings to smartphone applications, allowing immediate intervention before stress compounds.
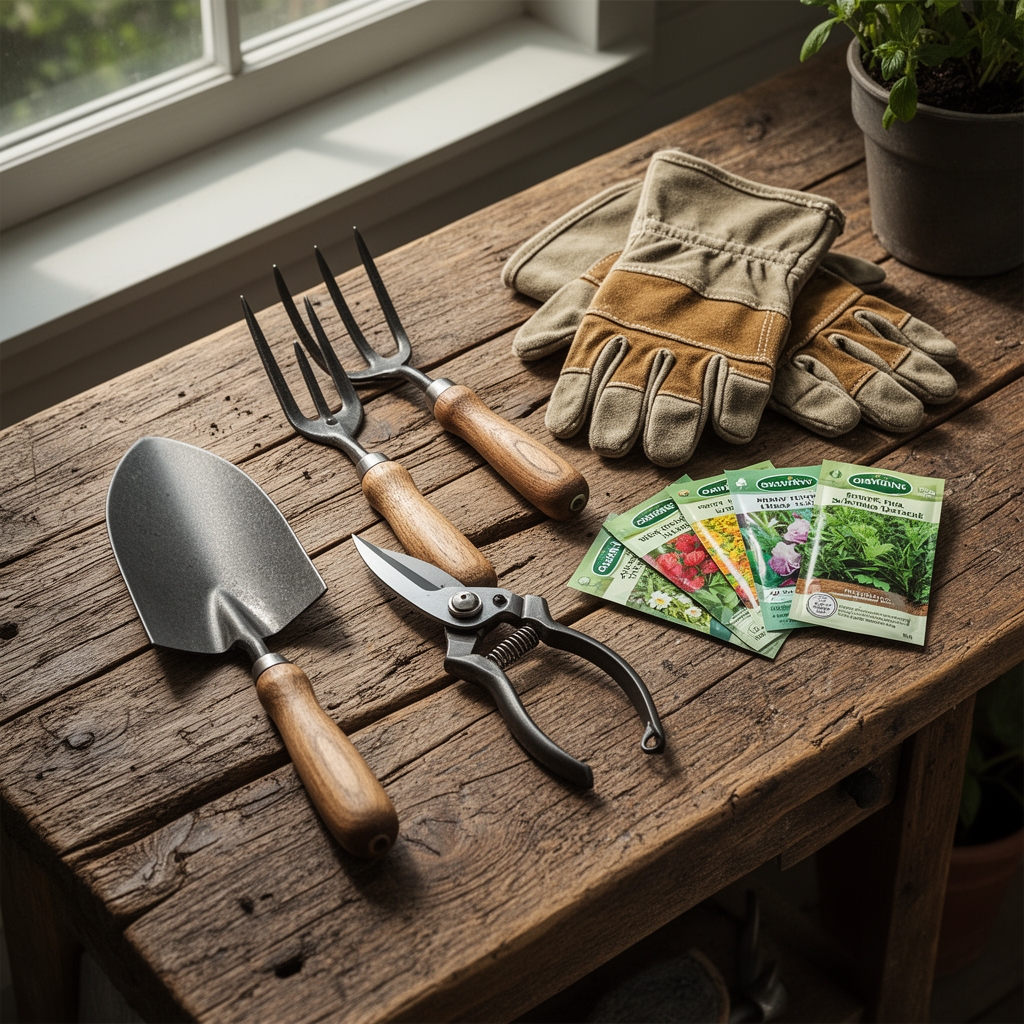
Materials
Select a Bluetooth or Wi-Fi enabled soil sensor with at least three probes: moisture, temperature, and fertility. Models with four-band conductivity meters measure cation exchange capacity more accurately than single-probe units.
Prepare a balanced organic fertilizer rated 4-4-4 or 5-5-5 for baseline nutrient loading. Blood meal (12-0-0) and bone meal (3-15-0) adjust nitrogen and phosphorus independently if testing reveals deficiencies. Mycorrhizal fungi inoculant, preferably Rhizophagus irregularis, colonizes root hairs and extends nutrient uptake radius by 10 to 100 times.
Verify that your growing medium has a cation exchange capacity above 10 meq/100g. Peat-based mixes amended with compost or worm castings typically meet this threshold. Sandy or coir-heavy substrates require additional humic acid to retain ions near the sensor probe.
pH testing strips or a digital meter calibrated to 0.01 resolution confirm whether the medium sits within the target range of 6.0 to 6.8 for most ornamental and edible species. Dolomitic lime raises pH by 0.5 units per tablespoon per gallon of medium. Elemental sulfur lowers pH at half that rate.
Timing
Install sensors two weeks before transplanting seedlings or cuttings into their permanent containers. This window allows the medium to stabilize and mycorrhizal networks to establish before root disturbance. In USDA Hardiness Zones 5 through 7, schedule installation indoors from February to March, aligning with the last frost date minus eight weeks. Zones 8 through 10 permit year-round indoor installation but benefit from autumn timing when heating costs drop and humidity remains manageable.
Outdoor sensor deployments require frost-free soil. Insert probes after the last spring frost when soil temperature at four inches depth holds steady above 50°F for three consecutive days. Fall installations work in Zones 9 and 10 only, as freezing soil moisture expands and cracks probe casings.
Phases

Sowing Phase
Germinate seeds in 2-inch cells filled with sterilized seed-starting mix. Water from below using capillary matting to prevent damping-off fungi. Maintain substrate moisture at 60–70% saturation using a handheld probe until cotyledons emerge. Seedlings tolerate root zone temperatures between 68°F and 75°F. Cooler temperatures delay germination; warmer conditions encourage leggy growth.
Pro-Tip: Dust seeds with Trichoderma harzianum spores at a rate of 1 gram per 100 seeds. This antagonistic fungus outcompetes Pythium and Rhizoctonia on young radicles.
Transplanting Phase
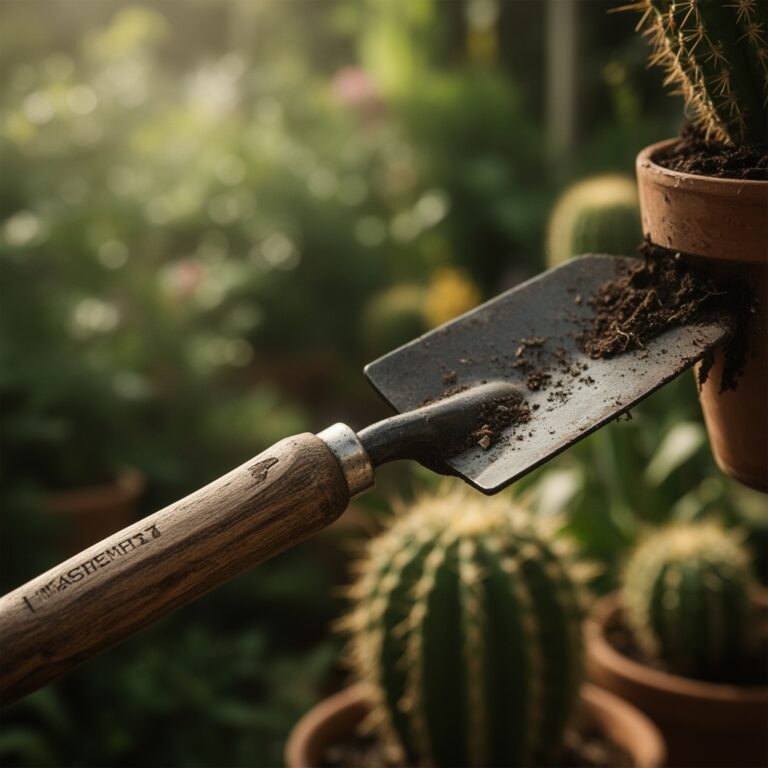
Transplant when the first true leaves fully expand. Dig a hole in the permanent container's medium 1.5 times the width of the root ball. Position the sensor probe 2 inches from the stem and 3 inches deep, angling the probe at 45 degrees to avoid piercing primary roots. Backfill with medium amended with mycorrhizal inoculant at 1 teaspoon per gallon. Water immediately with 0.5 liters per 6-inch pot to eliminate air pockets around roots and probe.
Pro-Tip: Prune the lowest pair of true leaves at a 30-degree angle to the stem. This cut redirects auxin distribution upward and reduces moisture demand during acclimation.
Establishing Phase
Monitor sensor data every 12 hours for the first week. Soil moisture should decline 5–10% daily as roots extend into new medium. If moisture remains static, root growth has stalled due to compaction or poor aeration. Reduce watering frequency to 0.25 liters every three days until sensors detect uptake.
Pro-Tip: Apply foliar kelp extract at 1 tablespoon per gallon of water on day 4 and day 7 post-transplant. Cytokinins in kelp promote lateral root branching and increase probe contact with active root zones.
Troubleshooting
Symptom: Sensor reads constant 100% moisture despite no irrigation.
Solution: Probe tip lodged in a drainage layer or against the container wall. Reposition probe 1 inch away from all surfaces. Verify medium drains within 10 minutes of saturation.
Symptom: Temperature spikes above 85°F indoors.
Solution: Increase airflow with oscillating fans moving 200 cubic feet per minute per 10 square feet of canopy. Check for heating vents or south-facing windows elevating ambient temperature.
Symptom: Fertility reading drops below 500 microsiemens per centimeter.
Solution: Topdress with 1 tablespoon of 4-4-4 granular fertilizer per 6-inch pot. Water with 0.5 liters to dissolve nutrients into the root zone.
Symptom: Erratic moisture readings fluctuating 30% within one hour.
Solution: Calibrate sensor according to manufacturer protocol. If drift persists, replace the probe. Cheap capacitance sensors degrade after 90 days in organic media.
Symptom: Plant wilts despite sensor showing 40% moisture.
Solution: Root rot caused by Phytophthora or Fusarium. Reduce watering to 0.1 liters every five days. Drench medium with hydrogen peroxide solution at 10 milliliters 3% peroxide per liter of water.
Maintenance
Irrigate when moisture sensors drop to 30% saturation. Deliver 1 inch of water per week, divided into two 0.5-inch applications for containers larger than 10 inches. Smaller pots require daily checks during vegetative growth.
Fertilize every two weeks with liquid 2-1-1 fish emulsion at half strength. Flush medium with plain water every fourth irrigation to prevent salt buildup above 1,500 microsiemens per centimeter.
Recalibrate sensors every 60 days by removing probes, cleaning with distilled water, and inserting into manufacturer-provided calibration solution.
Replace batteries or recharge units when low-power warnings appear on the app. Most sensors last 6 to 12 months per charge.
FAQ
How deep should I insert the probe?
Insert 3 to 4 inches deep in containers 8 inches or taller. Shallow insertion above 2 inches measures surface moisture, which dries faster than the root zone.
Can I use one sensor for multiple plants?
No. Microclimates vary by pot size, medium composition, and root density. Each container requires an independent probe for accurate feedback.
Do sensors work in hydroponic systems?
Only models rated for liquid immersion. Standard soil probes corrode in nutrient solution. Use electrical conductivity meters designed for hydroponics instead.
What moisture percentage triggers watering?
30% for most tropicals and vegetables. Succulents tolerate 15%. Ferns and aroids require intervention at 40%.
How long do sensors last?
Consumer-grade units function 12 to 18 months. Commercial sensors with stainless steel probes last 3 to 5 years with proper cleaning.