8 Steps to Build a Portable Vegetable Work Table
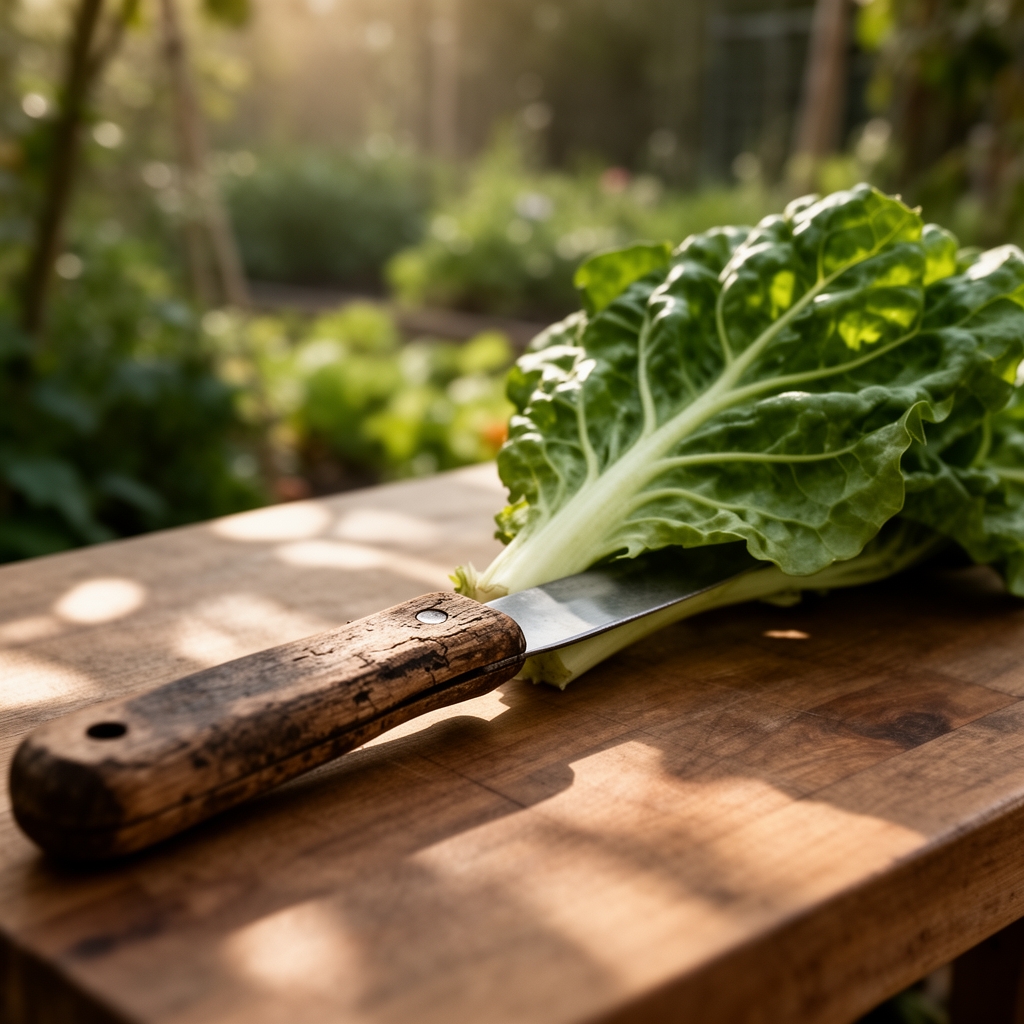
The afternoon sun beats down on your harvest basket. You've pulled carrots, rinsed lettuce, and trimmed kale, but your kitchen counter is thirty yards away and covered in garden soil. You need a dedicated outdoor station. Steps for building a garden work table for veg prep solve this by creating a mobile workspace that keeps dirt outside, speeds harvest processing, and reduces trips indoors. A well-designed table positions your tools at elbow height, provides drainage for rinsing produce, and rolls to wherever the crop maturity dictates.
Materials
Select pressure-treated pine rated for ground contact (0.40 PCF retention) for the frame. Avoid cedar for the work surface; its tannins stain leafy greens. Use marine-grade plywood (13-ply, 3/4 inch) coated with food-safe polyurethane. The cation exchange capacity of untreated wood absorbs moisture and harbors bacterial colonies within 8 weeks.
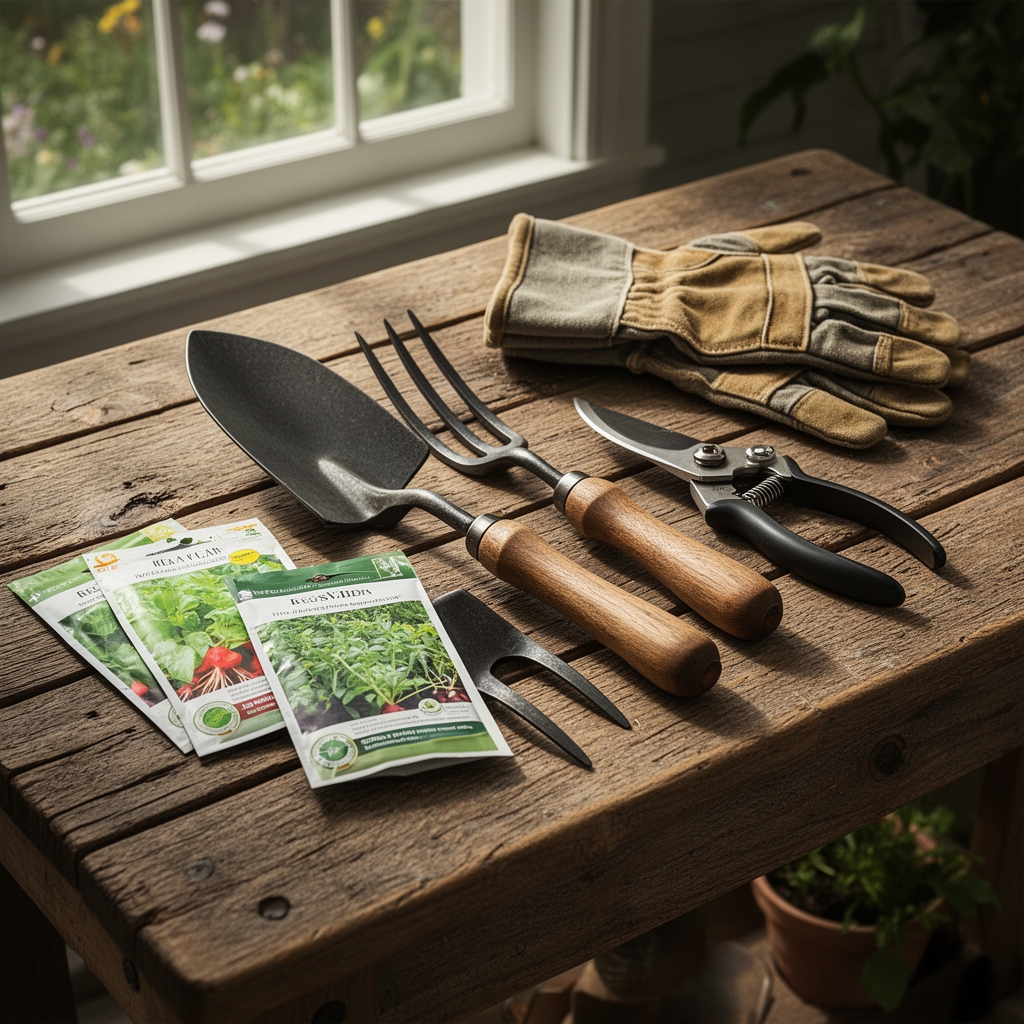
Hardware and Fasteners
- Deck screws: #8 x 2.5 inch, stainless steel (304 grade)
- Casters: 4-inch swivel, locking, rated for 150 lb per wheel
- Galvanized corner braces: 3 x 3 inch, eight total
- Stainless steel mesh (1/4-inch grid) for drainage shelf
Amendments for Integrated Planters (Optional)
If you incorporate 4-inch planter boxes on the table perimeter for fresh herbs, use a substrate blend of 40% coconut coir, 30% perlite, 20% vermicompost (N-P-K approximately 1-0-0), and 10% biochar. Inoculate with mycorrhizal fungi (Rhizophagus irregularis) at 100 propagules per cubic inch. This symbiosis increases phosphorus uptake by 300% in confined root zones.
Timing
Begin construction in late winter (Zone 5: late February; Zone 7: early February; Zone 9: mid-January). This positions the table for spring brassica harvest in April. In frost-prone climates, store the table in an unheated shed when nighttime lows drop below 28°F to prevent polyurethane crazing. Plan installation two weeks before your last expected frost date to establish workflow patterns before peak harvest.
Phases
Phase 1: Frame Construction (Days 1-2)
Cut four legs to 34 inches. This height reduces lumbar strain during repetitive trimming motions. Assemble the rectangular frame (48 x 24 inches) using pocket-hole joinery at 15-degree angles. Drill pilot holes 1/16 inch smaller than screw shank diameter to prevent splitting. Install corner braces on interior joints. Attach casters with lag bolts, ensuring the swivel plate aligns parallel to the long axis for directional stability.
Pro-Tip: Apply beeswax paste to all threaded fasteners before driving. This reduces torque by 18% and prevents galvanic corrosion where stainless steel contacts treated lumber.
Phase 2: Surface and Drainage Installation (Day 3)
Mount the plywood work surface. Leave a 1/2-inch gap along the back edge for hose runoff. Rout a shallow perimeter channel (1/4 inch deep, 1 inch wide) sloping toward the rear at a 2-degree angle. This evacuates rinse water without requiring sealant joints that trap organic matter. Install the stainless mesh on a lower shelf 12 inches below the work surface. This shelf air-dries root vegetables and stores hand tools.
Pro-Tip: Sand the plywood surface to 220 grit before sealing. Rougher grades (120 grit) create micro-fissures that harbor Erwinia carotovora, the bacterium responsible for soft rot in stored carrots.
Phase 3: Finishing and Weatherproofing (Days 4-5)
Apply three coats of food-safe polyurethane (spar varnish with UV inhibitors). Allow 24 hours between coats. The third coat should cure for 72 hours before contact with produce. Install S-hooks along the frame's side rails for hanging harvesting knives, twine, and spray bottles. Mount a roll of butcher paper on a dowel at the table's front edge for wrapping bunched greens.
Pro-Tip: Integrate a narrow (3 x 24 inch) galvanized trough along the rear edge. Fill it with coarse sand (2 mm grain size) to store knives blade-down. The sand's abrasive action maintains edge geometry and absorbs residual moisture that causes pitting.
Troubleshooting
Symptom: Work surface develops black staining after three weeks.
Solution: This indicates tannin leaching from untreated tool handles or mildew colonization. Sand affected areas to bare wood (80 grit), treat with diluted hydrogen peroxide (3% solution), and re-seal.
Symptom: Casters bind when turning on gravel paths.
Solution: Switch to pneumatic wheels (8-inch diameter). Inflate to 22 PSI for soft soil, 30 PSI for hardpack.
Symptom: Plywood edges swell and delaminate after rain exposure.
Solution: Seal all six edges with marine epoxy before polyurethane application. Standard spar varnish has 40% permeability on end grain.
Symptom: Table wobbles on uneven ground.
Solution: Install adjustable leveling feet inside the caster mounting plates. Thread pitch of 20 TPI provides 0.05-inch adjustment per quarter turn.
Maintenance
Rinse the work surface with a 1:10 bleach solution (0.6% sodium hypochlorite) after processing Allium species. Onion and garlic residues contain sulfur compounds that corrode stainless steel within 96 hours. Re-apply polyurethane annually before winter storage, focusing on high-wear zones where knife impacts concentrate. Lubricate caster bearings every 6 months with lithium grease (NLGI Grade 2). Tighten all fasteners with a torque screwdriver set to 25 inch-pounds each spring.
Store the table inverted during winter in Zones 3-5. This prevents snow load from stressing joints. In Zones 8-10, cover the surface with breathable canvas rather than plastic tarps; trapped condensation promotes Aspergillus growth.
FAQ
What is the ideal table height for vegetable prep work?
Standard counter height (36 inches) suits indoor tasks. Garden work tables perform best at 34 inches, matching the natural arm angle when holding bunched greens or root crops.
Can I use the table for potting seedlings?
Yes, but dedicate separate surfaces. Potting mix contains perlite dust and vermiculite fibers that contaminate produce. Use a removable overlay (1/4-inch hardboard) for soil work.
How much weight can a portable table support?
A 48 x 24 inch table with the specified frame holds 400 lb static load. Distribute weight evenly; concentrate more than 50 lb in one quadrant, and the frame racks.
Do I need to sanitize between different vegetable types?
Sanitize when switching from Solanaceae (tomatoes, peppers) to any other family. These plants harbor tobacco mosaic virus, which persists on surfaces for 50 days and transfers mechanically.
What modifications help in high-wind areas?
Add tie-down cleats at each corner. Use ratchet straps anchored to auger-style ground stakes (24-inch penetration). Wind speeds above 35 mph generate enough lift to tip unloaded tables.