8 Steps to Prepare a Natural Stone Garden Path Site
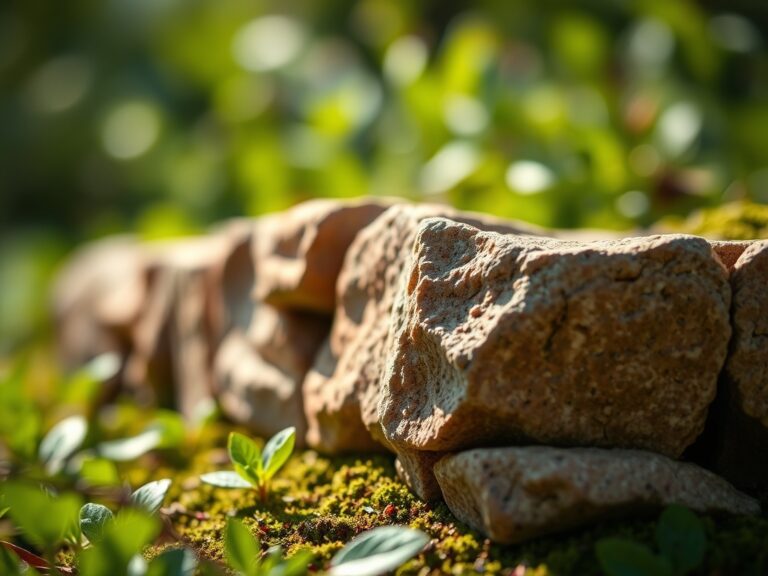
Learning how to prepare a garden for a stone path transforms a muddy shortcut into a functional, well-drained corridor that withstands foot traffic year after year. The scent of freshly turned loam mingles with the mineral coolness of quarried flagstone as you mark out the first boundary stakes. Proper site preparation determines whether your path settles evenly or heaves with each freeze-thaw cycle, making the groundwork as critical as the stones themselves.
Materials
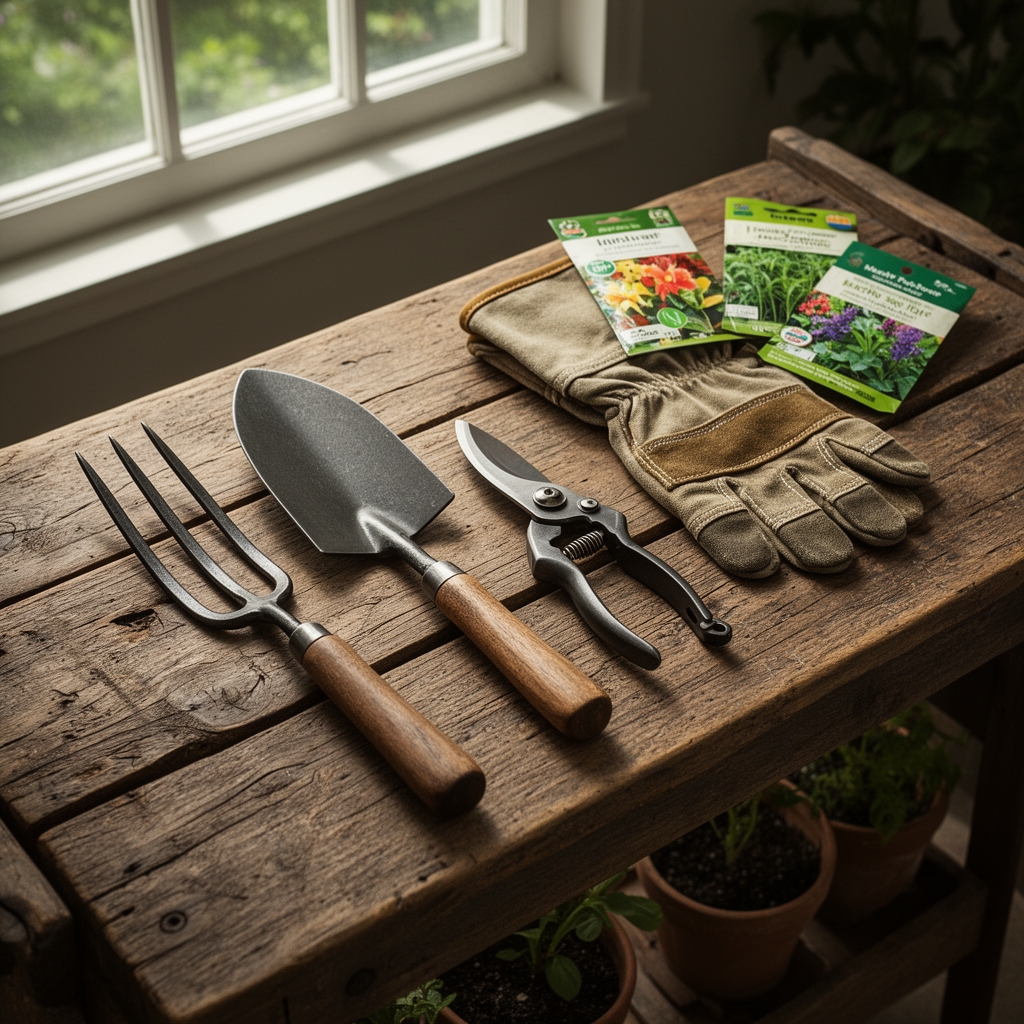
Gather materials before breaking ground. You need marking paint or untreated wooden stakes, a flat spade with a sharp blade, a pointed shovel for root cutting, and a 48-inch builder's level. For base layers, source crushed angular gravel (3/4 inch minus) and coarse sand with minimal silt content. Angular particles interlock better than rounded pea gravel, increasing load-bearing capacity.
Amend excavated soil with organic matter rated 4-4-4 or lower if you plan border plantings. Higher nitrogen formulations encourage excessive vegetative growth that encroaches on path edges. Test soil pH before amending. Most stone path borders thrive between 6.0 and 7.0 pH. Limestone screenings work for both base stabilization and pH buffering in acidic soils. A plate compactor (rented or purchased) ensures proper consolidation. Hand tamping rarely achieves the 95 percent compaction needed for stable substrates.
Timing
Schedule excavation during dry periods when soil moisture sits near field capacity but not saturation. Wet clay smears and compacts unevenly. In USDA Hardiness Zones 5 through 7, late summer (August through September) offers ideal conditions. Soil remains workable, yet autumn rains will settle the base before winter freeze-thaw cycles test structural integrity.
Zones 8 and warmer can work through fall and winter, avoiding only the hottest months when heat stress complicates physical labor. Northern zones (3 and 4) should complete excavation by mid-September. This window allows four to six weeks of settling before ground frost locks the substrate. Spring installation risks poor compaction if seasonal rains saturate the trench before you finish base layers.
Phases

Layout and Excavation: Mark path edges with marking paint, maintaining consistent width. Residential paths require 36 to 48 inches for comfortable two-way traffic. Remove sod in intact strips if you intend to transplant it elsewhere. Sod stores three days in shade with light watering. Excavate to a depth equal to stone thickness plus 4 inches for gravel base plus 1 inch for sand leveling layer. A 2-inch flagstone demands 7 inches total depth. Slice through roots with the pointed shovel, preserving major tree roots thicker than 1.5 inches where possible. Cutting large structural roots can destabilize trees by disrupting auxin distribution and anchor stability.
Pro-Tip: Slope the excavation floor 2 percent (1/4 inch per foot) away from structures to direct subsurface drainage. Use the builder's level to verify grade.
Base Installation: Spread crushed gravel in 2-inch lifts. Compact each lift separately. Adding 4 inches at once traps air pockets that later collapse under load. Water each layer lightly before compacting to reduce dust and improve particle adhesion. The plate compactor should make three passes over each area. Finished base should feel hard underfoot, resisting boot-heel impressions. Add coarse sand as the final leveling course. Screed it flat with a straight 2×4, then mist lightly. Avoid soaking, which causes sand migration into gravel voids and reduces cation exchange capacity for any border soil contact.
Pro-Tip: Introduce mycorrhizal fungi inoculant along path edges where you will plant perennials. Fungal networks improve drought tolerance and nutrient uptake in border species.
Stone Setting: Lay stones with 1/2-inch to 3/4-inch joints. Tight joints limit weed germination but allow no flex for expansion. Wide joints encourage moss colonization, which stabilizes sand and adds aesthetic softness. Tap stones into sand with a rubber mallet, checking level across and along path direction. Stones should sit 1/2 inch above surrounding soil to prevent sediment wash onto the surface. Sweep polymeric sand or additional coarse sand into joints. Polymeric sand hardens when wetted, locking stones in place but requiring precise installation since it cannot be easily adjusted after curing.
Pro-Tip: Reserve the flattest stones for high-traffic areas. Uneven surfaces shed water better but increase trip hazards near entryways.
Troubleshooting
Symptom: Stones rock or shift underfoot within the first season.
Solution: Insufficient compaction. Lift affected stones, add base material, and re-compact with a plate compactor. Hand tamping will not resolve the issue.
Symptom: Path edges crumble or wash away during rain.
Solution: Install edge restraints (steel, aluminum, or thick plastic) anchored with 10-inch spikes every 3 feet. Restrain both sides to contain base materials.
Symptom: Weeds emerge through joints despite initial sand filling.
Solution: Apply a pre-emergent herbicide labeled for hardscapes in early spring, or hand-pull and top-dress with fresh polymeric sand. Flame weeders provide chemical-free control.
Symptom: Winter heaving displaces stones unevenly.
Solution: Excavate deeper in frost-prone zones. Extend base to below frost line (varies from 12 inches in Zone 7 to 48 inches in Zone 4). Deeper bases mitigate freeze-thaw movement.
Maintenance
Inspect paths every spring. Re-level stones shifted by frost using additional sand or gravel shims. Sweep joints clean and refill as needed. Edging plants require 1 inch of water weekly during establishment (first 12 weeks), then reduce to 0.5 inch weekly for drought-tolerant species. Trim encroaching roots annually in late winter using a sharp spade pressed vertically along path margins. Cut at least 6 inches from the stone edge to avoid immediate regrowth. Reapply polymeric sand every three to five years as UV degradation and foot traffic erode the binder. Pressure washing removes algae but can displace joint sand, necessitating immediate refilling.
FAQ
How deep should I excavate?
Total depth equals stone thickness plus 5 inches minimum (4 inches gravel, 1 inch sand). Add more if your soil has poor drainage.
Can I skip the gravel base?
No. Gravel provides drainage and prevents settling. Sand alone will shift, creating uneven surfaces.
What stone type works best?
Flagstone, bluestone, and limestone resist weathering. Avoid soft sandstone in freeze-thaw climates.
Do I need landscape fabric?
Optional under gravel to prevent soil mixing. Use commercial-grade fabric, not thin weed barrier, which tears easily.
How soon can I walk on the path?
Immediately after stone placement if you used coarse sand. Polymeric sand requires 24 to 48 hours curing before traffic.