8 Tips to Use a Long-Handled Shovel for Landscaping
The smell of damp earth is the first indicator of a healthy rhizosphere. When you compress a handful of friable loam, it should hold its shape momentarily before crumbling under slight pressure; this signifies a balanced Cation Exchange Capacity (CEC) and optimal moisture levels. Using a shovel for landscaping is more than simple excavation; it is a mechanical intervention in the soil profile that dictates the future turgor pressure of your plantings. A long-handled shovel provides the necessary leverage to penetrate compacted horizons without compromising the operator's spinal alignment. Precision in the fulcrum point ensures that the root zone is disturbed minimally while maximizing the volume of soil displaced. Mastery of this tool allows for the exact placement of organic matter and the careful preservation of existing mycorrhizal networks. Every strike of the blade must be calculated to avoid unnecessary compaction of the surrounding soil structure, which can lead to anaerobic conditions and root senescence. Professional results depend on the synergy between the tool's tempered steel edge and the biological requirements of the target species.
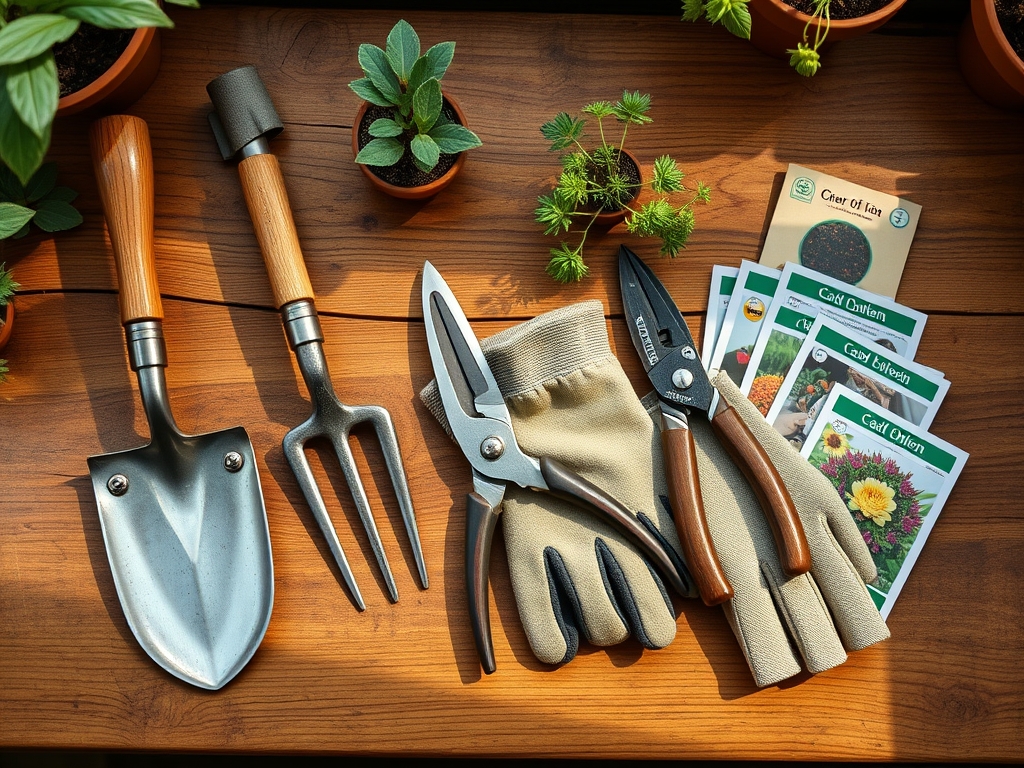
Materials:
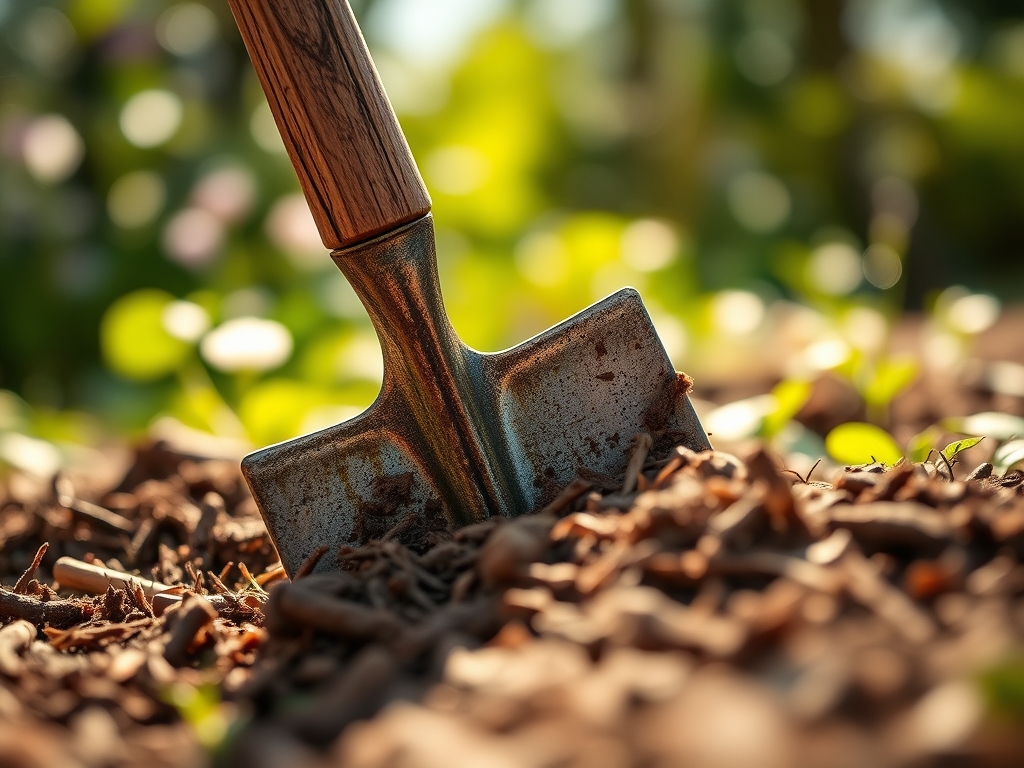
Success in the field begins with the substrate. For most ornamental and edible species, aim for a soil pH between 6.0 and 7.0 to ensure maximum nutrient bioavailability. In this range, essential minerals like phosphorus remain soluble. If your soil is heavy clay, integrate coarse organic matter to increase macropore space. For a standard transplanting operation, prepare a backfill mix with a balanced NPK ratio of 10-10-10 for general growth or a 5-10-5 ratio to prioritize root development over vegetative biomass. The texture should be a friable loam, characterized by a mix of 40 percent sand, 40 percent silt, and 20 percent clay. This composition facilitates rapid drainage while maintaining enough water-holding capacity to prevent desiccation. Ensure your long-handled shovel has a sharpened 14-gauge steel blade and a fiberglass or ash wood shaft to withstand the torque required for heavy lifting.
Timing:
Timing is dictated by the Hardiness Zone and the specific frost-date windows of your microclimate. In Zones 5 through 7, the primary window for using a shovel for landscaping opens as soon as the soil is workable and reaches a consistent temperature of 45 degrees Fahrenheit. This prevents the "puddling" effect caused by working saturated, cold soils. The Biological Clock of the plant is paramount; most woody perennials should be moved during their dormant phase, before the "bud break" signaled by increasing photoperiods. Transitioning a plant from its vegetative stage to a new location during the peak of summer heat increases the risk of transpiration stress. Aim for early morning or late afternoon sessions when the solar intensity is lowest to preserve the internal turgor of the specimen.
Phases:

Sowing and Site Preparation
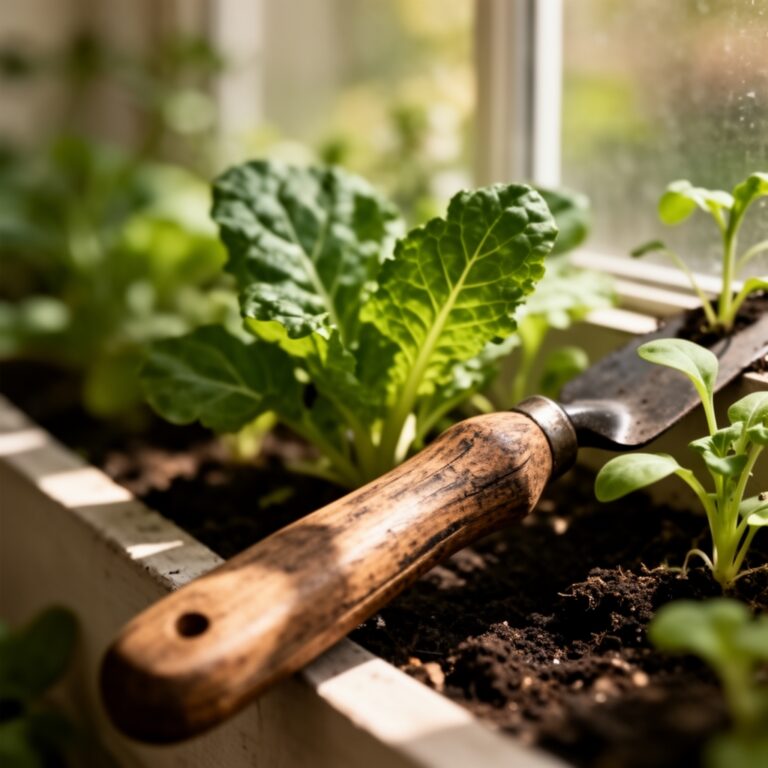
Before a single seed or sapling enters the ground, use the long-handled shovel to turn the soil to a depth of 12 inches. This aeration process breaks up the "plow pan," a compacted layer that restricts downward root migration. Incorporate composted organic matter to boost the CEC, allowing the soil to better retain positively charged ions like potassium and magnesium.
Pro-Tip: Proper aeration facilitates aerobic respiration in soil microbes. This is essential because anaerobic conditions lead to the production of phytotoxic compounds like ethanol and hydrogen sulfide which can kill young root hairs.
Transplanting
When moving an established plant, use the shovel to describe a circle twice the diameter of the root ball. Position the blade vertically to cleanly sever lateral roots. This encourages the plant to produce new, fibrous feeder roots from the cut ends once it is relocated. Ensure the depth of the new hole matches the original soil line to avoid stem rot or root suffocation.
Pro-Tip: Severing the root tips triggers a hormonal response involving auxin suppression. By reducing the dominance of the main root tips, the plant redirects energy to lateral root branching, which increases the surface area for nutrient uptake.
Establishing
Once the plant is in position, use the shovel to backfill the hole in layers, tamping down lightly with your boot to remove large air pockets. Do not over-compact. The goal is to establish "soil-to-root contact" without crushing the delicate root architecture. Create a shallow basin around the perimeter to direct irrigation toward the rhizosphere.
Pro-Tip: Establishing a proper basin utilizes gravity to ensure deep water penetration. This encourages geotropism, where roots grow deeper into the soil profile to find consistent moisture, making the plant more drought-resistant.
The Clinic:
Physiological disorders often manifest as visual cues on the foliage. Identifying these early allows for mechanical or chemical correction.
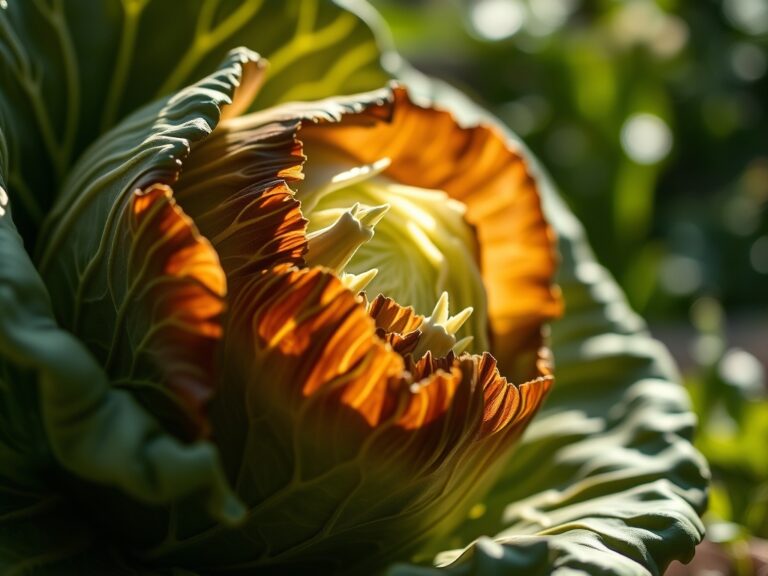
- Nitrogen Chlorosis: Symptoms include a general yellowing of older leaves while veins remain slightly greener. Fix-it: Incorporate a high-nitrogen fertilizer (NPK 20-0-0) into the top 2 inches of soil using your shovel.
- Iron Deficiency: Interveinal chlorosis on new growth, where leaves turn yellow but veins stay dark green. This often occurs in high pH soils (above 7.5). Fix-it: Apply chelated iron and use the shovel to incorporate elemental sulfur to lower the pH.
- Blossom End Rot: Sunken, leathery spots on the base of fruit. This is a calcium transport issue often caused by inconsistent moisture. Fix-it: Ensure regular irrigation and check for soil compaction that might be limiting root access to calcium ions.
- Phosphorus Deficiency: Leaves take on a purple or reddish tint, and growth is stunted. This is common in cold, wet soils. Fix-it: Use the shovel to work bone meal or triple superphosphate into the root zone once soil temperatures exceed 55 degrees Fahrenheit.
Maintenance:
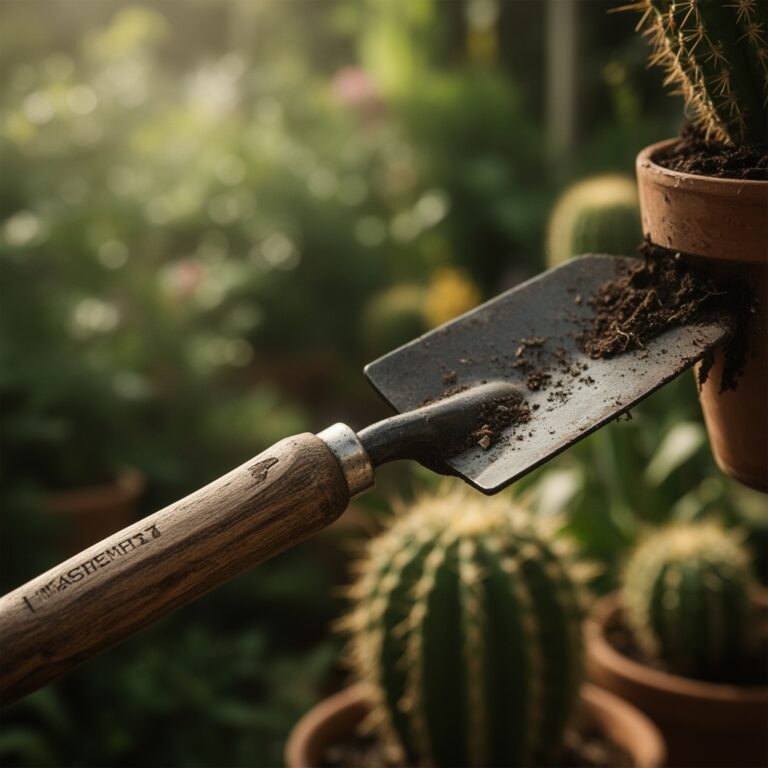
Post-planting maintenance requires precision. Provide 1.5 inches of water per week delivered at the drip line to ensure deep saturation. Use a soil moisture meter to verify that the moisture has reached a depth of 8 inches. For pruning tasks, use bypass pruners to make clean, slanted cuts that shed water and prevent fungal infection. A hori-hori knife is the ideal companion to your shovel for weeding in tight spaces or dividing smaller perennials. Keep your shovel blade clean and coated with a light film of oil to prevent oxidation; a dull or rusted blade increases the physical effort required and creates jagged wounds on plant roots.
The Yield:
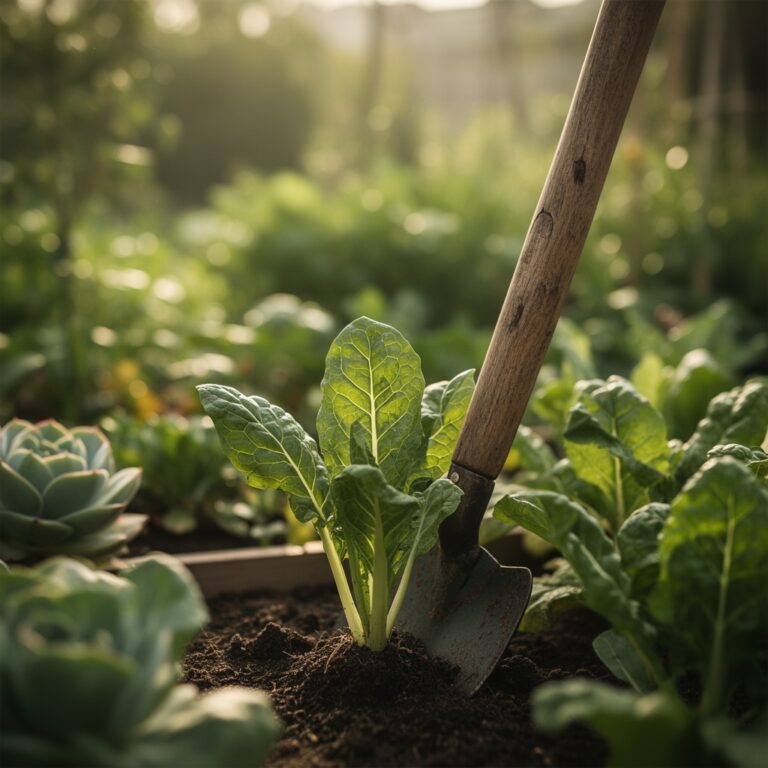
When harvesting root crops or lifting bulbs, insert the long-handled shovel at a 45-degree angle approximately 6 inches away from the base of the plant. Use the handle as a lever to gently lift the entire soil mass. This prevents mechanical damage to the harvest. For "day-one" freshness, harvest during the cool hours of the morning when the plant's turgor pressure is at its maximum. Immediately move the produce to a shaded, cool environment to slow the rate of senescence and preserve sugars.
FAQ:
How deep should I dig when using a shovel for landscaping?
Dig to a depth that is 1.5 times the height of the root ball. This ensures the bottom soil is loosened, allowing for easier downward root penetration and better drainage in the immediate rhizosphere.
What is the best way to clean a shovel?
Scrape off organic debris with a wire brush. Rinse with water and dry thoroughly. Wipe the steel blade with a rag soaked in mineral oil to prevent rust and maintain a low-friction surface for the next use.
How do I prevent blisters when using a long-handled shovel?
Wear synthetic or leather gloves to reduce friction. Ensure your grip is firm but not tight. Keep your leading hand halfway down the shaft to distribute the weight and control the blade's entry angle more effectively.
Can I use a shovel to edge my lawn?
Yes. A sharpened long-handled shovel can be used for vertical edging. Drive the blade straight down along the turf line and pull the handle toward you to create a clean, 90-degree mechanical break between grass and garden beds.