9 Best Stones for Artistic Design and Focal Points
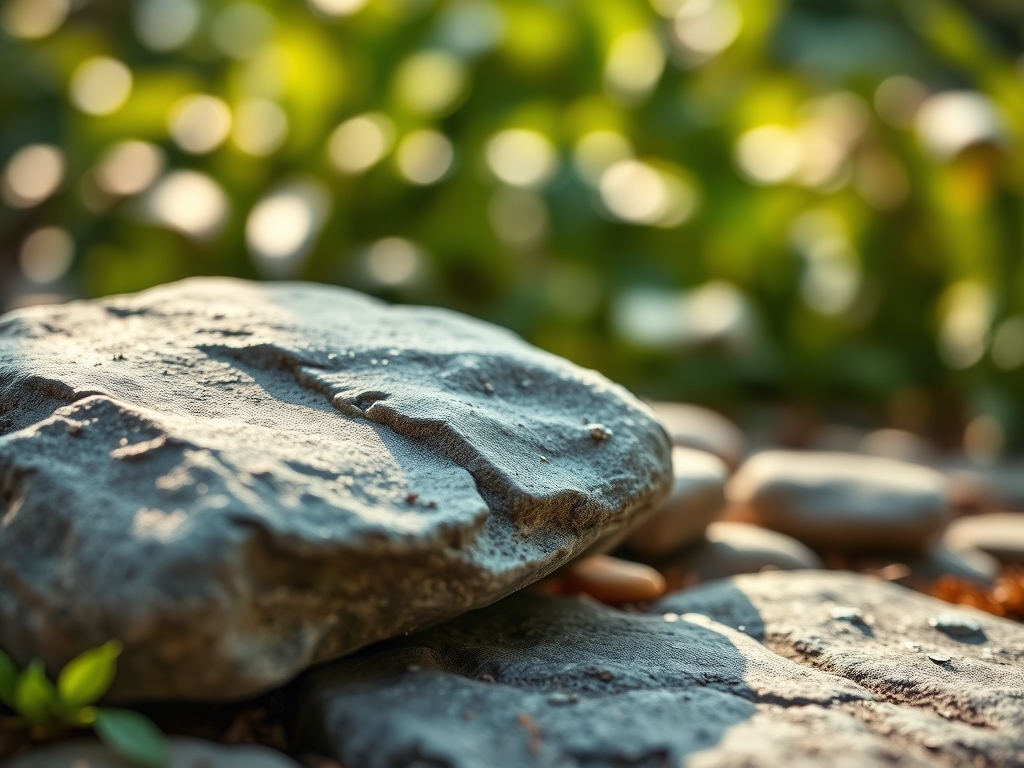
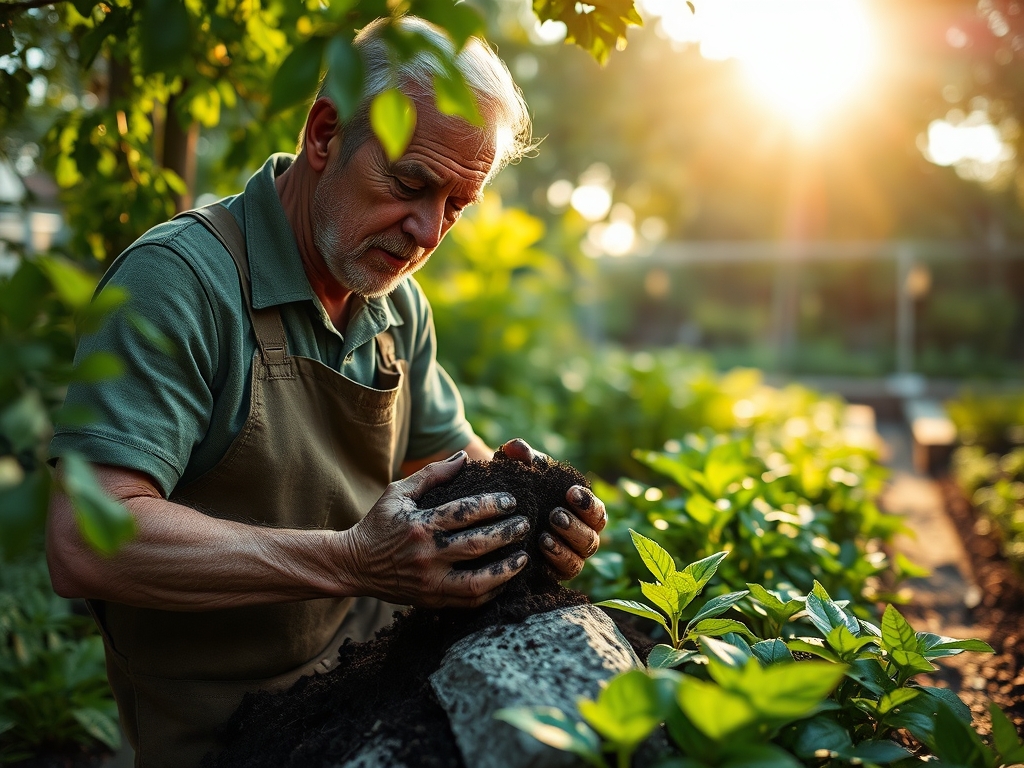
Damp earth releases a sharp, geosmin-heavy scent when the soil is turned, signaling a healthy microbial community within the rhizosphere. Maintaining high turgor pressure in plant tissue requires a stable environment where structural elements do not fluctuate in temperature or chemistry. Integrating the best stones for garden design provides this stability by regulating soil moisture and providing thermal mass. Selecting the correct mineral profile is a technical requirement for any high-performance landscape. Stones are not merely aesthetic; they are functional components that influence the microclimate of the root zone. A well-placed basalt or granite boulder acts as a heat sink, absorbing solar radiation during the day and releasing it slowly at night. This process protects sensitive vascular systems from sudden temperature drops. The following guide details the geological and horticultural integration of stone to ensure your landscape functions as a cohesive biological unit.
Materials:
The substrate must be a **friable loam** with a **Cation Exchange Capacity (CEC) between 15 and 25 meq/100g**. This allows for optimal nutrient retention near stone interfaces where moisture often accumulates. When placing large stones, the soil pH must be monitored; limestone increases alkalinity, which can lock up micronutrients like iron and manganese.
- Granite: Inert and acidic. Ideal for soils with a pH of 5.5 to 6.5.
- Limestone: High calcium carbonate content. Raises pH levels; use only with alkaline-tolerant species.
- Basalt: Rich in iron and magnesium. Supports chlorophyll synthesis.
- Slate: Low porosity. Excellent for moisture redirection.
- Sandstone: High permeability. Helps with drainage in heavy clay.
- River Rock: Smooth texture. Reduces soil erosion in high-flow areas.
- Quartzite: Extremely hard and chemically stable.
- Flagstone: Flat morphology. Ideal for suppressing weed growth via light exclusion.
- Lava Rock: High surface area. Promotes mycorrhizal colonization within its pores.
Maintain an NPK ratio of 10-10-10 for general establishment, or 5-10-15 for root-heavy development around stone foundations.
Timing:
Stone installation should occur during the dormant season or early spring before the "Biological Clock" triggers the transition from vegetative to reproductive stages. In Hardiness Zones 4 through 9, the window for heavy hardscaping is typically 4 to 6 weeks before the last frost date. This timing prevents the compaction of wet, thawing soil which destroys soil structure. As the photoperiod increases, plants enter a state of rapid cell division. Installing stones before this surge ensures that root systems can navigate around new physical barriers without experiencing transplant shock or mechanical damage during their most vulnerable growth phase.
Phases:
Sowing
When sowing seeds near stone focal points, ensure a depth of 2 to 3 times the seed diameter. Stones create a "rain shadow" effect; monitor soil moisture levels closely on the leeward side of large rocks.
Pro-Tip: Utilize the thermal mass of stones to accelerate germination. Seeds sown near dark stones benefit from increased soil temperatures, which triggers the metabolic processes required to break dormancy.
Transplanting
Dig a hole twice the width of the root ball. Place the stone first, then the plant. This prevents the weight of the stone from crushing the delicate root hairs responsible for water uptake. Ensure the crown of the plant sits 0.5 inches above the soil line to prevent crown rot.
Pro-Tip: Position plants on the southern face of stones to maximize light exposure. This utilizes phototropism, ensuring the plant grows toward the light source rather than becoming leggy or stunted in the stone's shadow.
Establishing
During the first 12 to 18 months, the plant establishes its permanent architecture. Use a soil moisture meter to check the interface between the stone and the soil. This area can either become a "sump" for excess water or a "dry zone" depending on the stone's porosity.
Pro-Tip: Encourage mycorrhizal symbiosis by adding fungal inoculants to the planting hole. The stone provides a stable, protected micro-environment where these beneficial fungi can thrive and extend the plant's nutrient reach.
The Clinic:
Physiological disorders often manifest when stones alter the local chemistry or hydrology.
- Iron Chlorosis: Yellowing leaves with green veins. Often caused by limestone leaching and raising pH above 7.5.
Solution: Apply chelated iron and sulfur to lower pH. - Root Suffocation: Wilting despite wet soil. Caused by stones trapping water in heavy clay.
Solution: Improve drainage with a 3-inch layer of pea gravel beneath focal stones. - Heat Scorch: Brown, crispy leaf margins on the side facing the stone.
Solution: Increase irrigation frequency or move the plant 6 to 10 inches away from the stone surface. - Nitrogen Deficiency: General stunting and pale green foliage.
Solution: Apply a high-nitrogen fertilizer (NPK 20-0-0) to compensate for the "carbon nitrogen tie-up" if organic mulches are used around stones.
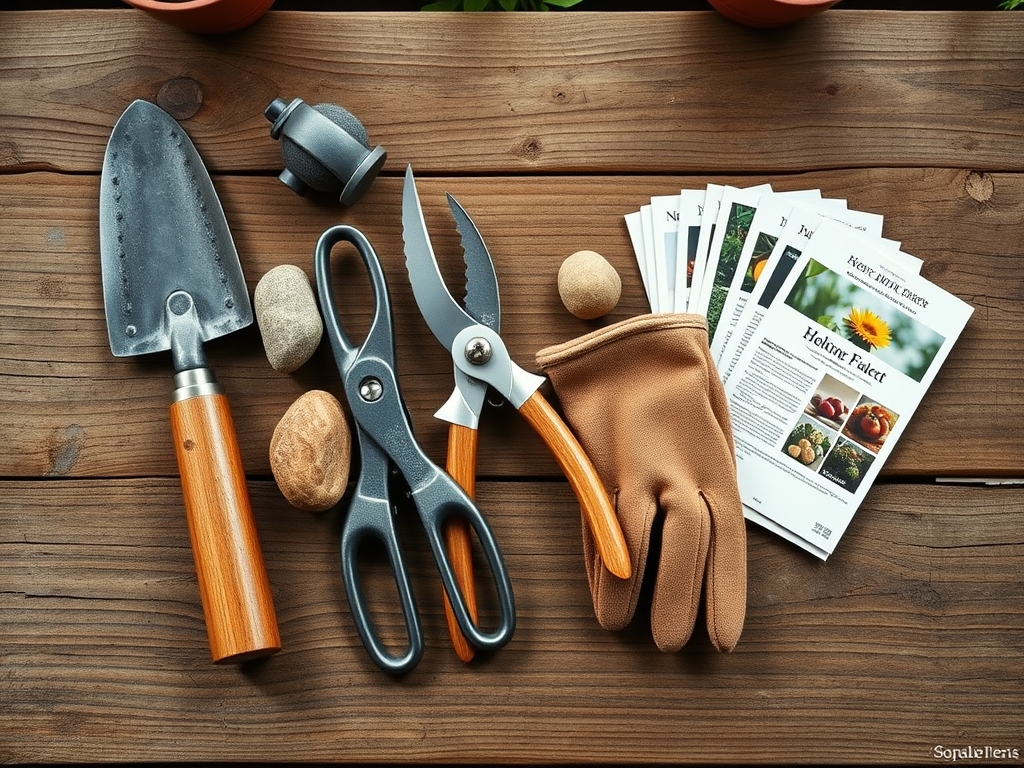
Maintenance:
Precision is required to maintain the balance between stone and biology. Deliver 1.5 inches of water per week at the drip line using a soaker hose or drip irrigation. Avoid overhead watering, which can cause mineral staining on the stones. Use a hori-hori knife to remove weeds that emerge at the stone-soil interface; this tool allows for deep taproot removal without disturbing the stone's seat. Prune encroaching foliage with bypass pruners to maintain a 2-inch air gap between the plant and the stone. This gap prevents fungal pathogens from migrating from the stone's surface to the leaf tissue. Every spring, use a soil moisture meter to recalibrate your irrigation schedule based on the stone's impact on evaporation rates.
The Yield:
If the design includes flowering perennials or herbs, harvest during the morning hours when turgor pressure is at its peak. Use sharp shears to make a clean cut at a 45-degree angle just above a node. For post-harvest longevity, immediately plunge the stems into 40-degree Fahrenheit water. This "cold shock" slows down senescence and preserves the essential oils and pigments within the plant tissue, ensuring "day-one" freshness for several days.
FAQ:
Which stone is best for acid-loving plants?
Granite is the superior choice. It is chemically inert and does not leach calcium or carbonates into the soil. This maintains the low pH required for plants like azaleas or blueberries to thrive without nutrient lockout.
How do stones affect soil temperature?
Stones act as thermal batteries. They absorb solar energy during the day and radiate it back into the soil at night. This can extend the growing season by keeping the rhizosphere 3 to 5 degrees warmer than surrounding soil.
Can I use limestone near my roses?
Only if your soil is naturally acidic. Roses prefer a pH of 6.0 to 6.5. Limestone will raise the pH; if it exceeds 7.0, the roses may suffer from iron deficiency and reduced bloom production.
How do I prevent stones from sinking?
Excavate the area and install a 4-inch base of compacted crushed rock (3/4-minus). This distributes the weight of the focal stone and prevents the compression of the underlying soil, which would otherwise destroy the soil's macropores.