9 Identification Steps for Treating Leaf Spot Disease
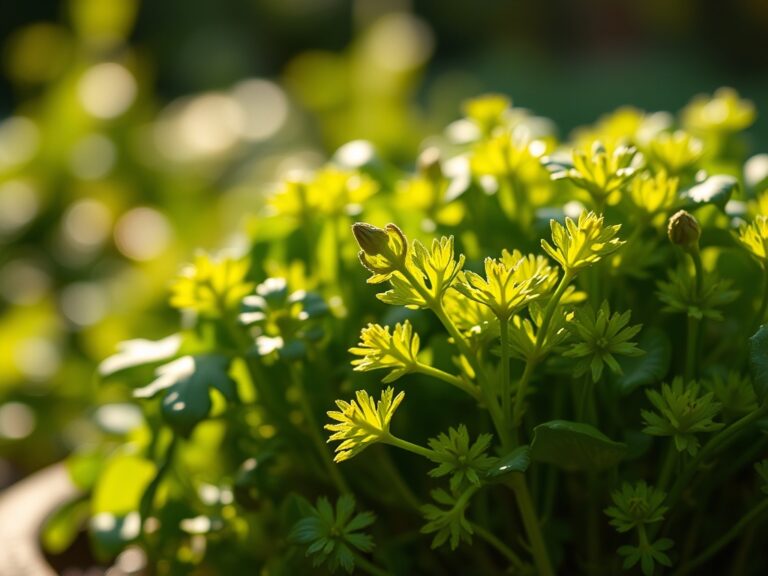
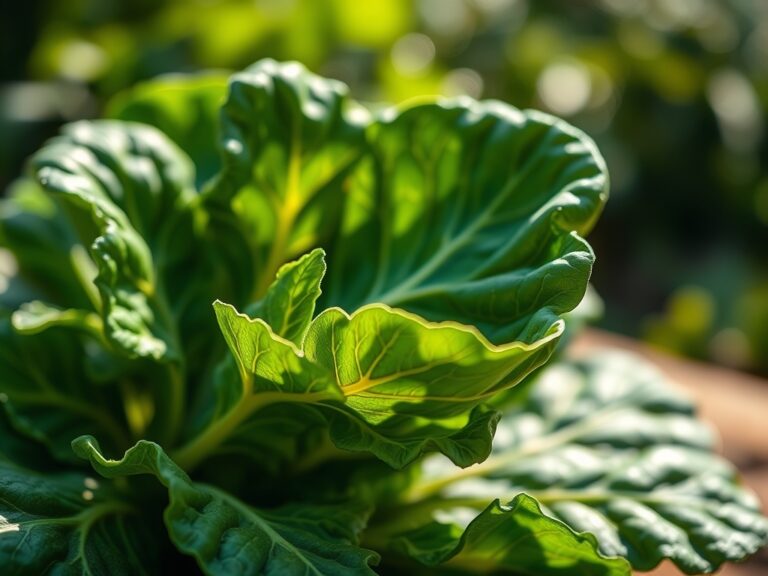
The smell of damp earth and the turgor of a healthy leaf define a successful rhizosphere; however, the sudden appearance of necrotic lesions can collapse a plant's vascular efficiency overnight. Pathogenic fungi and bacteria thrive in high humidity, manifesting as concentric rings or water-soaked spots on the foliage. Implementing specific steps for treating leaf spot with removal ensures that the infection does not reach the systemic stage. This process requires immediate intervention to preserve the photosynthetic capacity of the remaining healthy tissue.
Maintaining a resilient garden starts with the structural integrity of the plant. When leaf spot occurs, the primary goal is to arrest the spread of spores or bacterial exudate. By isolating the infected material and sanitizing tools between every cut, the gardener prevents cross-contamination. This technical approach relies on understanding the lifecycle of the pathogen, which often overwinters in fallen debris or persists in the upper soil profile. A focused strategy of mechanical removal followed by environmental adjustment provides the highest rate of recovery for affected specimens.
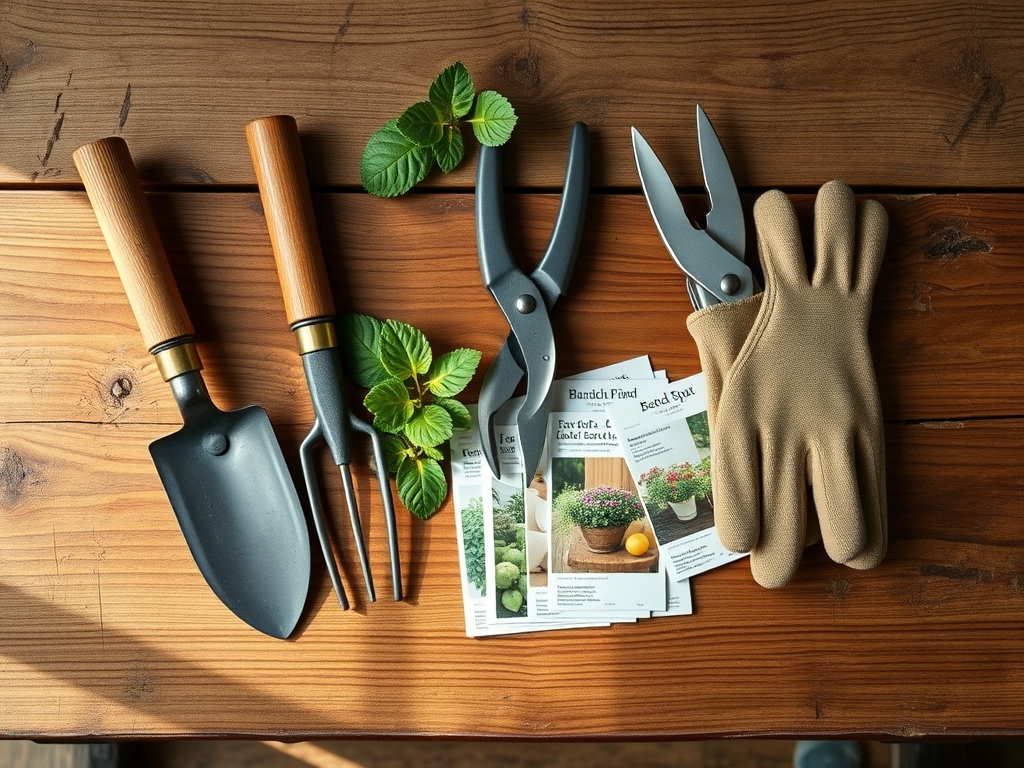
Materials:
The foundation of plant health lies in the substrate. For most temperate species, a friable loam with a Soil pH of 6.2 to 6.8 optimizes nutrient availability. This range ensures that the Cation Exchange Capacity (CEC) is high enough to hold essential minerals like calcium and magnesium, which strengthen cell walls against fungal penetration.
When managing a recovery phase, adjust your fertilization strategy. Use an NPK ratio of 5-10-10 for established perennials to encourage root and cellular repair without triggering an excess of succulent, nitrogen-rich new growth that is highly susceptible to infection. Avoid high-nitrogen fertilizers (e.g., 20-10-10) during an active outbreak, as the resulting rapid cell elongation creates thin, weak cell walls. You will also need 70 percent isopropyl alcohol for tool sterilization and heavy-duty polyethylene bags for the immediate disposal of infected biomass.
Timing:
Timing is dictated by the USDA Hardiness Zones and the specific Biological Clock of the host plant. In Zones 5 through 8, fungal leaf spot typically peaks during the transition from the vegetative stage to the reproductive stage, usually when night temperatures remain above 60 degrees Fahrenheit and humidity exceeds 70 percent.
The "Biological Clock" transition is a period of high metabolic stress. As the plant shifts energy from foliage production to flowering or fruiting, its immune response can dip. Perform your removal steps in the early morning after the dew has evaporated but before the heat of the day. This minimizes stress on the plant and prevents the movement of water-borne spores that occurs during irrigation or rainfall events.
Phases:
Sowing and Site Preparation
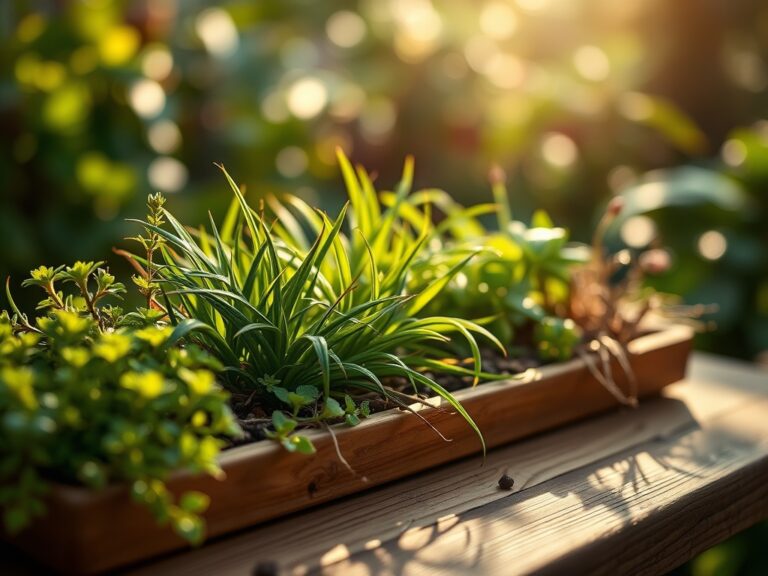
Proper spacing is the first line of defense. Ensure a minimum of 18 to 24 inches between plants to facilitate laminar airflow. This reduces the leaf-wetness period, which is the primary driver of spore germination.
Pro-Tip: Focus on the rhizosphere. Incorporating mycorrhizal fungi during sowing increases the surface area of the root system, improving water uptake and physical turgor. This symbiotic relationship enhances the plant's systemic acquired resistance (SAR), making it less likely to succumb to localized leaf spot.
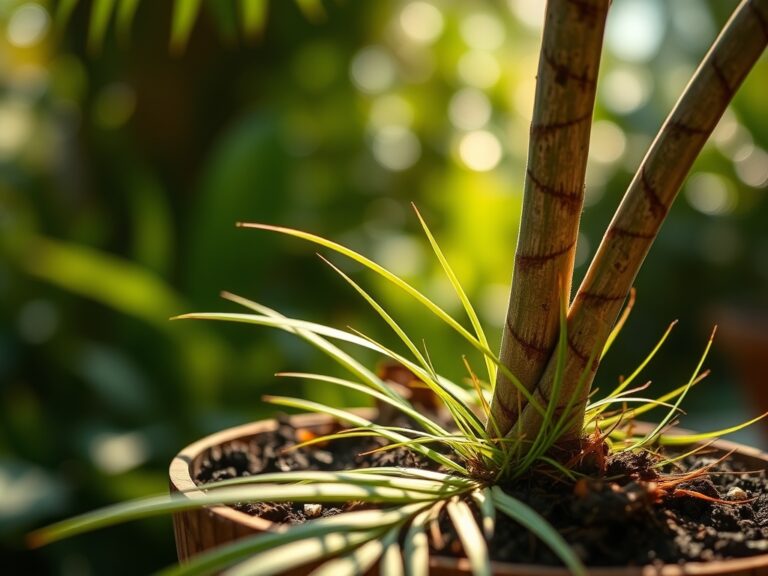
Transplanting and Initial Monitoring
When moving seedlings to their permanent location, ensure the soil temperature is at least 65 degrees Fahrenheit. Cold-shock can lead to temporary senescence in lower leaves, providing an entry point for opportunistic pathogens.
Pro-Tip: Suppress auxin dominance by pinching back terminal buds if the plant becomes leggy. This encourages a bushier habit with thicker stems, which improves the overall structural integrity and reduces the likelihood of foliage touching the soil surface where many pathogens reside.
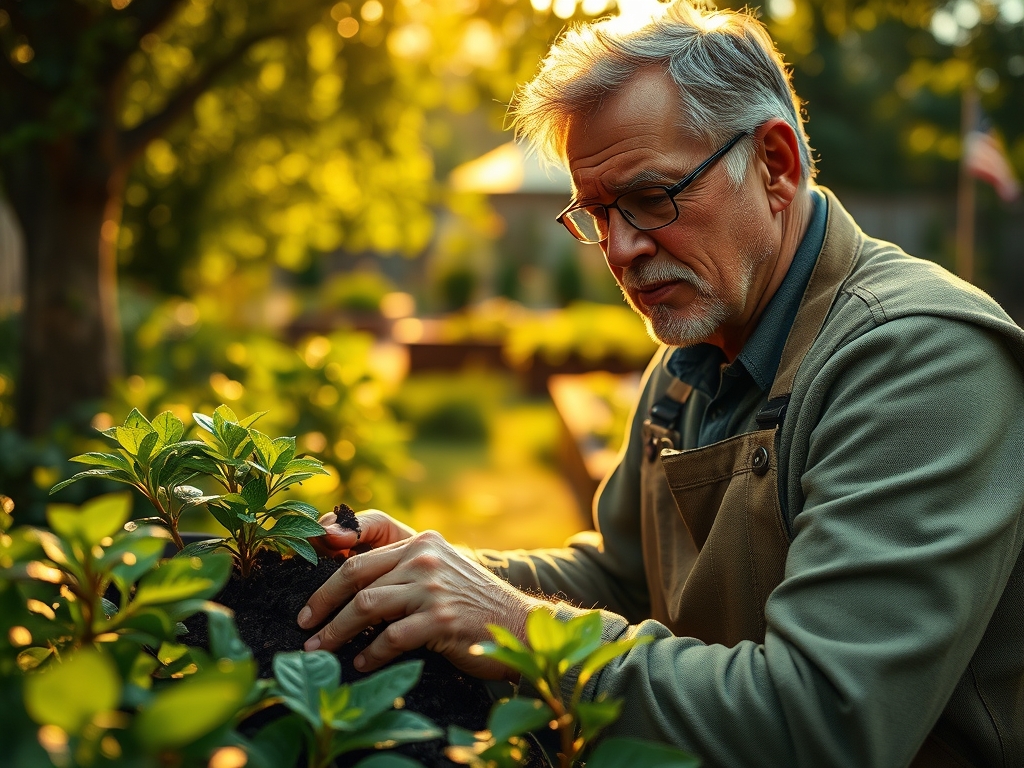
Establishing and Disease Removal
Once established, monitor the lower canopy. If spots appear, follow the steps for treating leaf spot with removal by cutting at least one inch into healthy tissue below the lesion.
Pro-Tip: Understand phototropism. Ensure that the interior of the plant receives adequate light. Shaded, damp interior leaves are the most common site for initial infection because the lack of UV light allows fungal hyphae to penetrate the cuticle more easily.
The Clinic:
Physiological disorders often mimic leaf spot. Distinguishing between a biotic infection and an abiotic deficiency is critical for treatment.
Symptom: Yellowing between leaf veins (interveinal chlorosis) on new growth.
Solution: This indicates a Manganese or Iron deficiency. Adjust soil pH to below 7.0 to increase micronutrient solubility.
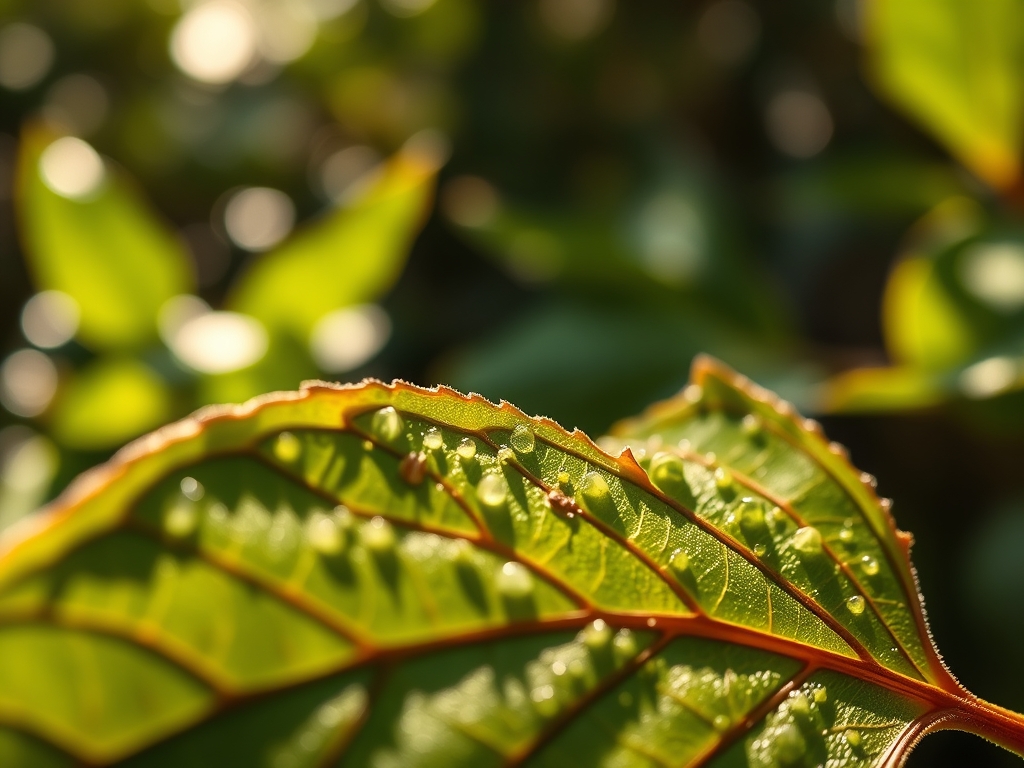
Symptom: Small, circular brown spots with yellow halos on older leaves.
Solution: This is Fungal Leaf Spot (e.g., Septoria). Remove infected leaves immediately and improve air circulation.
Symptom: Scorched leaf margins or "burning" at the tips.
Solution: This is typically Potassium deficiency or salt accumulation. Flush the soil with 2.0 inches of water and apply a 0-0-50 sulfate of potash.
Fix-It: Nitrogen Chlorosis
If the entire leaf turns pale green or yellow starting from the bottom of the plant, the specimen lacks Nitrogen. Apply a quick-release blood meal or a liquid fish emulsion with a 5-1-1 NPK ratio to restore chlorophyll production and photosynthetic rate.
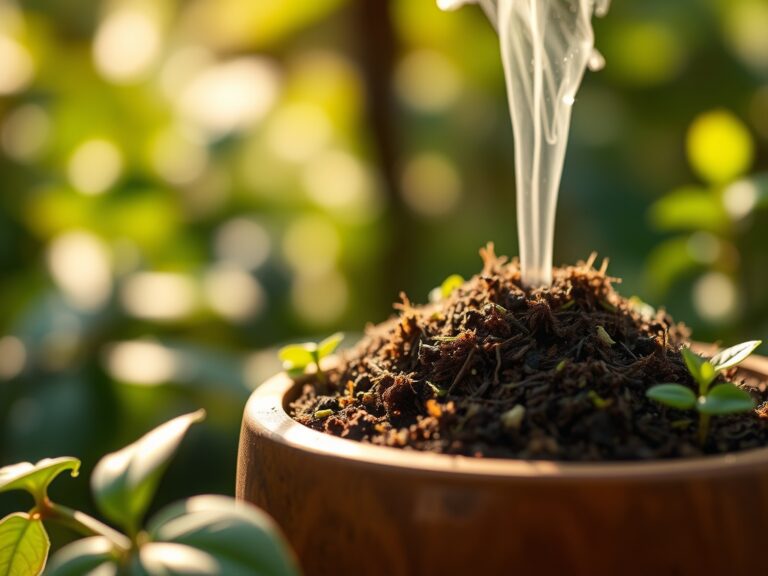
Maintenance:
Precision maintenance prevents the recurrence of disease. Use a soil moisture meter to ensure the root zone remains at 40 to 60 percent field capacity. Apply exactly 1.5 inches of water per week at the drip line; never use overhead irrigation as it splashes spores from the soil onto the foliage.
Utilize a hori-hori knife to remove weeds that compete for nutrients and host secondary pests. For pruning, use bypass pruners rather than anvil pruners to ensure clean, surgical cuts that callus over quickly. Every cut should be made at a 45-degree angle to prevent water from pooling on the wound, which can lead to localized rot.
The Yield:
For edible crops, harvest timing is essential for post-harvest longevity. Harvest in the "cool of the day," typically between 5:00 AM and 8:00 AM, when the plant has maximum turgor pressure. This ensures the cell walls are fully hydrated, preventing wilting.
After harvest, remove any remaining spent foliage from the garden bed. This "sanitation harvest" prevents the buildup of inoculum for the following season. Store produce at 34 to 40 degrees Fahrenheit with high humidity to slow the metabolic rate and maintain "day-one" freshness.
FAQ:
How do I identify fungal leaf spot?
Look for distinct, dark spots with defined borders, often featuring a yellow halo or concentric rings. Unlike nutrient deficiencies, these spots appear randomly across the leaf surface and spread rapidly during periods of high humidity and poor airflow.
Can I compost leaves removed during treatment?
No. Most home composting systems do not reach the internal temperature of 140 to 160 degrees Fahrenheit required to kill fungal spores. Dispose of infected material in sealed bags or via municipal green waste to prevent re-infecting your garden.
Why must I sanitize my pruners between cuts?
Microscopic pathogens cling to metal blades. If you cut an infected leaf and then move to a healthy stem without disinfecting with 70 percent alcohol, you are mechanically inoculating the healthy tissue, bypassing the plant's natural cuticle defense.
Will leaf spot kill my entire plant?
If left untreated, the disease reduces the plant's photosynthetic surface area, leading to senescence and eventual death. However, early intervention through mechanical removal and improving environmental conditions like airflow and drainage usually allows the plant to recover fully.