9 Tool Prep Steps on How to Prepare a Succulent Vegetable Mix Container
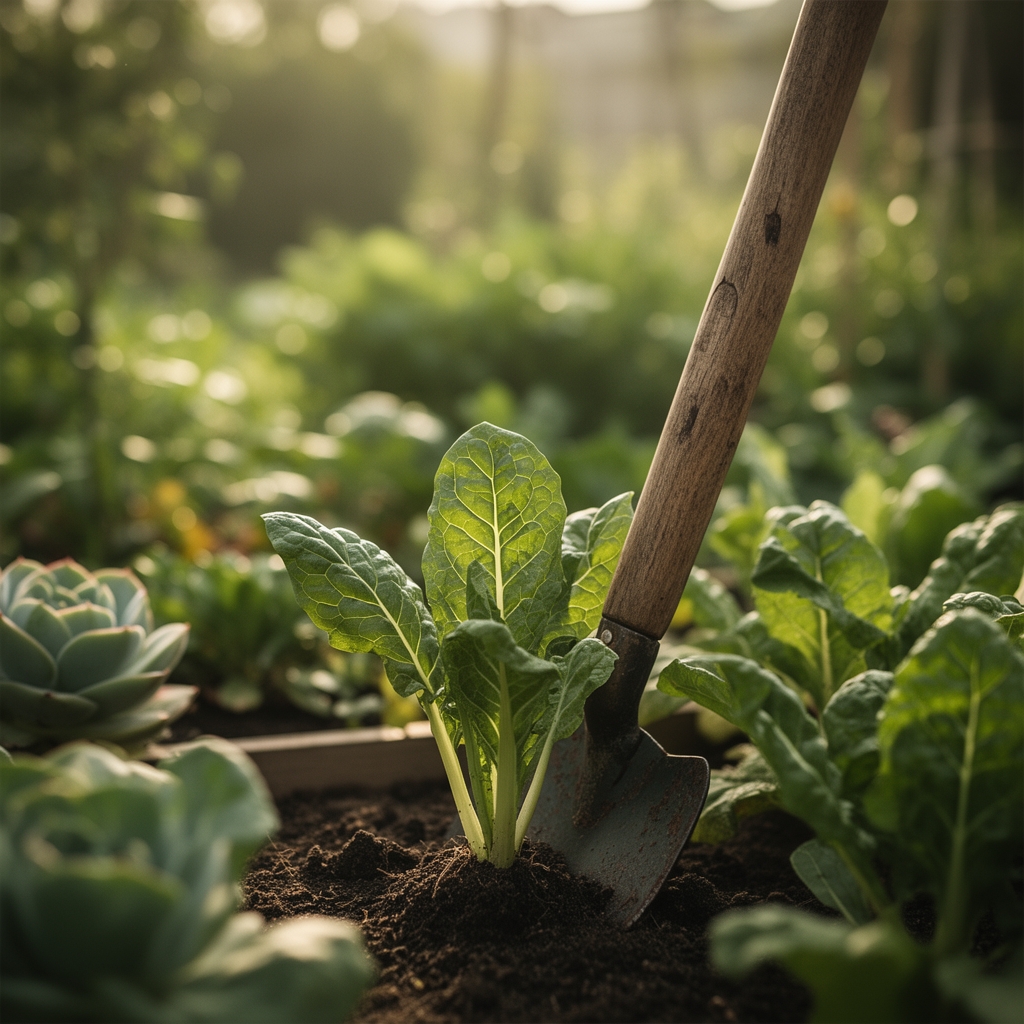
The scent of warm potting mix hits differently when you're standing over a container that's about to hold dinner. That slightly sweet, fungal aroma means the compost is alive with microbes ready to feed your plants. Learning how to prepare a garden for a succulent vegetable mix starts with understanding that containers aren't just portable dirt; they're ecosystems you engineer from scratch. The texture should crumble between your fingers like crumbly chocolate cake, not clump like wet clay. Get this foundation right, and your greens, cherry tomatoes, and compact squash varieties will thrive in a space no bigger than a laundry basket.
Materials & Supplies
Container Selection:
- Minimum 18-inch diameter pots with drainage holes
- 12-gallon capacity (15 inches deep) for root development
- Food-grade plastic, untreated cedar, or glazed ceramic
Soil Components:
- Base potting mix (pH 6.0 to 6.8)
- Perlite or pumice (20% by volume for drainage)
- Aged compost (30% by volume)
- Worm castings (1 cup per 5 gallons)
- Coarse sand (10% for succulents requiring extra drainage)
Fertilizers & Amendments:
- Balanced granular fertilizer (5-10-5 NPK ratio)
- Mycorrhizal fungi inoculant (apply at transplant)
- Bone meal (3-15-0) for phosphorus boost
- Kelp meal (1-0.1-2) for trace minerals
- Agricultural lime (if pH drops below 6.0)
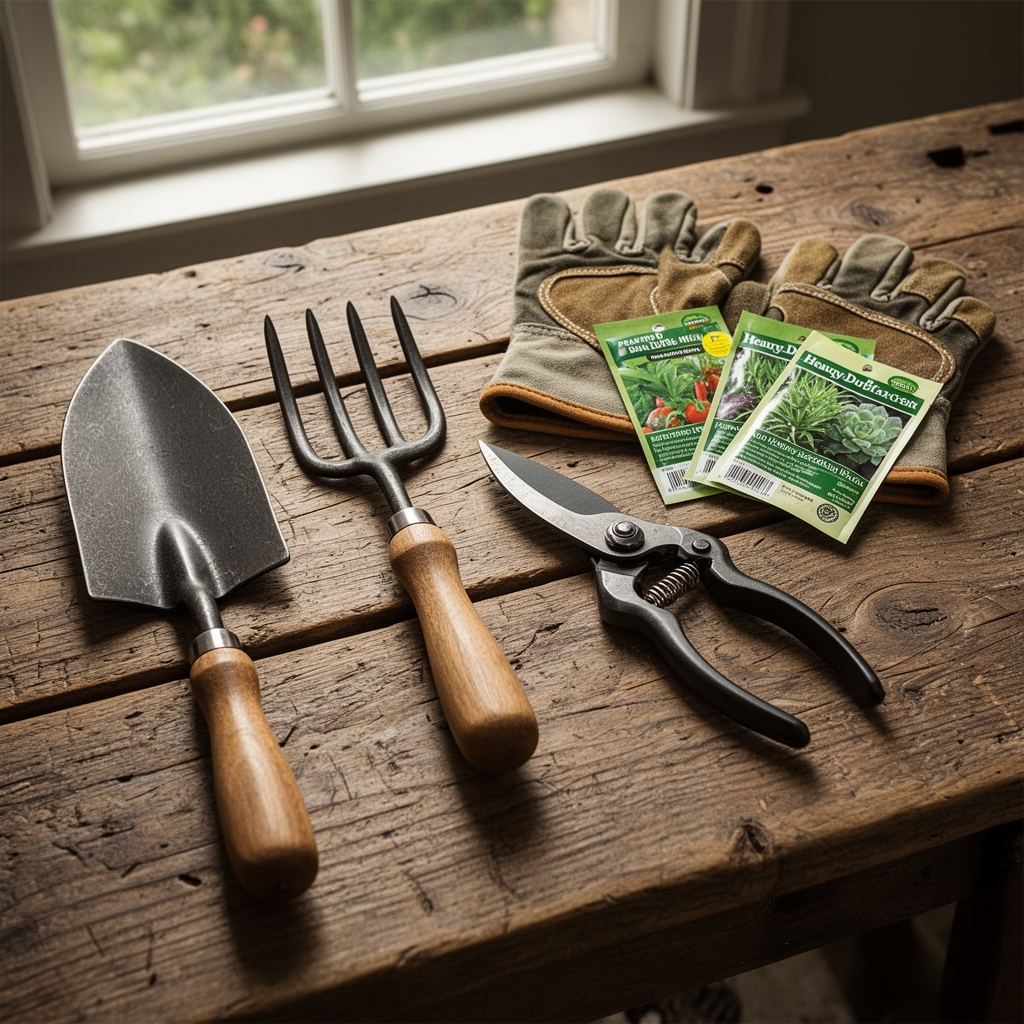
Tools:
- Soil pH meter (digital preferred)
- Hand trowel with depth markings
- Watering can with rose attachment
- Plant labels and waterproof marker
Timing & Growing Schedule
Hardiness Zones: Containers adapt to Zones 3 through 10 when moved indoors during frost.
Days to Maturity:
- Lettuce and salad greens: 30 to 50 days
- Cherry tomatoes: 55 to 70 days
- Bush beans: 50 to 60 days
- Compact zucchini: 45 to 55 days
Seed-Starting Windows:
Start seeds indoors 4 to 6 weeks before the last frost date. Transplant seedlings when soil temperature reaches 60°F (15°C) and nighttime temperatures stay above 50°F (10°C). For fall crops, count backward from the first frost date and add 14 days for slower autumn growth.
Succession Planting:
Sow lettuce every 2 weeks for continuous harvest. Replace spent plants with new seedlings every 6 to 8 weeks during the growing season.
Step-by-Step Instructions
Phase 1: Container Preparation
Drill additional drainage holes if factory holes are fewer than one per 4 inches of diameter. Layer 2 inches of coarse gravel or broken terracotta shards at the bottom. This prevents soil from washing through while maintaining airflow.
Pro-Tip: Place landscape fabric over drainage material before adding soil. This stops fine particles from clogging the gravel layer while allowing water to pass freely.
Phase 2: Soil Mixing
Combine base potting mix, compost, perlite, and sand in a wheelbarrow or large tub. Add water gradually while mixing until the blend feels like a wrung-out sponge (about 40% moisture content). Test pH and adjust with lime if needed.
Pro-Tip: Let the moistened mix rest for 24 hours before planting. This "curing" period allows beneficial bacteria to colonize the medium and neutralizes any hot compost that might burn tender roots.
Phase 3: Fertilizer Integration
Broadcast 2 tablespoons of 5-10-5 fertilizer per gallon of soil mix. Work granules into the top 6 inches. Add bone meal at 1 tablespoon per gallon for fruiting vegetables like tomatoes.
Pro-Tip: Create fertilizer pockets by burying slow-release pellets 4 inches deep at cardinal points around the container. Roots will grow toward these nutrient caches naturally.
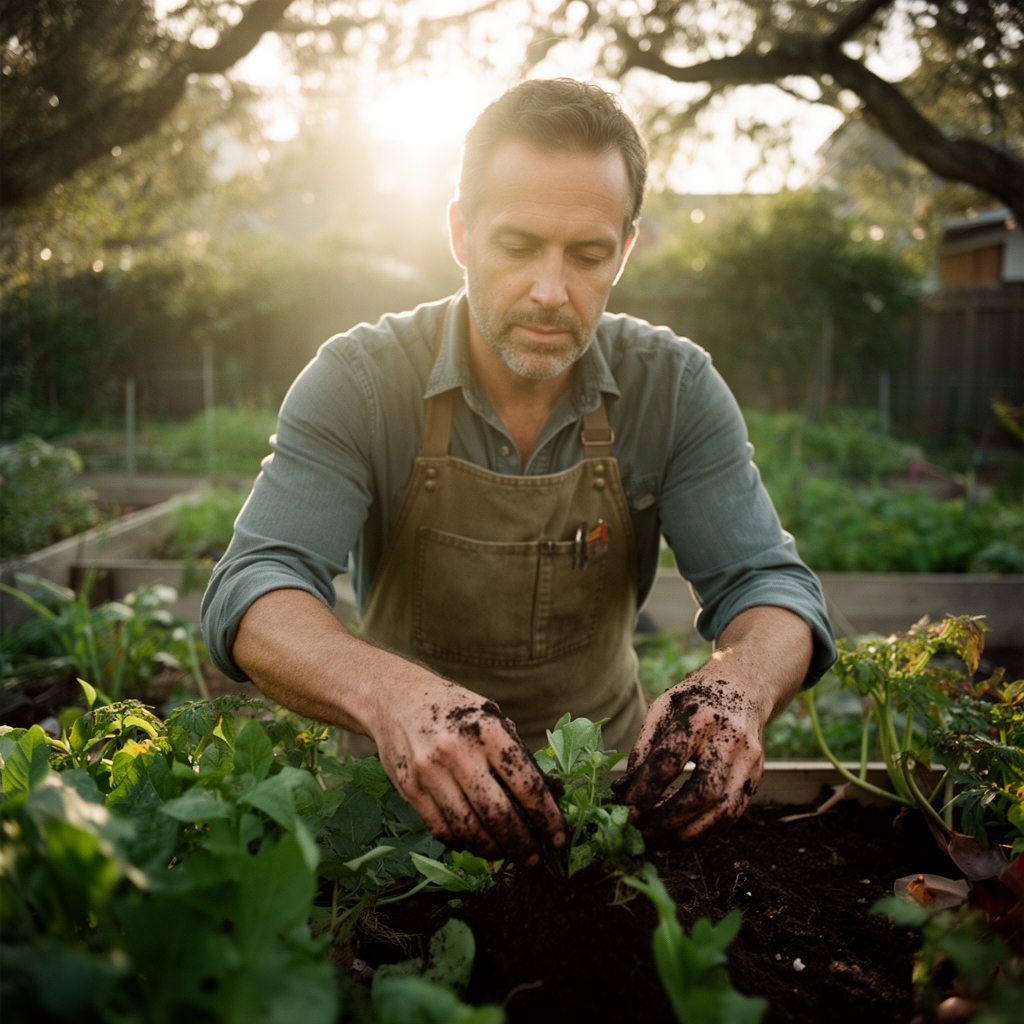
Phase 4: Seedling Transplant
Fill containers to 2 inches below the rim. Dig planting holes twice the width of root balls. Dust roots with mycorrhizal fungi powder before setting plants at the same depth they grew in starter pots.
Pro-Tip: Transplant during late afternoon or on overcast days. This gives seedlings 12 hours to adjust before facing full sun stress.
Phase 5: Initial Watering
Water thoroughly until liquid drains from the bottom. Apply a starter solution of fish emulsion (diluted to half-strength, roughly 2-3-1 NPK). This jump-starts nitrogen fixation and root establishment.
Pro-Tip: Add a 1-inch mulch layer of straw or shredded leaves. This keeps soil temperature stable and reduces watering frequency by 30%.
Phase 6: Establishment Period
Monitor soil moisture daily for the first week. Insert your finger 2 inches deep; water only when soil feels dry at that depth. Avoid overhead watering to prevent fungal diseases.
Pro-Tip: Install a simple drip irrigation emitter (0.5 GPH) connected to a timer. This delivers consistent moisture without waterlogging the root zone.
Phase 7: Staking & Support
Install supports before plants reach 8 inches tall. Use bamboo stakes for tomatoes and trellises for climbing beans. Secure stems with soft cloth strips, never wire or string.
Pro-Tip: Prune the suckers on indeterminate tomato varieties weekly. These side shoots rob energy from fruit production and crowd container space.
Phase 8: Side-Dressing
Apply 1 tablespoon of balanced fertilizer per plant every 3 weeks. Scratch granules into the top inch of soil and water immediately. Switch to low-nitrogen formula (3-10-10) once flowering begins.
Pro-Tip: Spray foliage with compost tea every 2 weeks. This foliar feeding delivers micronutrients directly through leaf stomata and suppresses powdery mildew.
Phase 9: Rotation Planning
Replace heavy feeders (tomatoes, squash) with light feeders (lettuce, herbs) after harvest. Refresh the top 4 inches of soil with fresh compost between plantings.
Pro-Tip: Save your spent soil mix. Spread it in a shaded area, mix in green waste, and let it decompose for 6 months. This "recycled" medium works perfectly for ornamental containers next season.
Nutritional & Environmental Benefits
Homegrown greens contain up to 40% more vitamin C than grocery store equivalents when harvested at peak ripeness. Container gardens positioned near entryways support mason bee populations by providing consistent nectar sources. These solitary pollinators are 300% more efficient than honeybees for fruiting vegetables.
Cherry tomatoes grown in containers average 18 mg of lycopene per 100 grams compared to 14 mg in field-grown varieties. The controlled environment allows plants to allocate more resources to secondary metabolite production. Compact squash varieties deliver 1.2 mg of beta-carotene per serving, supporting eye health and immune function.
Container vegetables reduce food miles to zero and eliminate pesticide exposure. A single 18-inch pot producing lettuce for 12 weeks offsets roughly 3 pounds of CO2 emissions from commercial agriculture. The soil ecosystem you create hosts billions of beneficial bacteria that sequester atmospheric carbon.
Advanced Methods
Small Space Optimization:
Stack containers vertically using tiered plant stands. Position tall crops (tomatoes) on the north side to avoid shading shorter greens. Use reflective aluminum foil collars around pots to increase light exposure by 15%.
Organic & Permaculture Integration:
Companion plant basil with tomatoes to repel aphids naturally. Add white clover as a living mulch; its roots fix nitrogen and feed surrounding plants. Collect rainwater in food-grade barrels and use it for watering to avoid chlorine damage to soil microbes.
Season Extension:
Move containers into a cold frame or unheated garage when temperatures drop below 40°F (4°C). Wrap pots with bubble wrap insulation to protect root systems. Use row cover fabric (rated to 28°F) draped over tomato cages for frost protection.
Troubleshooting
Symptom: Yellowing lower leaves with green veins.
Solution: Iron deficiency caused by high pH. Apply chelated iron at 1 teaspoon per gallon of water. Adjust soil pH to 6.5 with sulfur.
Symptom: Blossom end rot on tomatoes (dark, sunken spots on fruit bottoms).
Solution: Calcium deficiency from irregular watering. Maintain consistent soil moisture. Side-dress with gypsum (calcium sulfate) at 2 tablespoons per plant.
Symptom: White powdery coating on leaves.
Solution: Powdery mildew thrives in humid, stagnant air. Improve air circulation by spacing containers 18 inches apart. Spray with 1:9 milk-to-water solution weekly.
Symptom: Leggy seedlings with pale stems.
Solution: Insufficient light intensity. Move containers to receive 6 to 8 hours of direct sun. Supplement with full-spectrum grow lights positioned 6 inches above foliage.
Symptom: Stunted growth with purple-tinged leaves.
Solution: Phosphorus lockout from cold soil. Wait until soil temperature reaches 60°F before transplanting warm-season crops. Apply bone meal at 1 tablespoon per plant.
Storage & Maintenance
Water containers when the top 2 inches of soil feel dry, typically every 2 to 3 days in summer heat. Deliver 1 inch of water per week, adjusting for rainfall. Use a rain gauge inserted in the pot to track moisture.
Feed plants every 3 weeks during active growth with balanced fertilizer. Reduce feeding frequency to once monthly as temperatures drop below 70°F (21°C). Stop fertilizing 3 weeks before the first expected frost.
Harvest leafy greens in the morning when sugars are concentrated in leaves. Cut outer leaves first, allowing the center to continue producing. Store unwashed greens in perforated plastic bags in the refrigerator crisper (maintains 95% humidity).
Cherry tomatoes keep for 7 days at room temperature or 14 days refrigerated. Never store tomatoes below 50°F; cold breaks down flavor compounds. Compact squash stores for 3 months in a cool (50 to 60°F), dry location with good air circulation.
Clean containers thoroughly after each season. Scrub with a 1:10 bleach solution to kill soilborne pathogens. Rinse three times with clean water before refilling.
Conclusion
The success blueprint for container vegetable gardens rests on three pillars: engineered soil that drains quickly while retaining nutrients, strategic timing that aligns with your local climate, and consistent maintenance that prevents problems before they start. These nine preparation steps transform a simple pot into a productive ecosystem that feeds your household for months. Share your container harvest photos with local gardening groups to inspire neighbors and build food security in your community.
Expert FAQs
How deep should containers be for root vegetables in a succulent vegetable mix?
Root crops like carrots need 12 inches minimum depth; radishes thrive in 6-inch containers. Choose varieties labeled "container" or "baby" for best results in confined spaces.
Can I reuse potting soil from last season's containers?
Yes, but refresh it first. Remove plant debris, mix in 30% fresh compost, and add 1 tablespoon of balanced fertilizer per gallon. Test pH and adjust as needed before replanting.
What's the ideal container color for temperature regulation?
Light-colored containers (white, beige, terra-cotta) reflect heat and keep root zones 10°F cooler than black pots. This matters critically in Zones 7 through 10 during summer.
How do I prevent containers from becoming waterlogged during heavy rain?
Tilt pots slightly (3 to 5 degrees) using pot feet or bricks. Drill extra drainage holes if water pools on the surface for more than 2 hours after rain stops.
Should I fertilize differently for leafy greens versus fruiting vegetables in the same container?
Plant them separately. Greens need high-nitrogen formulas (10-5-5) while fruiting crops require phosphorus-heavy blends (5-10-10) once flowering begins. Mixing them creates nutrient competition and poor yields.