8 Porosity Steps for Repotting a Ponytail Palm
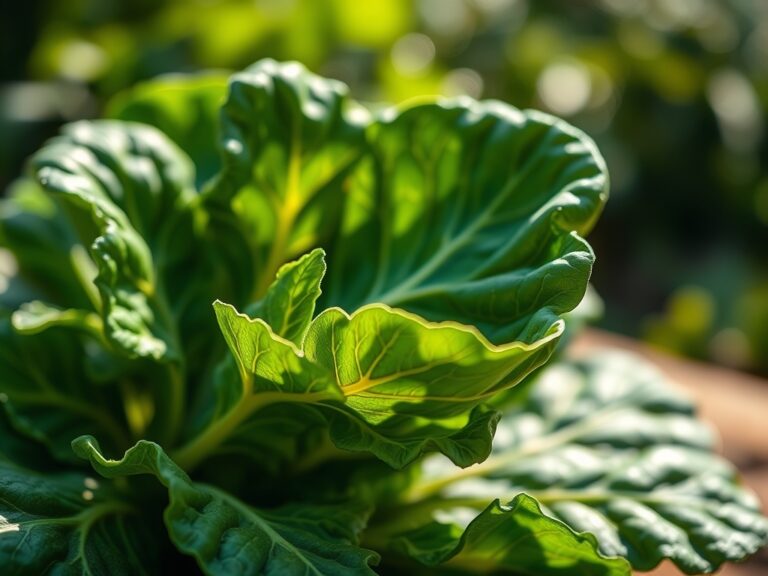
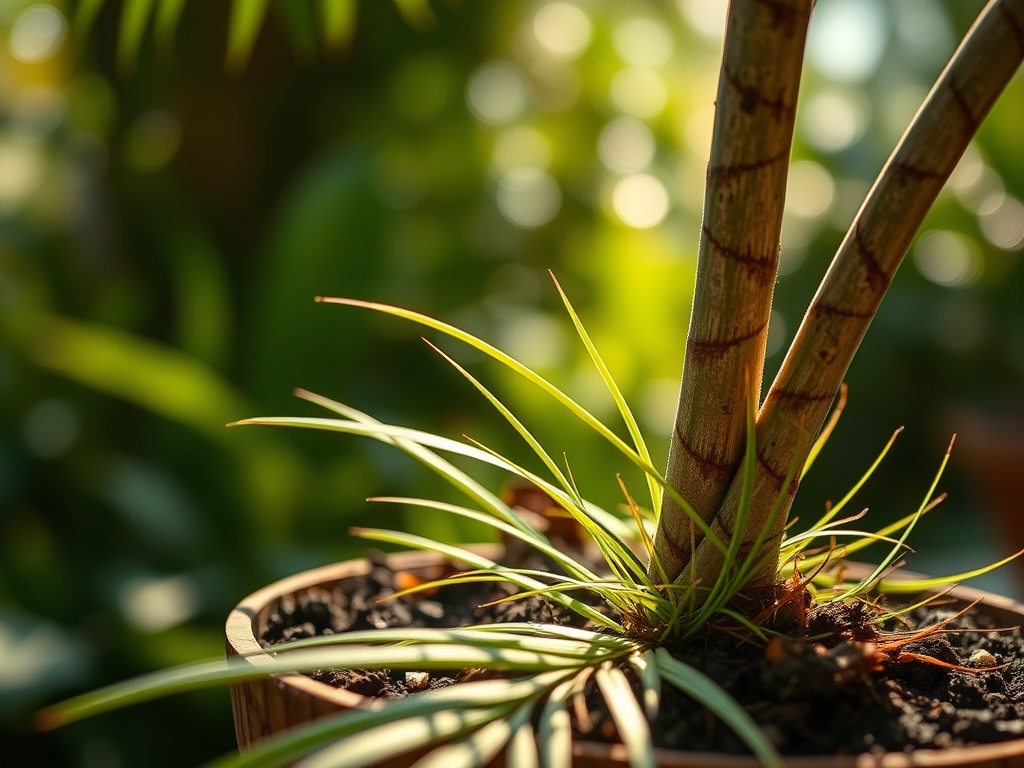
The scent of dry, gritty inorganic matter replaces the usual earthy musk when you handle Beaucarnea recurvata. A healthy specimen exhibits high turgor pressure in its swollen caudex; this woody base serves as a specialized water storage organ that dictates the plant's physiological needs. Proper execution of the steps for repotting a ponytail palm ensures the root system does not succumb to anaerobic conditions. You must prioritize drainage over moisture retention to prevent the collapse of the cellular walls within the rhizosphere.
Success in this procedure requires a shift from traditional gardening mindsets toward succulent-specific mechanics. The ponytail palm is not a true palm but a member of the Asparagaceae family. It thrives on neglect but suffers under poor soil porosity. When the roots become pot-bound, the plant's growth rate plateaus and the lower leaves may show signs of premature senescence. By refreshing the substrate and increasing the pot diameter by no more than two inches, you provide the necessary space for fibrous root expansion while maintaining the tight environment these plants prefer for structural stability.
Materials
The substrate must be a friable mix with a pH range of 6.0 to 7.0. Avoid standard potting soils that contain high peat moss concentrations; these retain too much moisture and compress over time. Use a blend consisting of one part coarse perlite, one part calcined clay, and one part pine bark fines. This creates a high-porosity environment with a low Cation Exchange Capacity (CEC) to prevent salt buildup.
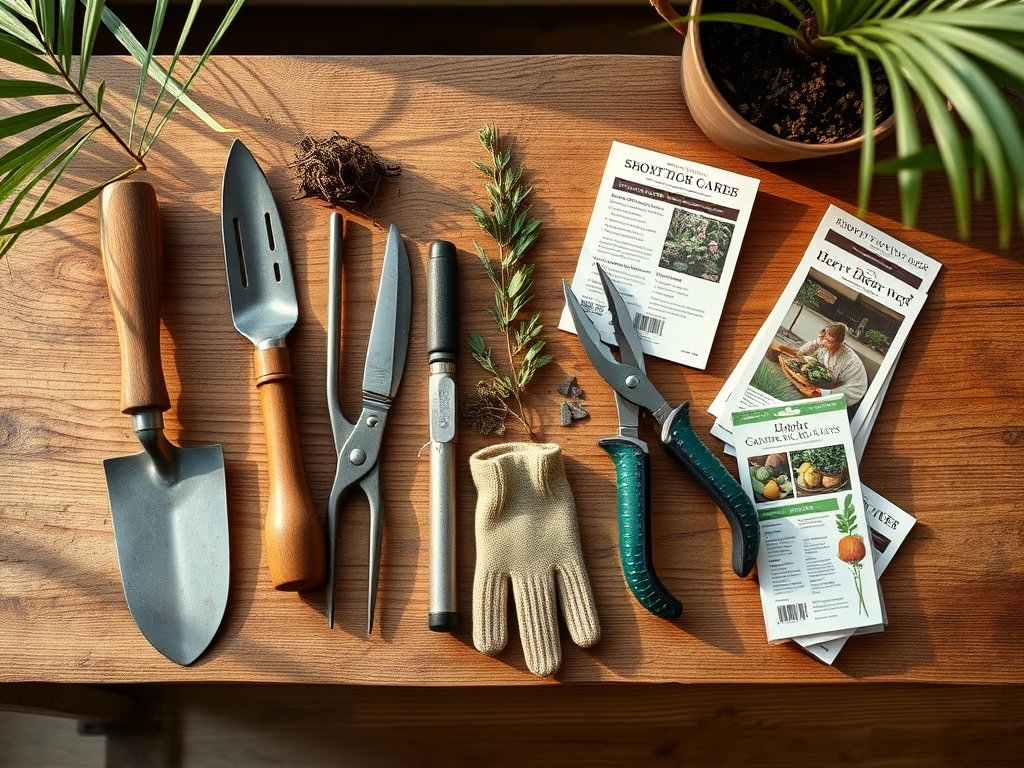
For nutrition, incorporate a slow-release granular fertilizer with an NPK ratio of 10-11-10 or 8-8-8. The goal is balanced growth rather than nitrogen-heavy foliage production. Ensure you have a heavy terracotta vessel; the porous walls of unglazed clay allow for lateral evaporation of excess water. Use a hori-hori knife for root pruning and a soil moisture meter to calibrate the post-repotting hydration schedule.
Timing
Beaucarnea recurvata is hardy in USDA Zones 9 through 11. For those in temperate climates, repotting should only occur during the active growing season, typically from late spring to early summer. This window aligns with the plant's biological clock as it moves from semi-dormancy into a period of high metabolic activity.
Avoid repotting during the winter months when the photoperiod is short. During low-light cycles, the plant's auxin production slows, which significantly reduces its ability to regenerate damaged root tissue. Wait until the local frost-date window has passed and nighttime temperatures consistently remain above 55 degrees Fahrenheit. This ensures the plant has sufficient thermal energy to recover from the stress of transplanting.
Phases
Sowing and Preparation
Before moving the plant, withhold water for at least seven to ten days. Dry soil is easier to remove from the root ball and reduces the risk of root breakage. Gently tip the pot sideways and use a hori-hori knife to slide along the inner perimeter. If the plant is stuck, do not pull by the foliage; instead, tap the sides of the container to break the tension between the root hairs and the pot wall.
Pro-Tip: Minimizing root disturbance preserves the existing mycorrhizal symbiosis. These beneficial fungi assist the plant in phosphorus uptake; preserving as much of the original fungal colony as possible accelerates the establishment phase in the new medium.
Transplanting
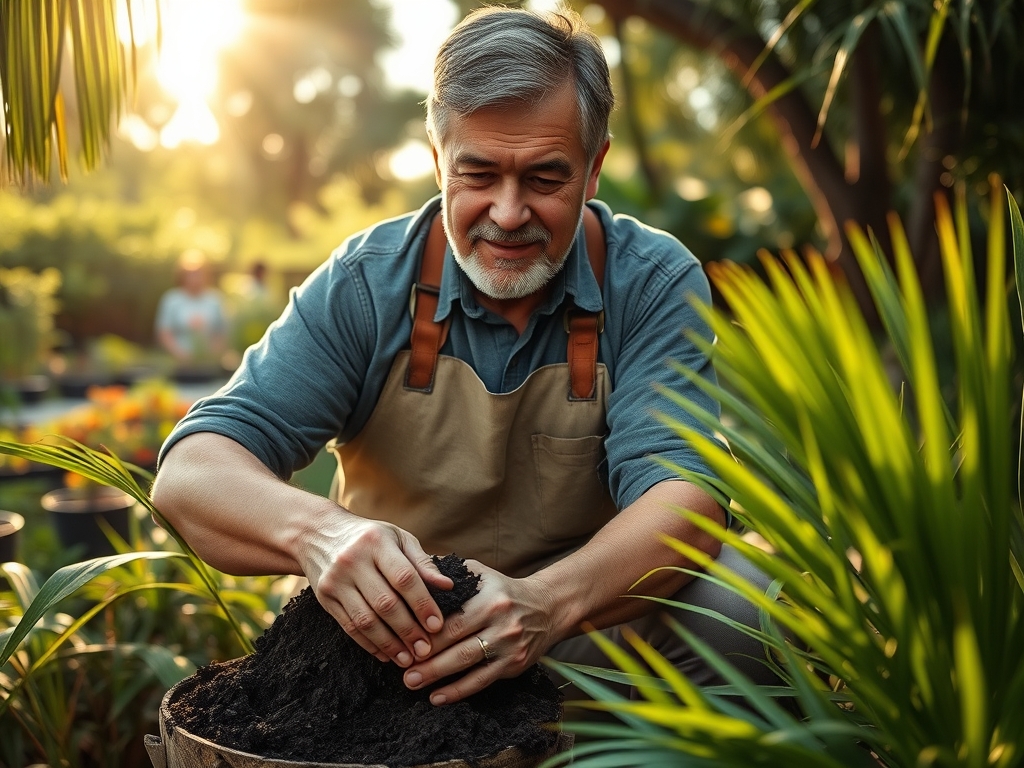
Once the plant is free, inspect the root mass. Healthy roots are firm and light tan. Use bypass pruners to remove any soft, dark, or desiccated roots. Place a layer of the prepared high-porosity mix in the bottom of the new container. Position the caudex so the previous soil line remains level with the new surface. Burying the base deeper than its original depth can lead to stem rot and systemic vascular failure.
Pro-Tip: Avoid "over-potting" to prevent the "perched water table" effect. In a container that is too large, the bottom layer of soil stays saturated because the roots cannot reach the moisture, leading to anaerobic pathogens that destroy the lower root architecture.
Establishing
Fill the gaps around the root ball with the dry substrate, tamping down lightly with your fingers to eliminate large air pockets. Do not water the plant immediately. Wait three to five days before the first irrigation. This allows any micro-fractures in the root tissue to callous over, preventing pathogens from entering the plant's vascular system.
Pro-Tip: Delaying irrigation utilizes the plant's natural hydraulic lift. By forcing the plant to rely on the water stored in its caudex, you stimulate the production of new root hairs that will aggressively seek out moisture once you finally irrigate.
The Clinic
Symptom: Yellowing of lower leaves (Chlorosis).
Solution: This often indicates a Nitrogen deficiency or over-saturation. If the soil is dry, apply a liquid 10-10-10 fertilizer at half strength. If the soil is wet, check for root rot.
Symptom: Soft, mushy caudex.
Solution: This is a sign of advanced tissue necrosis due to overwatering. Remove the plant from the soil immediately, prune away all rotten tissue, and treat with a copper-based fungicide before repotting in 100% inorganic grit.
Symptom: Brown, crispy leaf tips.
Solution: Often caused by fluoride or salt accumulation in the substrate. Flush the pot with two gallons of distilled water per gallon of soil volume to leach out excess minerals.
Fix-It: For Magnesium deficiency (interveinal chlorosis), dissolve one tablespoon of Epsom salts in a gallon of water and apply as a soil drench once every ninety days.
Maintenance
Post-repotting maintenance requires precision. Provide 1.5 inches of water every two to three weeks during the summer; in winter, reduce this to once every six weeks. Always measure the moisture level at a depth of four inches using a soil moisture meter before adding water.
Position the plant in a location that receives at least six hours of direct solar radiation daily. If the plant begins to lean, rotate the pot 90 degrees weekly to counteract phototropism. Use bypass pruners to remove dead foliage at the base of the crown, but never cut into the green tissue of the trunk.
The Yield
While the ponytail palm is not an edible crop, its "yield" is measured in structural growth and caudex girth. A well-maintained specimen can grow to heights of six to eight feet indoors. To maintain "day-one" freshness after a growth spurt, wipe the long, linear leaves with a damp cloth to remove dust. This ensures the stomata remain unobstructed, allowing for efficient gas exchange and transpiration.
FAQ
How do I know it is time for repotting?
Observe the drainage holes. If roots emerge from the bottom or the caudex reaches within half an inch of the pot rim, the plant requires a larger vessel to maintain its metabolic functions and structural integrity.
What is the best soil for a ponytail palm?
Use a high-porosity mix with a pH of 6.0 to 7.0. A blend of 33% perlite, 33% pine bark, and 33% calcined clay provides the drainage necessary to prevent root senescence and promote healthy gas exchange.
Can I use a plastic pot for repotting?
Plastic is acceptable but risky because it lacks the breathability of terracotta. If using plastic, you must increase the perlite ratio to 50% to compensate for the decreased evaporation rate through the container walls.
Why are the leaf tips turning brown after repotting?
This typically results from transplant shock or salt buildup. Ensure you used a clean, high-porosity substrate. Flush the soil with distilled water to remove any residual minerals that may be causing osmotic stress to the new root hairs.