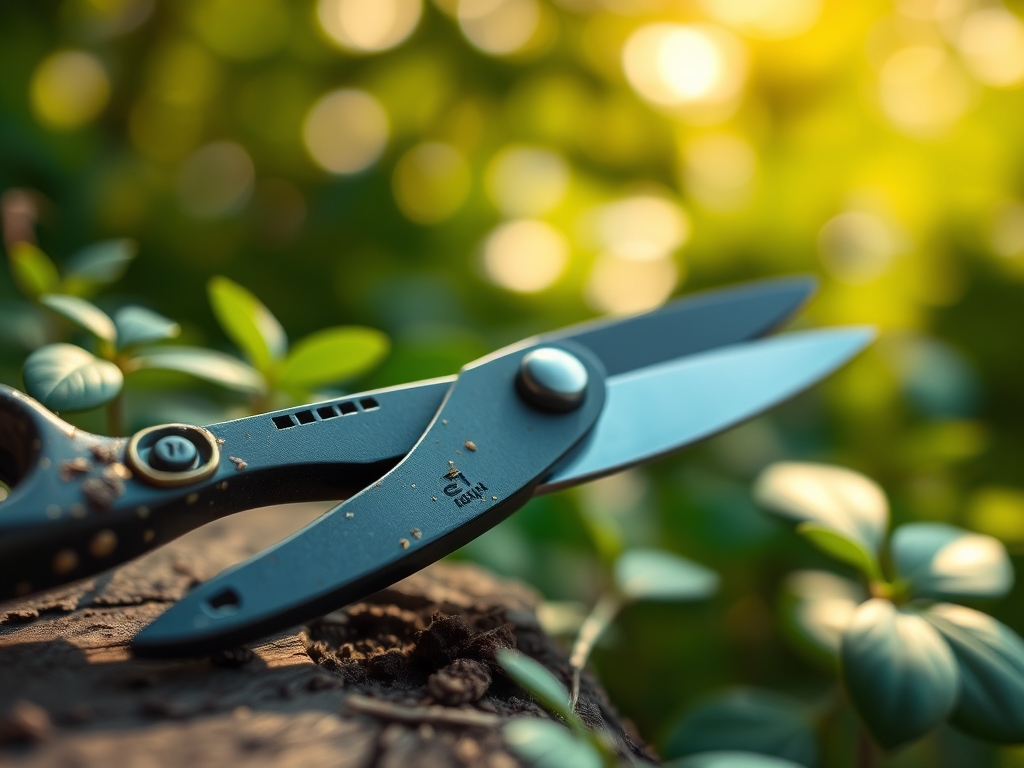
7 Best High-Precision Plant Scissors for Clean Pruning
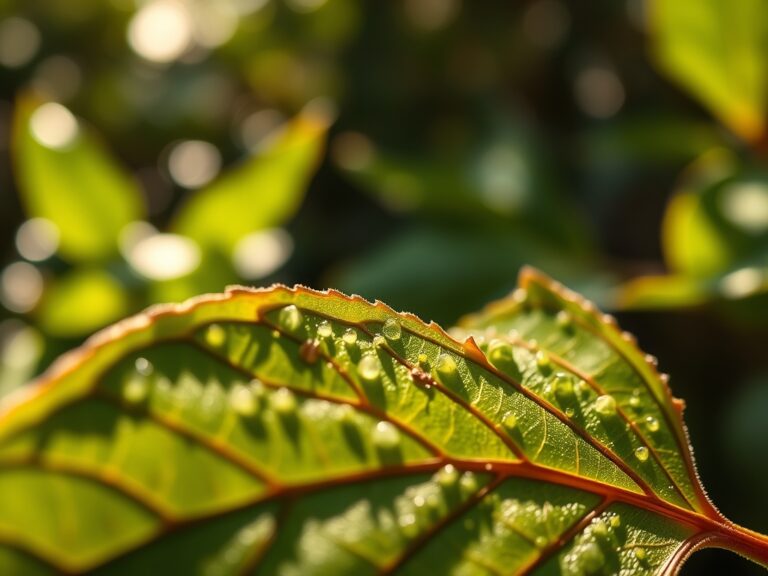
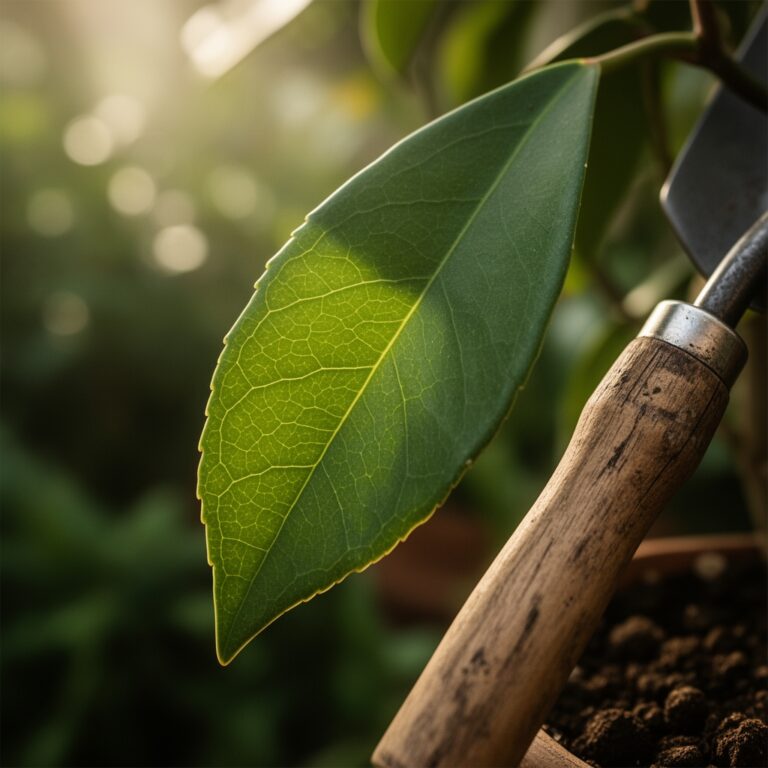
The smell of damp earth and the snap of a leaf under high turgor pressure define the morning routine of a serious horticulturist. When internal water pressure reaches 15 to 20 bars, the plant tissue is at its most resilient; this is the precise moment for surgical intervention. Using the best plant scissors ensures that every cut is a clean separation of the vascular cambium rather than a crushing blow to the xylem. A jagged cut creates a site for opportunistic pathogens to colonize the rhizosphere and move upward. High-precision tools allow for the removal of spent foliage without compromising the structural integrity of the main stem. By maintaining sharp, sterilized blades, you preserve the plant's ability to seal wounds through the rapid production of callus tissue. This guide examines the technical specifications of professional-grade cutting tools while anchoring their use in the fundamental science of plant physiology and soil health.
Materials:
A precision cut is only as effective as the substrate supporting the plant. For container-grown specimens requiring frequent pruning, the ideal medium is a **friable loam** with a Cation Exchange Capacity (CEC) between **15 and 25 meq/100g**. This ensures the plant can recover from the stress of pruning by accessing stored nutrients. Maintain a soil pH between **6.2 and 6.8** to optimize the bioavailability of phosphorus and potassium.
During the vegetative growth phase, provide an NPK ratio of 3-1-2. Nitrogen is essential for the chlorophyll synthesis required to heal pruning sites. As the plant transitions to the reproductive phase, shift to a 1-3-2 ratio. High phosphorus levels support the development of robust root systems and floral structures. The physical texture of the substrate must allow for a 20 percent air porosity to prevent anaerobic conditions in the root zone, which can lead to systemic decline after heavy pruning.
Timing:
Pruning schedules must align with USDA Hardiness Zones and the specific biological clock of the species. In Zones 5 through 7, the primary pruning window opens in late winter, approximately four to six weeks before the last predicted frost date. This timing exploits the plant's dormancy; the lack of active sap flow prevents excessive bleeding of nutrients.
The transition from vegetative to reproductive stages is triggered by the photoperiod. Short-day plants require 12 to 14 hours of uninterrupted darkness to initiate flowering. Pruning during this transition must be limited to the removal of necrotic tissue to avoid suppressing the hormonal signals sent from the apical meristem. Avoid heavy structural pruning when temperatures exceed 85 degrees Fahrenheit, as high transpiration rates increase the risk of desiccation at the wound site.
Phases:

Sowing
Begin with sterilized trays and a seed-starting mix with a low EC (Electrical Conductivity) of 0.5 to 1.0 mS/cm. Ensure the medium is moist but not saturated to prevent "damping off" caused by fungal pathogens.
Pro-Tip: Maintain consistent soil temperatures of 70 to 75 degrees Fahrenheit to trigger rapid germination. This speed minimizes the time seeds are vulnerable to soil-borne pathogens before they develop their first true leaves and establish independent immune responses.
Transplanting
Move seedlings when they have developed two sets of true leaves. At this stage, the root architecture is developed enough to handle the stress of relocation. Dip the root ball in a mycorrhizal inoculant to enhance nutrient uptake efficiency.
Pro-Tip: Use the best plant scissors to prune the tips of circling roots during transplanting. This breaks apical dominance in the root system, stimulating lateral root branching through the suppression of auxin and the promotion of cytokinin.
Establishing
Once the plant is in its permanent location, focus on developing a strong central leader. Apply a 2-inch layer of organic mulch to regulate soil temperature and moisture levels. Monitor the soil moisture at a depth of 4 inches using a tensiometer.
Pro-Tip: Practice "pinching" the terminal buds of young plants. This redirects energy from vertical growth to lateral branching by disrupting the flow of auxins from the apex, resulting in a bushier, more structurally sound plant.
The Clinic:
Physiological disorders often manifest through visual cues in the foliage. Identifying these early allows for corrective action before the plant's vascular system is compromised.
Symptom: Interveinal chlorosis on young leaves.
Solution: This typically indicates an Iron (Fe) deficiency, often caused by a pH above 7.0. Lower the pH using elemental sulfur or chelated iron foliar sprays.
Symptom: Necrosis at the leaf margins and "hooking" of new growth.
Solution: This points to Calcium (Ca) deficiency. Ensure consistent irrigation, as calcium is non-mobile and moves strictly through the transpiration stream.
Symptom: Purple or reddish tint on older foliage.
Solution: This is a classic sign of Phosphorus (P) deficiency. Check soil temperatures; if they are below 55 degrees Fahrenheit, phosphorus uptake is physically restricted regardless of soil concentration.
Fix-It: Nitrogen Chlorosis
If older leaves turn a uniform pale yellow, the plant is scavenging nitrogen from old tissue to support new growth. Apply a quick-release nitrate-based fertilizer at a rate of 0.5 pounds of actual nitrogen per 1,000 square feet to restore vigor.
Maintenance:
Precision gardening requires consistent monitoring and high-quality equipment. Deliver 1.5 inches of water per week at the drip line to ensure deep root penetration. Use a soil moisture meter daily during the peak of the growing season to prevent drought stress.
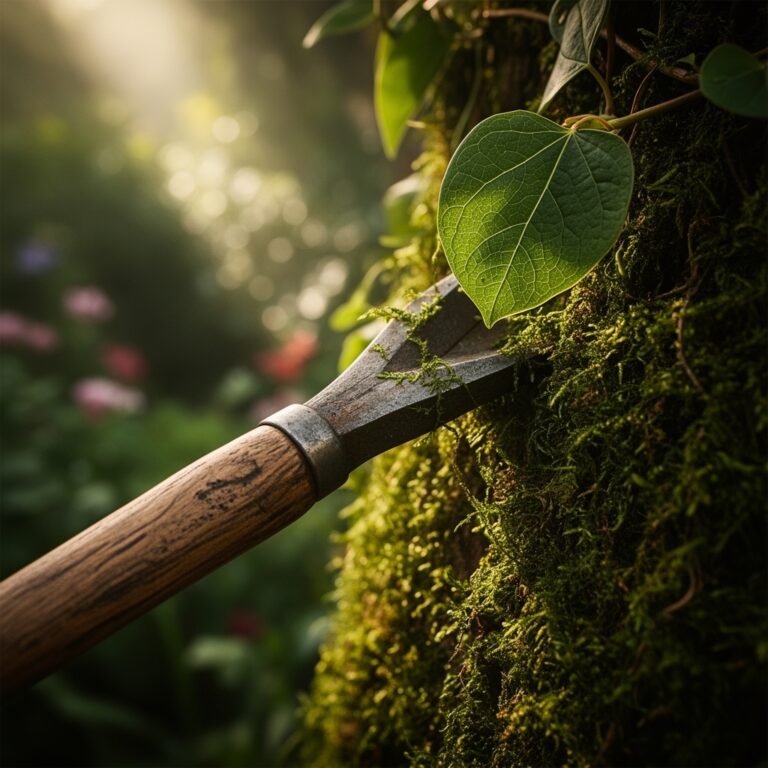
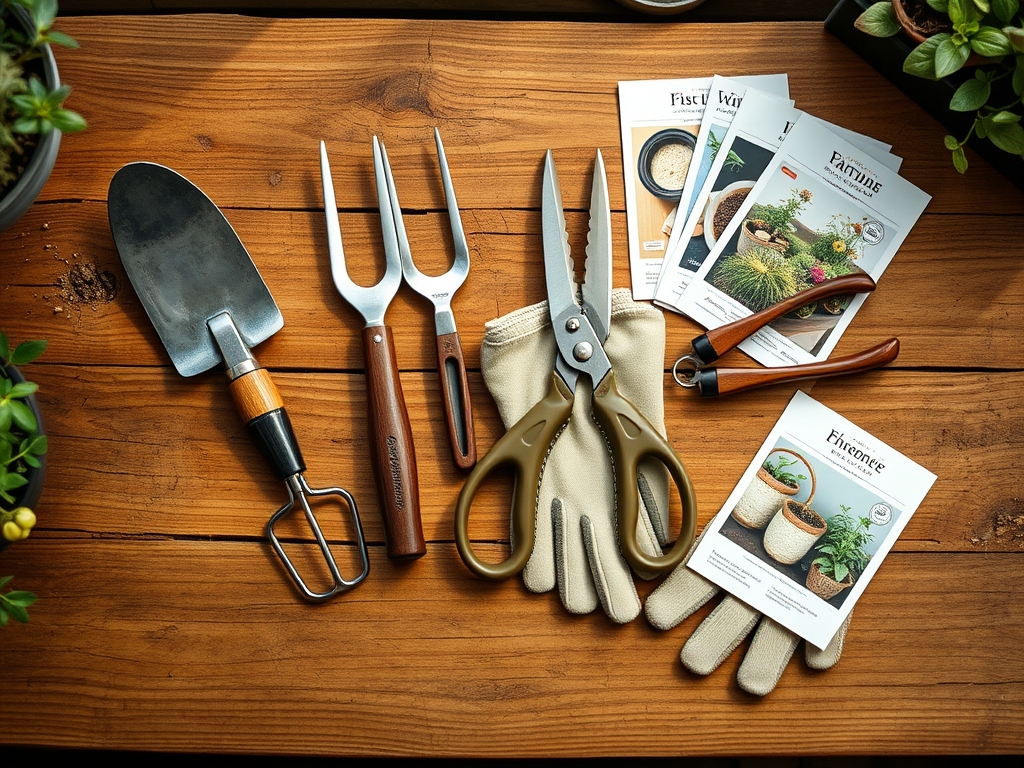
For structural maintenance, a hori-hori knife is indispensable for weeding and planting bulbs at specific depths. When removing branches larger than 0.5 inches in diameter, switch from scissors to bypass pruners to avoid straining the tool or the plant tissue. Sterilize all blades with 70 percent isopropyl alcohol between every plant to prevent the mechanical transmission of viruses or bacterial blights.
The Yield:
Harvesting is the culmination of the plant's life cycle. For leafy greens and herbs, harvest in the early morning when the essential oil concentration is at its peak and the cells are fully turgid. Use precision scissors to cut just above a node to encourage regrowth.
For fruiting crops, monitor the Brix level (sugar content) using a refractometer. Most fruits are ready when they reach a Brix reading of 12 or higher. Post-harvest, immediately move the produce to a cooling area to remove field heat. This slows down the rate of respiration and senescence, preserving "day-one" freshness for a longer duration.
FAQ:
How do I clean my plant scissors?
Wipe the blades with 70 percent isopropyl alcohol or a 10 percent bleach solution after every use. This kills pathogens like tobacco mosaic virus and prevents sap buildup from dulling the cutting edge over time.
When is the best time to prune?
Prune in the early morning when the plant is fully hydrated. Avoid pruning in the evening; high humidity and lack of sunlight prevent the wound from drying quickly, increasing the risk of fungal infection.
Why are my cuts jagged?
Jagged cuts are usually caused by dull blades or using scissors on stems that are too thick. If the stem exceeds the tool's rated capacity, the blades will flex and crush the tissue instead of slicing it.
Can I prune a diseased plant?
Yes, but you must sanitize the tool between every single cut. Remove the diseased tissue at least 4 inches below the visible infection site into healthy wood to ensure all systemic pathogens are removed.