7 Steps to Prepare a Large Garden Shed Install Site
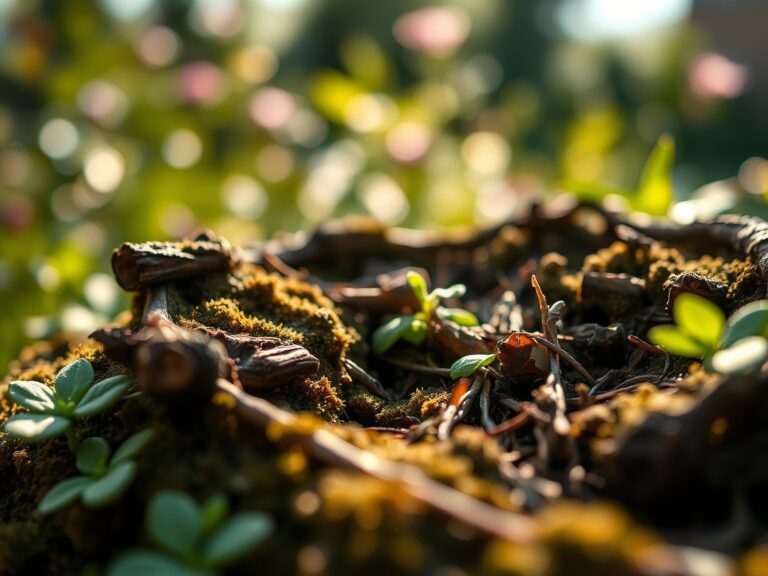
The scent of crushed geosmin and the cool humidity of disturbed subsoil signal the beginning of a structural intervention in the landscape. When the turgor pressure of the surrounding turf is high, the ground offers the necessary resistance for precise excavation. Learning how to prepare a site for a garden shed requires more than a shovel; it demands an understanding of soil mechanics and hydrological runoff. A 10 by 12 foot shed exerts significant downward force, which can compress the rhizosphere of nearby specimen trees, leading to root asphyxiation. Proper site preparation ensures that the structural load is distributed evenly while maintaining the integrity of the surrounding horticultural ecosystem. By analyzing the Cation Exchange Capacity (CEC) and the compaction limits of your specific soil profile, you prevent the structural shifting that leads to door misalignment or foundational cracking. Precision at this stage protects both the timber of the shed and the biological health of the garden bed.
Materials:

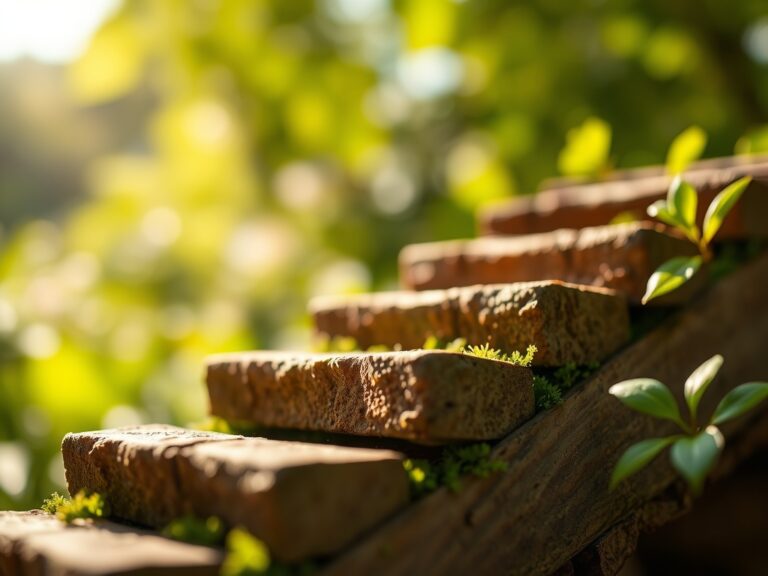
Before the first stake is driven, you must analyze the substrate. The ideal base is a **friable loam** with a sand content of approximately 40 percent to ensure rapid drainage. If your soil is heavy clay, the **pH level** often trends toward the acidic (5.5 to 6.2), which can accelerate the oxidation of metal fasteners. For the surrounding stabilization zone, integrate a balanced **NPK ratio of 10-10-10** into the top four inches of soil to support the recovery of disturbed turf. Use **¾-inch crushed angular stone** rather than rounded pea gravel; angular edges lock together under pressure to provide a stable, non-shifting platform. Ensure you have a **heavy-duty geotextile fabric** with a flow rate of at least 90 gallons per minute per square foot to prevent the migration of fines into your gravel base.
Timing:
The installation window is dictated by your USDA Hardiness Zone. In Zones 4 through 6, site preparation should occur at least three weeks after the last frost to ensure the soil has reached a consistent internal temperature of 50 degrees Fahrenheit. Working frozen or saturated soil destroys its structure, leading to permanent compaction. Observe the Biological Clock of your perennial borders; it is best to excavate when plants are in their vegetative stage rather than their reproductive (flowering) stage. This minimizes the metabolic stress caused by root pruning. Avoid construction during the photoperiod peak of mid-summer, as high evapotranspiration rates will cause any relocated plants to wilt rapidly due to a loss of xylem efficiency.
Phases:

Sowing the Perimeter
Once the site is leveled, the surrounding disturbed earth must be stabilized. Sow a low-growth fescue or clover mix to prevent erosion. Ensure the seed-to-soil contact is firm by using a weighted roller.
Pro-Tip: Utilize the principle of mycorrhizal symbiosis. Inoculate the perimeter soil with fungal spores to establish a subterranean network that assists the new grass in absorbing phosphorus and water, which speeds up site recovery.
Transplanting Disturbed Flora
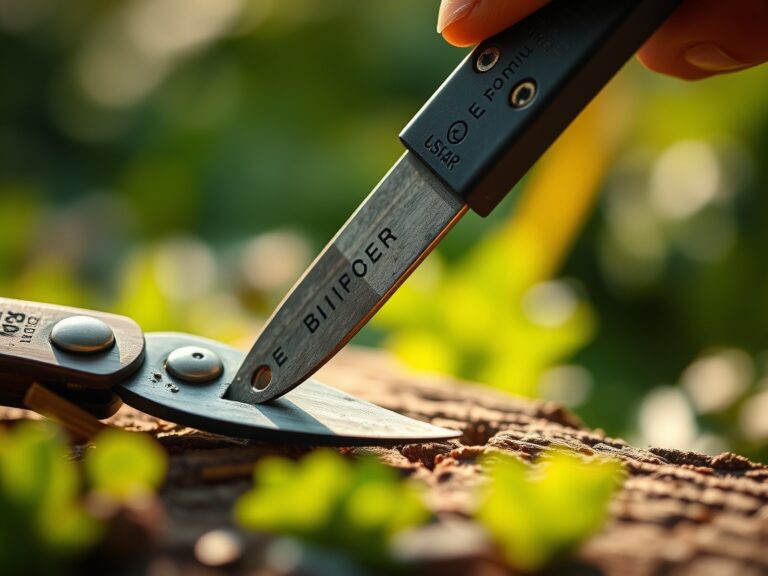
If the shed footprint overlaps with existing specimens, use a hori-hori knife to cut a clean root ball. Relocate these plants to a temporary nursery bed with a pH of 6.5.
Pro-Tip: Maintain auxin suppression by keeping the plants upright and oriented to their original light source. If a plant is tilted, auxins will migrate to the shaded side of the stem, causing asymmetrical growth that weakens the plant's structural integrity.
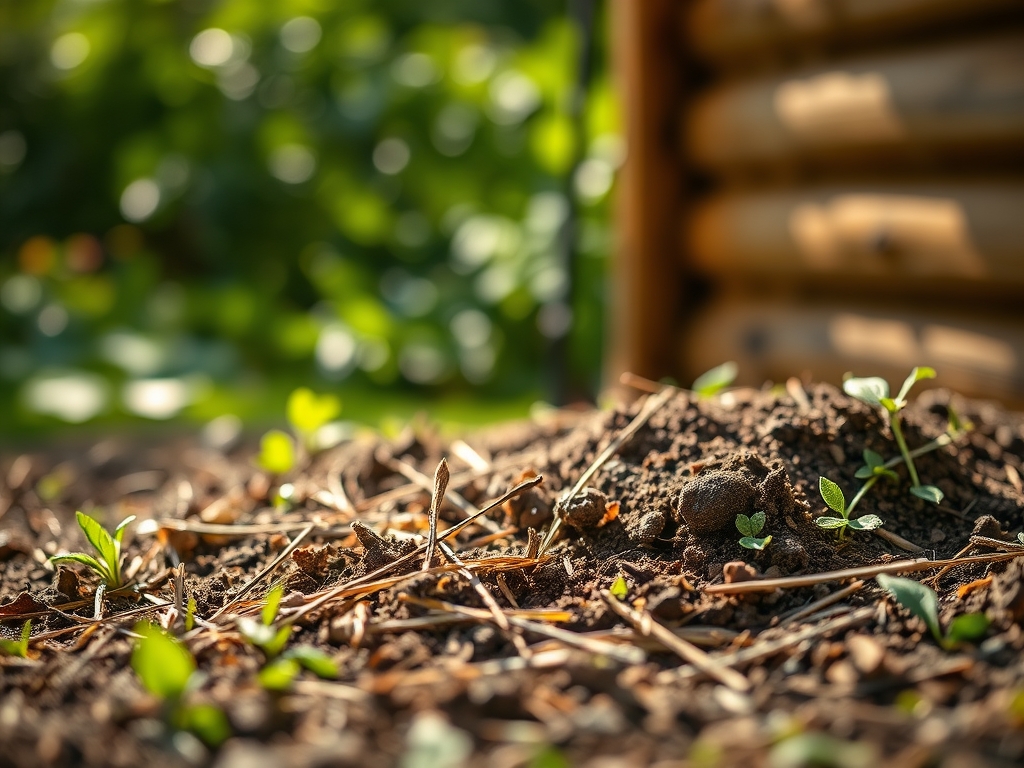
Establishing the Base
Excavate to a depth of 6 inches. Lay the geotextile fabric and backfill with 4 inches of compacted stone. The final 2 inches should consist of leveling sand or fine screenings.
Pro-Tip: Consider phototropism when positioning the shed. A large structure creates a permanent "shadow anchor." Ensure that sun-loving plants are not placed on the north side of the shed where the lack of light will trigger elongated, weak stems as they stretch for photons.
The Clinic:
Physiological disorders in the surrounding landscape often follow a major installation.
Symptom: Interveinal chlorosis (yellowing leaves with green veins).
Solution: This indicates a Magnesium deficiency often caused by high calcium levels in the gravel leaching into the soil. Apply Epsom salts at a rate of 1 tablespoon per gallon of water.
Symptom: Leaf scorch and marginal necrosis.
Solution: This is a sign of drought stress due to the "rain shadow" effect of the new shed roof. The structure blocks natural precipitation. Adjust irrigation to compensate.
Symptom: Stunted growth and purpling of lower leaves.
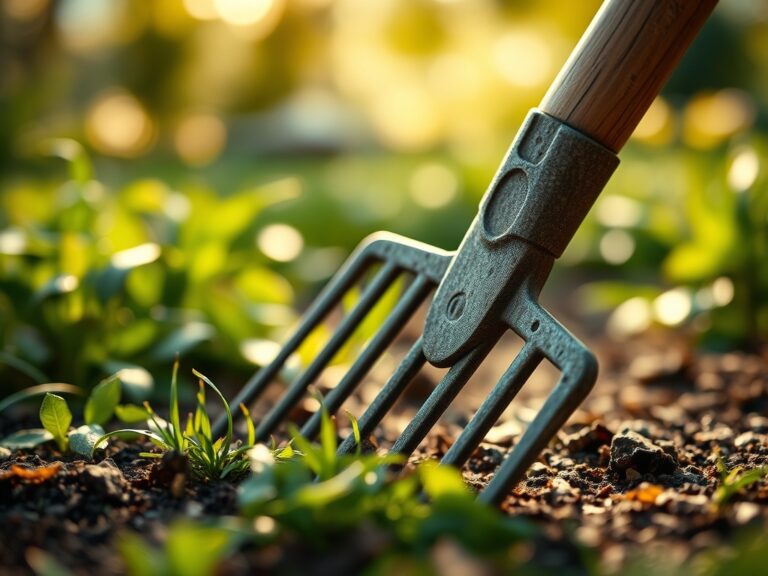
Solution: This is Phosphorus deficiency. Low soil temperatures or compacted soil around the shed site prevent root uptake. Aerate the soil with a garden fork to a depth of 8 inches.
Fix-It: Nitrogen Chlorosis
If the entire leaf turns pale green or yellow, the plant lacks Nitrogen. Apply a high-nitrogen fertilizer with an NPK of 21-0-0 (Ammonium Sulfate) to rapidly restore chlorophyll production.
Maintenance:
Post-installation care requires technical precision. Monitor the soil moisture around the shed perimeter using a digital soil moisture meter. The goal is to maintain a consistent 25 percent to 30 percent moisture level. Deliver exactly 1.5 inches of water per week at the drip line of the shed to prevent the soil from shrinking away from the foundation. Use bypass pruners to maintain a 12-inch air gap between any foliage and the shed siding; this prevents fungal pathogens from jumping from the plant to the wood. Every spring, check the level of the shed. If the structure has shifted more than 0.25 inches, use a pry bar to adjust the stone base and restore equilibrium.
The Yield:
If you are using the shed as a staging area for a cut-flower garden or vegetable harvest, timing is critical. Harvest at anthesis (the moment a flower opens) for maximum vase life. For leafy greens, harvest before the photoperiod reaches 14 hours to prevent bolting. Use a sharp blade to ensure a clean cellular cut, which preserves turgor pressure. Immediately submerge stems in 40-degree Fahrenheit water to remove field heat. This process, known as "hardening off," slows down the rate of senescence and ensures your harvest remains crisp from the garden to the kitchen.
FAQ:
How deep should I dig for a shed base?
Excavate to a minimum depth of 6 inches. This allows for a 4-inch layer of compacted angular stone and a 2-inch leveling layer. Proper depth prevents frost heave from shifting the structure during winter freeze-thaw cycles.
Can I build a shed over tree roots?
Building over major lateral roots causes soil compaction and limits oxygen exchange. If you must build near trees, use a post-and-beam foundation to elevate the shed and preserve the rhizosphere and gas exchange capacity of the soil.
What is the best gravel for a shed foundation?
Use ¾-inch crushed stone (clean). Unlike smooth river rocks, angular crushed stone interlocks when compacted. This creates a stable, non-shifting surface that provides excellent drainage and prevents the "wicking" of moisture into the wooden floor joists.
How do I prevent weeds under my shed?
Install a professional-grade geotextile weed barrier before adding gravel. Ensure the fabric overlaps by at least 6 inches at the seams. This prevents light penetration and physical emergence of weeds while allowing water to pass through into the subsoil.