7 Precise Steps to Sharpen a Lopper with a Mill File
The smell of damp earth and the high turgor pressure of a healthy leaf signify a garden in peak physiological activity. When a lopper blade becomes dull, it crushes the vascular tissue of the plant; this leads to jagged wounds that invite fungal pathogens into the xylem. Mastering the steps for sharpening a garden lopper with a file ensures a clean, surgical cut that promotes rapid callous formation. A sharp edge minimizes mechanical stress on the plant and the gardener. You must maintain the factory bevel to ensure the bypass action remains flush. If the blade is blunt, it requires more force, which can lead to structural failure of the tool or tearing of the plant epidermis. By following these precise steps for sharpening a garden lopper with a file, you preserve the integrity of the cambium layer during every pruning cut. This technical maintenance is as vital to horticultural success as monitoring soil moisture or adjusting nutrient protocols for specific growth stages.
Materials:
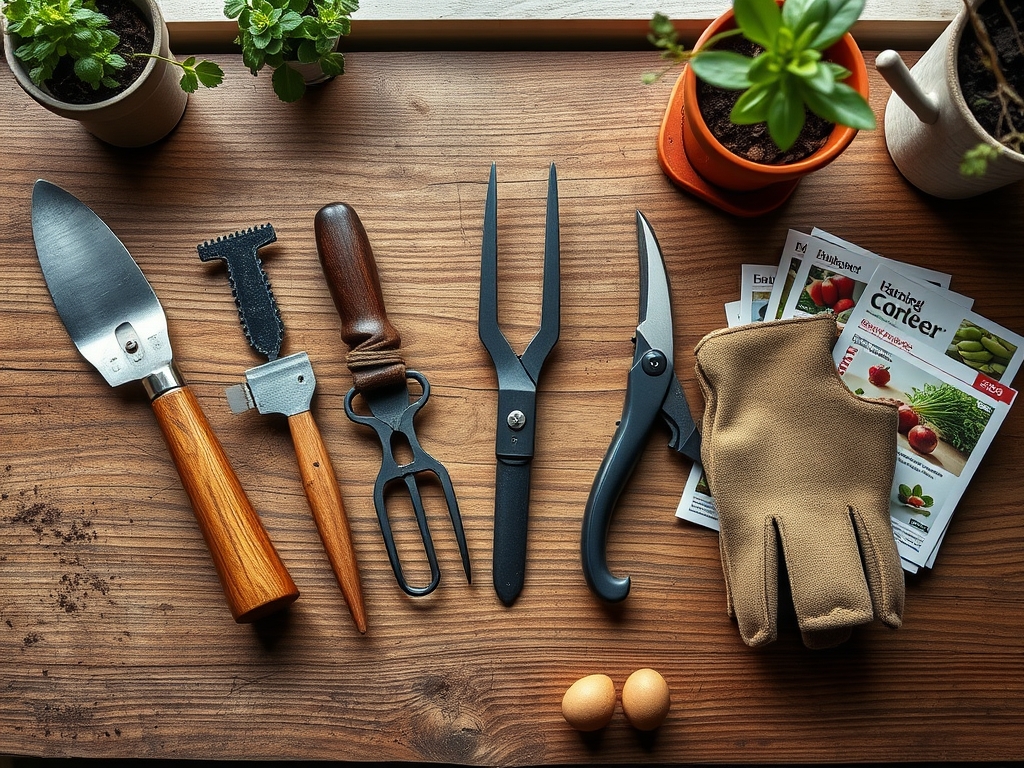
Successful sharpening requires a stable environment similar to a potting bench where you manage friable loam. To maintain the health of your woody perennials, your workspace should be free of debris. While the sharpening process is mechanical, the tools you use must be as clean as those used for managing a substrate with a **pH of 6.5** and an **NPK ratio of 10-10-10**. You will need a **10-inch mill bastard file**, a bench vise with rubber jaw protectors, 3-in-1 tool oil, and a wire brush. The physical texture of your workspace should mimic a well-drained silt loam; organized, grit-free, and firm. Use a high-quality solvent to remove sap and resin buildup before beginning the filing process to prevent the file teeth from clogging.
Timing:
Sharpening should occur during the dormant season, typically between late autumn and early spring in Hardiness Zones 4 through 8. This window aligns with the plant's biological clock, specifically the transition from senescence to the end of the endodormancy phase. Pruning with sharpened tools just before the spring flush ensures that the plant can allocate its carbohydrate reserves toward closing wounds rather than fighting infection. In Hardiness Zones 9 and 10, where the frost-free window is wider, sharpen tools before the onset of the rainy season to prevent water-borne pathogens from entering ragged cuts. Always synchronize tool maintenance with the vegetative rest period to ensure readiness for the high-growth photoperiod.
Phases:
Sowing: Preparation and Cleaning
Begin by securing the lopper in a vise with the beveled edge facing upward. Use a wire brush to remove oxidized metal and dried sap. If the blade is heavily coated in resin, apply a solvent. A clean blade allows the file to make consistent contact with the steel.
Pro-Tip: Removing organic matter prevents the transfer of pathogens like Verticillium dahliae. This biological precaution ensures that the rhizosphere of the next plant you prune remains uncontaminated by soil-borne diseases.
Transplanting: Establishing the Angle
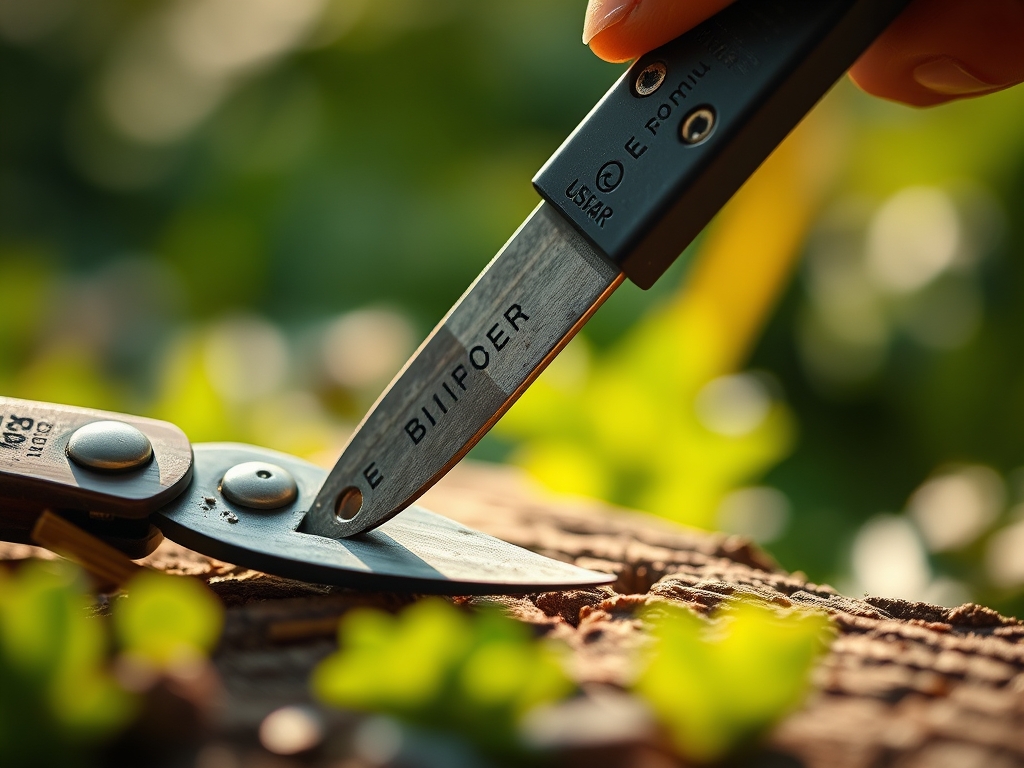
Align your mill file with the existing factory bevel, which is usually between 20 and 25 degrees. Place the file at the base of the blade near the pivot point. Use a single, smooth stroke pushing away from your body toward the tip of the lopper. Do not use a sawing motion; files are designed to cut in one direction only.
Pro-Tip: Maintaining the correct angle prevents "crushing" the phloem. Proper blade geometry ensures that the auxin suppression signals from the terminal bud are cleanly interrupted, encouraging lateral branching without unnecessary tissue necrosis.
Establishing: Honing and Deburring
Repeat the filing motion 10 to 15 times until a bright, silver edge appears along the entire length of the blade. Once the bevel is sharp, flip the lopper over. Use a single light pass of the file flat against the back of the blade to remove the "burr" or wire edge. Finish by applying a thin coat of tool oil to prevent oxidation.
Pro-Tip: A smooth, burr-free edge reduces friction during the cut. This minimizes the disruption of turgor pressure within the stem, allowing the plant to maintain its hydraulic integrity and recover faster from the pruning stress.
The Clinic:
When tools are neglected, the plants they service exhibit specific physiological disorders. Observe the following symptoms and apply the necessary fixes.
Symptom: Bark Stripping. This occurs when a dull blade fails to cut through the tough outer cork cambium, pulling the bark away from the wood.
Solution: Re-sharpen the lopper using the 7-step file method to ensure the blade shears cleanly through the lignin.
Symptom: Dieback at the Cut Site. Ragged edges create a high surface area that dries out quickly, leading to localized cell death.
Solution: Use a hori-hori knife to smooth any jagged edges left by poor tool performance and ensure future cuts are made with a honed edge.
Symptom: Nitrogen Chlorosis. While often a soil issue, chronic wounding from dull tools can stress a plant so severely that it fails to uptake nutrients effectively.
Solution: Ensure the soil has a Cation Exchange Capacity (CEC) above 15 and use sharp tools to reduce metabolic strain on the plant.
Fix-It for Nutrient Deficiencies:
If leaves show interveinal yellowing, check the soil pH. If the pH is above 7.0, iron becomes insoluble. Apply a chelated iron drench and ensure all pruning is done with sharp loppers to prevent secondary infections in weakened specimens.
Maintenance:
Post-sharpening maintenance is critical for tool longevity and plant health. After every use, wipe the blades with a microfiber cloth to remove moisture. Apply a light machine oil to the pivot bolt to maintain smooth articulation. For the plants themselves, provide 1.5 inches of water per week at the drip line to support the metabolic demands of wound healing. Monitor the soil with a soil moisture meter to ensure the root zone stays within the 40 to 60 percent saturation range. Use bypass pruners for smaller diameters and reserve the sharpened loppers for limbs between 1 and 2 inches in diameter. Store tools in a low-humidity environment to prevent the formation of ferric oxide on the sharpened edge.
The Yield:
When pruning fruit-bearing trees or flowering shrubs, the quality of the cut directly impacts the yield. A clean cut allows the plant to seal the wound via compartmentalization of decay in trees (CODIT). This process preserves the plant's energy for fruit production rather than defense. For "day-one" freshness in harvested flowers or fruit wood, prune during the early morning when turgor pressure is at its highest. This ensures the vascular bundles are fully hydrated. Handle the plant with care post-harvest, placing cut stems immediately into water with a pH of 3.5 to 4.5 to maximize uptake and prevent air embolisms in the xylem.
FAQ:
How often should I sharpen my loppers?
Sharpen your loppers every 50 to 100 cuts or whenever you notice the blade tearing the bark. Frequent light honing with a mill file is more effective than waiting for the blade to become completely dull and damaged.
Can I use a power grinder instead of a file?
Avoid power grinders as they generate excessive heat that can ruin the steel's temper. A mill bastard file provides better control and preserves the metal's structural integrity, ensuring the blade remains hard and holds its edge longer.
What is the best way to remove rust?
Use a wire brush or 0000 steel wool combined with a penetrating oil. For heavy oxidation, soak the blades in white vinegar for 12 hours, then neutralize with a baking soda solution before sharpening with your file.
Should I sharpen the flat side of the blade?
No. Only sharpen the beveled side of the bypass blade. Sharpening the flat side creates a gap between the blade and the hook, which causes the lopper to "chew" the wood rather than cutting it cleanly through the fibers.