6 Fast Tips for Solving Garden Tool Problems
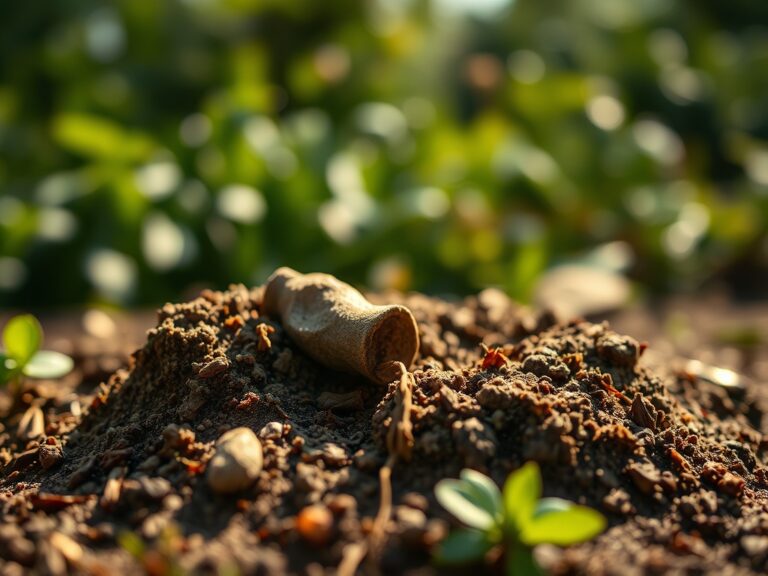
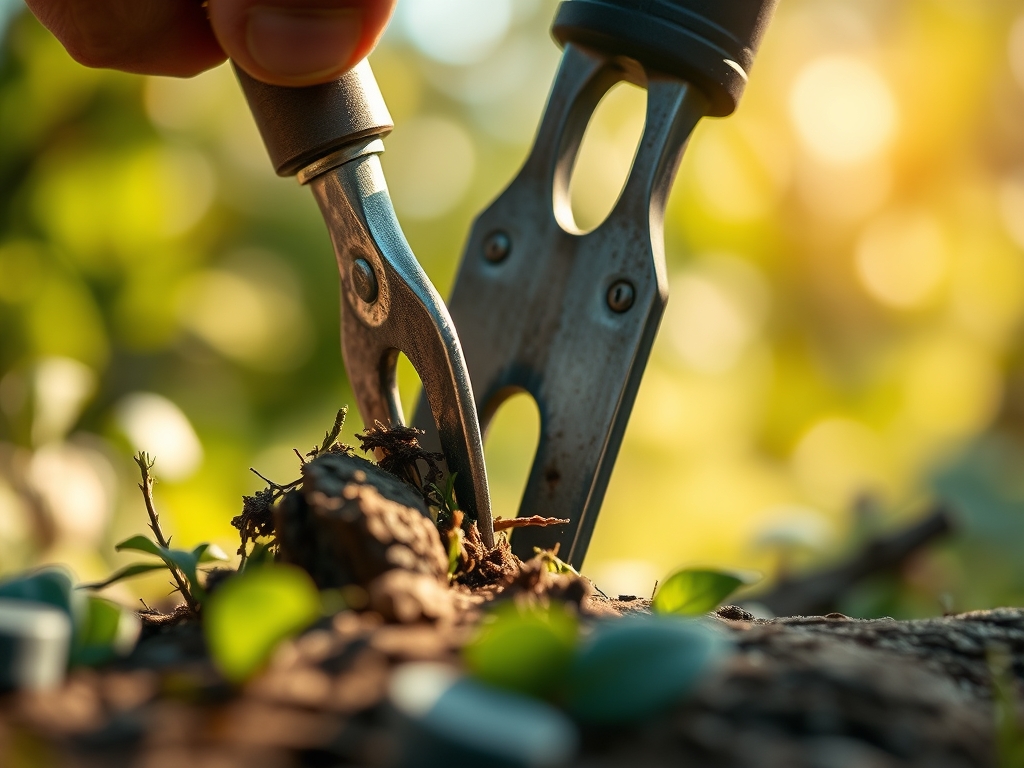
Damp earth releases geosmin as the spade bites into the soil; the scent signals a healthy microbial community and high organic matter. A gardener relies on the turgor pressure of a leaf to indicate cellular health, but that health depends on the mechanical efficiency of the equipment used to maintain the beds. When a blade dulls or a handle splinters, the precision of the cut suffers, leading to jagged wounds that invite pathogens into the plant vascular system. Using a repair site for garden tools allows a grower to source specific schematics and replacement parts that restore a tool to its original factory specifications. Maintaining sharp, sterilized edges is not a matter of aesthetics; it is a fundamental requirement for preventing the spread of fungal spores and ensuring rapid callus formation on woody stems. A dull bypass pruner crushes the xylem and phloem rather than slicing them. This mechanical failure disrupts the flow of nutrients and water, leading to localized necrosis. Precise maintenance ensures that every interaction with the rhizosphere or the canopy is surgical and productive.
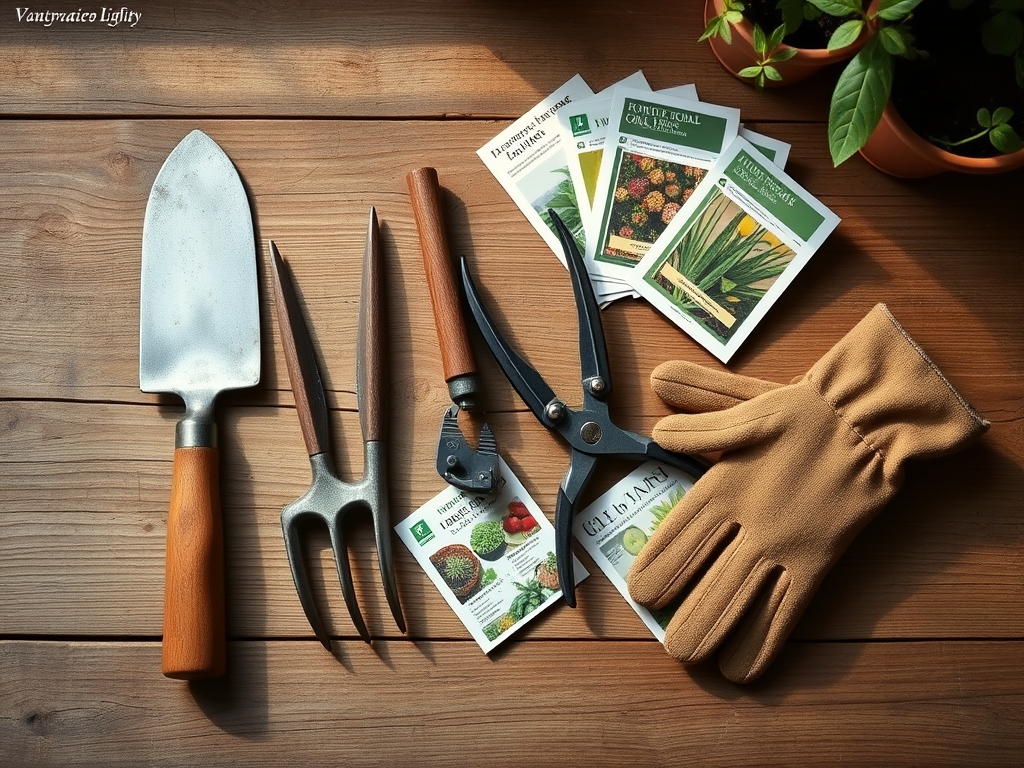
Materials:
The foundation of any successful harvest begins with the substrate. A **friable loam** with a Cation Exchange Capacity (CEC) above **15 meq/100g** provides the necessary reservoir for nutrient ions. For heavy feeders, the soil pH must be stabilized between **6.2 and 6.8** to ensure maximum bioavailability of phosphorus and micronutrients. Use a base fertilizer with an **NPK ratio of 5-10-10** for root development or **10-10-10** for general vegetative maintenance. High nitrogen levels (the first digit) promote leafy growth, while phosphorus (the middle digit) is critical for ATP production and root elongation. Potassium (the final digit) regulates stomatal conductance and water potential within the plant cells. If the soil is too acidic, apply calcitic lime at a rate of **5 pounds per 100 square feet** to raise the pH by one full point. Conversely, elemental sulfur is required to lower the pH in alkaline conditions.
Timing:
Hardiness Zones 4 through 9 dictate the primary windows for mechanical intervention and planting. In Zone 6, the last frost date typically falls between April 15 and May 15, marking the start of the vegetative phase. The biological clock of the plant is governed by the photoperiod; as day length increases, the plant transitions from vegetative growth to reproductive development. This shift is triggered by the accumulation of phytochrome proteins. Pruning must occur during the dormant season, typically late winter, to prevent sap loss and minimize the risk of infection. For spring-flowering species, wait until immediately after the bloom to avoid removing next year's buds. Soil temperatures must reach a consistent 60 degrees Fahrenheit before transplanting heat-sensitive crops like Solanaceae to avoid chilling injury and stunted growth.
Phases:
Sowing
Direct sow seeds at a depth exactly three times the diameter of the seed. This ensures adequate soil-to-seed contact for imbibition, the process where the seed absorbs water to activate metabolic enzymes. Maintain a consistent moisture level to prevent the delicate radicle from desiccating.
Pro-Tip: Proper sowing depth manages photoblastism; some seeds require darkness to germinate, while others need light to trigger the hormonal shift required to break dormancy.
Transplanting
When moving seedlings from a controlled environment to the field, ensure the root ball remains intact to protect the root hairs. These microscopic structures are responsible for the bulk of water and mineral absorption. Dig a hole twice as wide as the root mass but no deeper than the original container.
Pro-Tip: Minimize transplant shock by applying a seaweed-based solution to stimulate auxin production; this hormone encourages rapid root initiation in the new substrate.
Establishing
During the first 14 to 21 days, focus on deep irrigation to encourage downward root migration. Avoid shallow watering, which leads to weak, surface-level root systems susceptible to drought stress. Monitor for signs of wilting, which indicates a loss of turgor pressure within the central vacuole.
Pro-Tip: Utilize mycorrhizal symbiosis by inoculating the soil with beneficial fungi; these organisms extend the reach of the root system by up to 100 times, significantly increasing phosphorus uptake.
The Clinic:
Physiological disorders often mimic disease but result from environmental or nutritional imbalances.
- Symptom: Interveinal chlorosis on young leaves.
Solution: This indicates an Iron (Fe) deficiency, often caused by high soil pH. Apply chelated iron foliar spray and adjust soil pH to 6.5.
2. Symptom: Blossom end rot on fruit.
Solution: This is a Calcium (Ca) transport issue, often linked to inconsistent irrigation. Maintain a steady moisture level of 1.5 inches per week.
3. Symptom: Purple coloration on older foliage.
Solution: Phosphorus (P) deficiency. This is common in cold soils where microbial activity is low. Apply a high-phosphate starter fertilizer.
4. Symptom: Marginal leaf burn.
Solution: Potassium (K) deficiency or salt accumulation. Flush the soil with deionized water and check the electrical conductivity (EC) of the soil solution.
Maintenance:
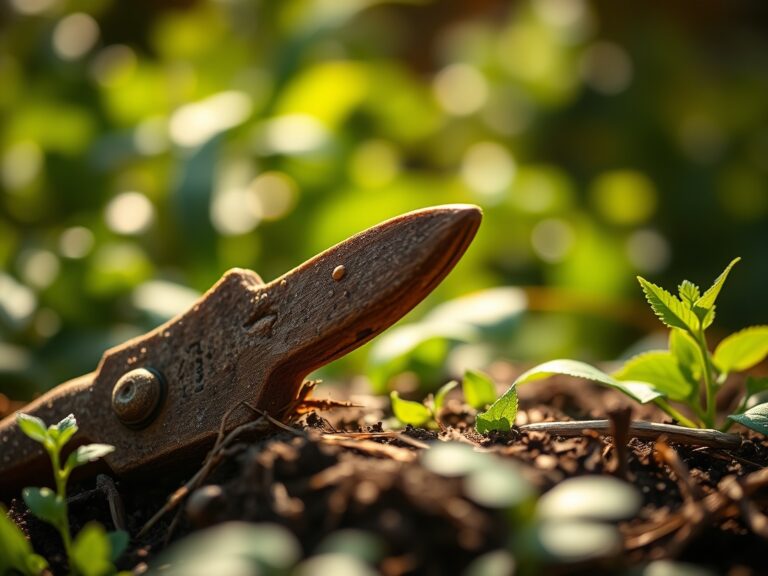
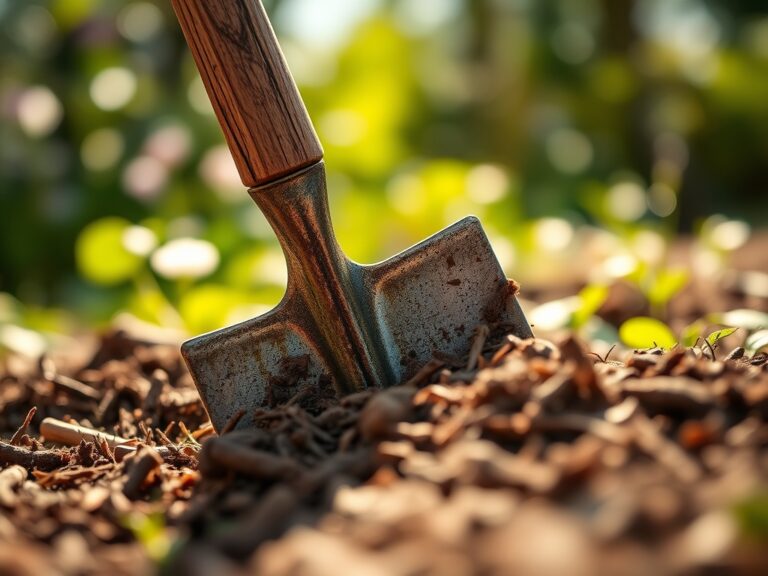
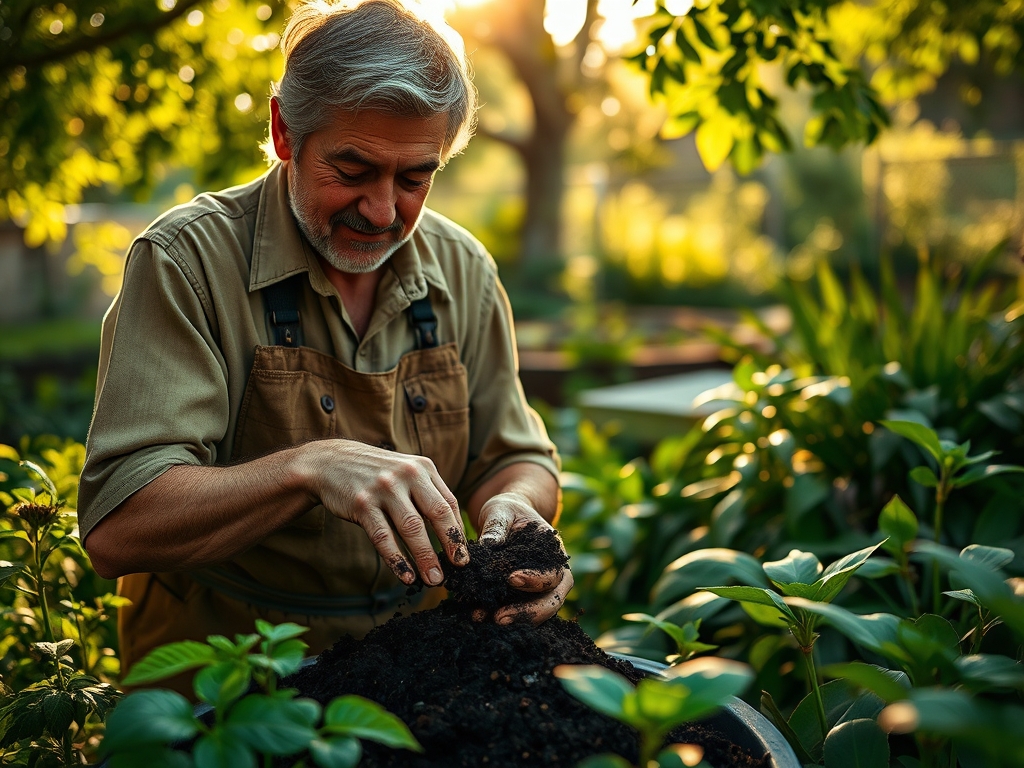
Precision tools require rigorous upkeep to remain effective. Clean your hori-hori knife after every use with a 70 percent isopropyl alcohol solution to kill soil-borne pathogens. Sharpen bypass pruners using a diamond whetstone at a 20-degree angle to maintain a clean cutting edge. Use a soil moisture meter daily to ensure the root zone remains at 60 to 80 percent field capacity. Irrigation should be targeted at the drip line, providing 1.5 inches of water per week in a single, deep application rather than daily light misting. This practice prevents fungal leaf spot by keeping the canopy dry while ensuring the rhizosphere remains hydrated. Lubricate all moving metal parts with a silicone-based spray to prevent oxidation and ensure smooth mechanical operation during heavy use.
The Yield:
Harvesting is the final stage of the reproductive cycle and requires timing based on physiological maturity. For leafy greens, harvest in the early morning when turgor pressure is at its peak; this ensures the leaves are crisp and have a longer shelf life. For fruiting bodies, look for the "abscission layer" to form at the base of the stem, indicating the plant has stopped transporting sugars to the fruit. Use a sharp hori-hori knife to make clean cuts, avoiding any tearing of the main stem. Post-harvest, immediately move produce to a shaded, cool environment to reduce the rate of respiration. Lowering the temperature by 10 degrees Celsius can double the storage life of many vegetables by slowing down the enzymatic breakdown of cellular structures.
FAQ:
How do I fix a broken wooden handle?
Remove the remaining wood from the tool head using a drill or punch. Insert a replacement handle made of straight-grained ash or hickory. Secure it with steel wedges to ensure a tight friction fit, preventing head wobble during high-torque tasks.
What is the best way to remove rust?
Soak the metal components in a 5 percent acetic acid solution for 24 hours. Use a wire brush or steel wool to scrub away the oxidized layers. Rinse with water, dry thoroughly, and apply a thin coat of mineral oil.
Why are my pruners tearing the bark?
This indicates the pivot bolt is loose or the blade is dull. Tighten the nut until the blades bypass each other with minimal resistance. Use a fine-grit whetstone to restore the bevel, ensuring the blade slices rather than crushes.
Can I use a repair site for vintage tools?
Yes; many sites provide historical archives for discontinued models. You can find specifications for forged steel components and handle dimensions that are no longer standard. This preserves the high-carbon steel quality found in older horticultural implements.