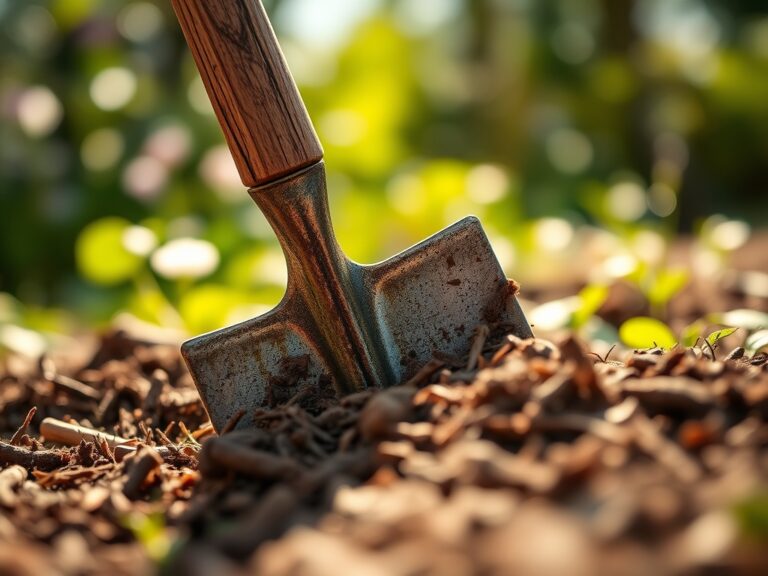
8 Essential Steps to Clean a Digging Spade
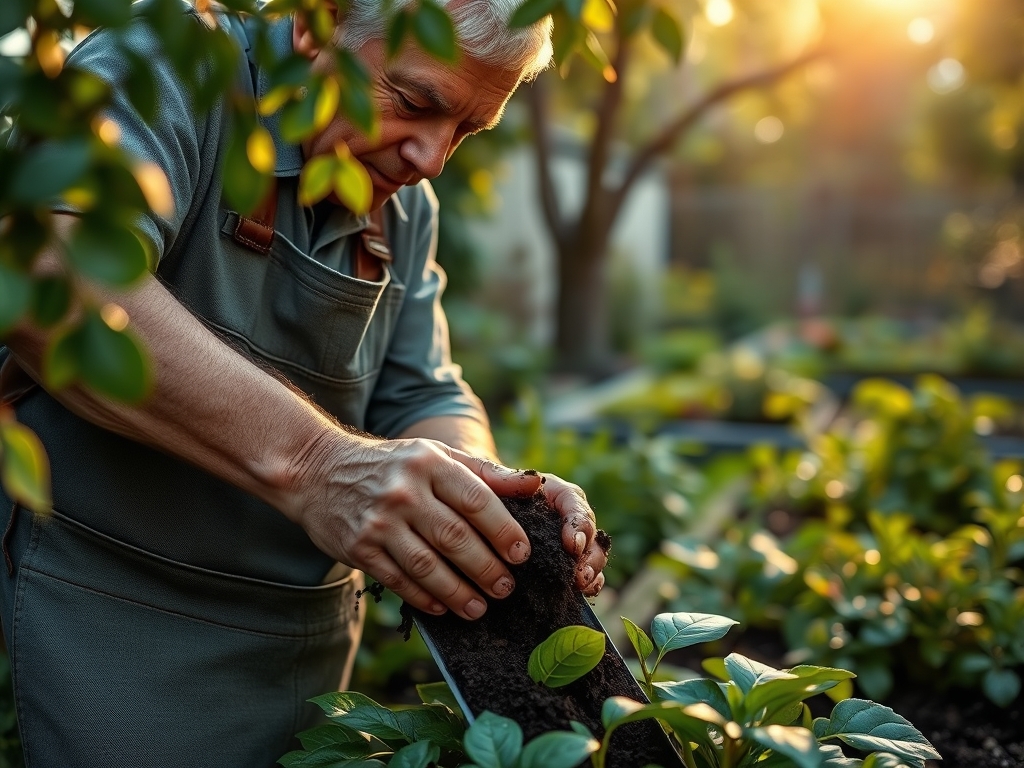
Damp earth carries a sharp, metallic scent when sliced by high-carbon steel; it is the smell of active microbial decomposition and mineral oxidation. Maintaining the integrity of the rhizosphere begins with the primary interface between the gardener and the soil. Residual pathogens and anaerobic bacteria cling to unwashed steel, leading to cross-contamination across different garden beds. Implementing rigorous steps for cleaning a garden spade after use ensures the tool remains a sterile instrument rather than a vector for soil-borne diseases. A spade coated in dried clay increases friction, which demands higher physical exertion and compromises the turgor pressure of delicate root systems during transplanting. By removing organic debris immediately, you prevent the localized acidification of the metal surface. This practice preserves the blade edge and maintains the structural health of the soil profile.
Materials:
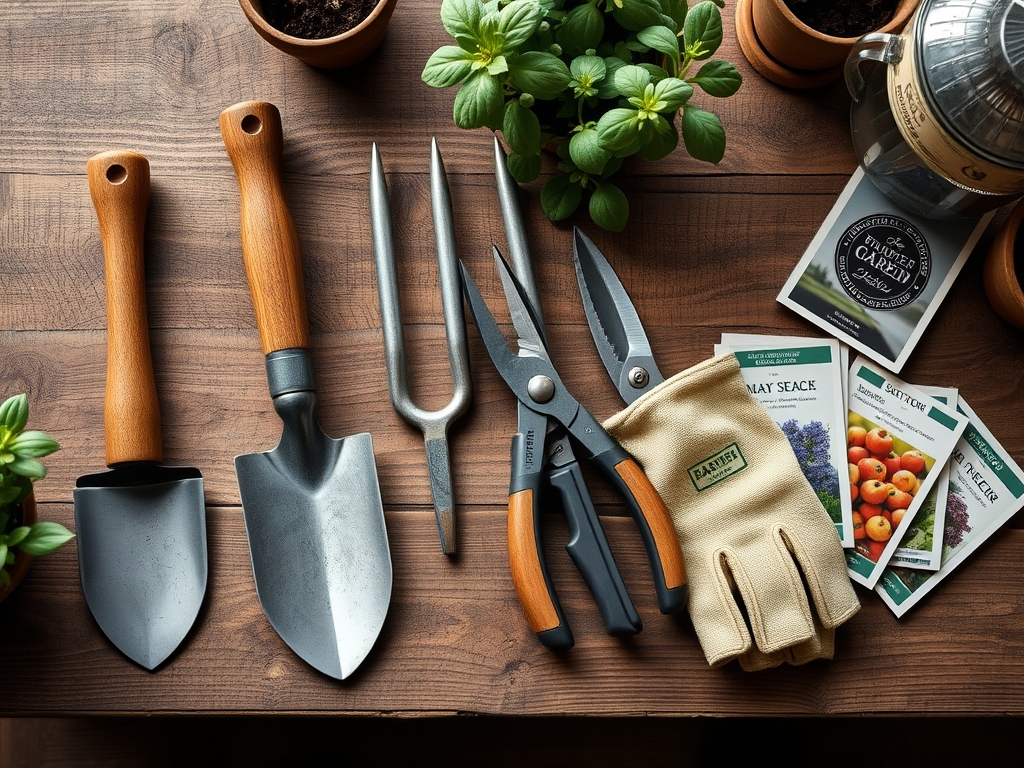
The efficiency of a digging spade depends on the substrate it penetrates. Ideal gardening occurs in a **friable loam** with a **pH range of 6.2 to 7.0**, where the soil texture consists of roughly **40 percent sand, 40 percent silt, and 20 percent clay**. When cleaning tools, you must consider the mineral salts present in the soil. High-nitrogen fertilizers with an **NPK ratio of 21-0-0 (Ammonium Sulfate)** can be corrosive to tool steel if left in contact with moisture. Conversely, a balanced **10-10-10 NPK** application requires the tool to be neutralized to prevent salt buildup. Use a stiff-bristled brush, a bucket of coarse builder’s sand mixed with **mineral oil**, and a **70 percent isopropyl alcohol** solution for sterilization.
Timing:
Hardiness Zones 3 through 9 dictate the window for heavy spade use. In colder zones, the transition from the vegetative stage to senescence occurs rapidly after the first killing frost. You must clean and oil your spade before the ground freezes solid, typically when soil temperatures drop below 40 degrees Fahrenheit. The biological clock of the garden slows as the photoperiod shortens; this is the critical time to perform deep maintenance. Cleaning should occur within 30 minutes of finishing a task to prevent the hardening of clay particles, which can have a Cation Exchange Capacity (CEC) high enough to bond tightly to the metal surface.
Phases:
Sowing and Site Preparation
Before the first seed hits the furrow, the spade must be free of rust. A clean edge allows for precise depth control, which is vital for seeds that require specific light levels for germination. If the spade is fouled with old soil, you risk introducing Pythium or Rhizoctonia fungi into the seedbed.
Pro-Tip: Maintaining a sharp, clean edge reduces the compression of the soil macropores. This preserves the oxygen levels required for mycorrhizal symbiosis, allowing fungi to colonize roots more effectively.
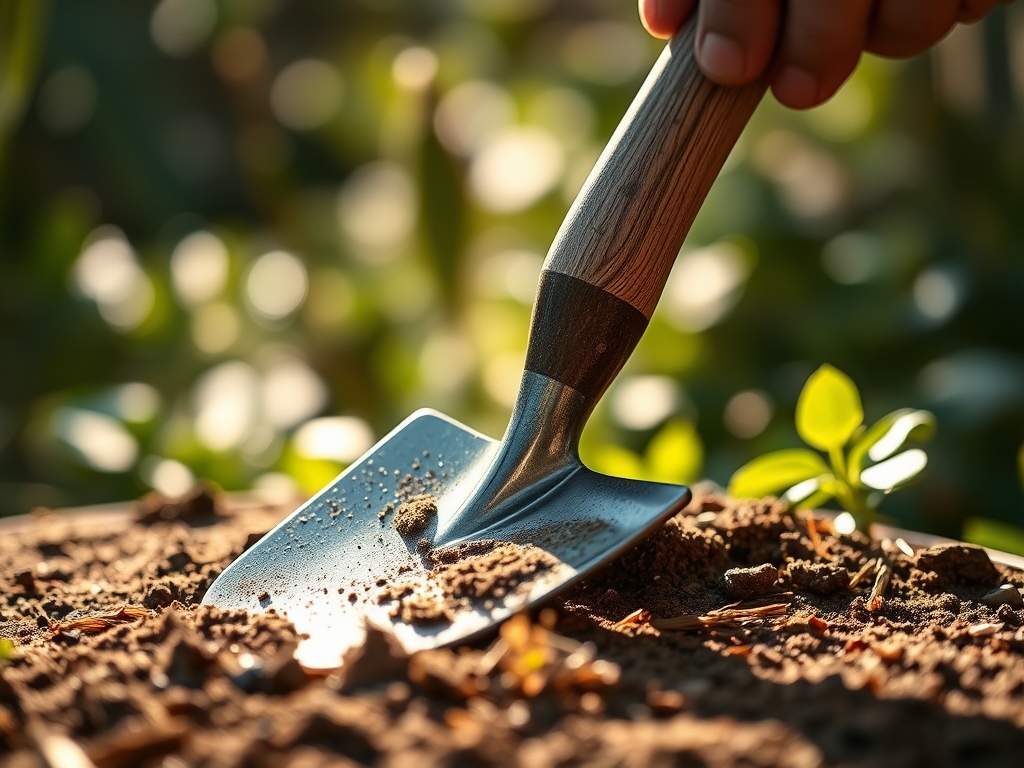
Transplanting and Root Management
During the transplanting phase, the spade interacts directly with the root ball. A dirty blade can tear the fine root hairs, leading to a loss of turgor pressure and subsequent transplant shock. The blade must be wiped with alcohol between different plant species to prevent the spread of viral pathogens.
Pro-Tip: A clean slice through the soil prevents the crushing of xylem and phloem tissues at the root tips. This encourages the rapid release of auxins, which are hormones that trigger new root growth in the surrounding soil.
Establishing and Bed Maintenance
As plants move into the reproductive stage, the spade is used for edging and turning compost. Soil with a high organic matter content (above 5 percent) is particularly sticky. After each use, use a hori-hori knife to scrape off large clumps before the final wash.
Pro-Tip: Removing all organic residue prevents the spade from becoming a breeding ground for anaerobic bacteria. This protects the rhizosphere, the narrow region of soil influenced by root secretions and beneficial microbes.
The Clinic:
Physiological disorders in plants often stem from poor tool hygiene or soil mismanagement. Monitor your garden for these specific symptoms:
Symptom: Interveinal chlorosis in young leaves.
Solution: This often indicates a Nitrogen deficiency. If the spade was used to incorporate uncomposted woody mulch, the carbon-to-nitrogen ratio may be imbalanced, causing "nitrogen tie-up."
Fix-It: Apply a fast-acting nitrate fertilizer and ensure the spade is cleaned of all woody debris to avoid further carbon loading.
Symptom: Rapid wilting despite adequate soil moisture.
Solution: This may be Fusarium wilt, a fungal pathogen often spread by contaminated digging tools.
Fix-It: Immediately sterilize the spade using a 10 percent bleach solution or 70 percent ethanol. Remove the infected plant and the surrounding soil.
Symptom: Stunted growth and purplish leaf tints.
Solution: This suggests Phosphorus deficiency, common in compacted soils where roots cannot expand.
Fix-It: Use a clean spade to aerate the soil to a depth of 8 inches without damaging the main root system.
Maintenance:
A professional-grade spade requires more than just a rinse. Use a soil moisture meter to ensure your garden receives exactly 1.5 inches of water per week at the drip line, but keep your tools dry. After washing the spade with water, dry it thoroughly with a lint-free rag. Use a mill file to maintain a 45-degree bevel on the leading edge of the blade. Apply a thin coat of linseed oil to wooden handles to prevent cracking and splintering. For the metal head, a plunge into a bucket of sand and oil provides both abrasion to remove microscopic rust and a protective film to block oxygen. Store the tool hanging vertically in a shed with a relative humidity below 50 percent.
The Yield:
When harvesting root crops like carrots or potatoes, the spade must be exceptionally clean to avoid scarring the epidermis of the vegetable. Any nick in the skin allows for rapid senescence and rot. For "day-one" freshness, harvest during the cool of the morning when turgor pressure is at its peak. Use the spade to loosen the soil 6 inches away from the base of the plant to avoid mechanical damage. Once the crop is lifted, immediately move it to a shaded, well-ventilated area to remove field heat.
FAQ:
How often should I sterilize my spade?
Sterilize the blade with 70 percent isopropyl alcohol every time you move between different garden beds or after working with diseased plants. This prevents the mechanical transmission of soil-borne pathogens like Verticillium wilt across your landscape.
Can I use water alone to clean my tools?
Water removes bulk soil but does not eliminate microscopic fungal spores or prevent oxidation. Always follow a water rinse with thorough drying and a light application of mineral oil to create a barrier against moisture and oxygen.
What is the best way to remove rust?
Use a wire brush or medium-grit sandpaper to remove surface oxidation. Once the bare metal is exposed, sharpen the edge with a file and immediately coat it with oil to prevent the chemical process of rusting from restarting.
Why does my spade handle keep breaking?
Handles often fail due to wood dehydration or excessive prying. Apply linseed oil seasonally to maintain flexibility. When digging in heavy clay, ensure you are not exceeding the shear strength of the wood by taking smaller soil bites.