5 Easy Ways How to Calculate Patio Base Depth
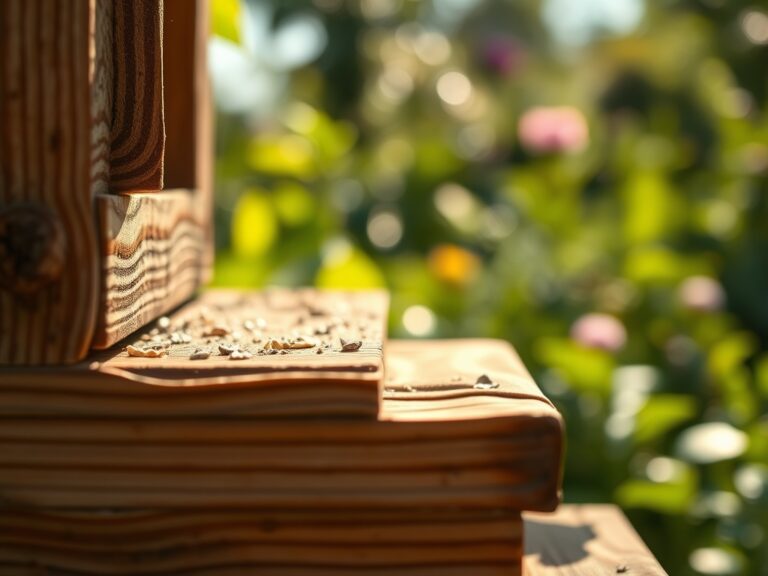
The scent of damp, disturbed earth signals the start of any structural landscape project; it is the smell of geosmin being released as the soil's anaerobic layers meet the air. This initial excavation is the most critical phase of construction because the stability of the final surface depends entirely on the mechanical properties of the substrate. To ensure long term structural integrity, a builder must know how to calculate patio base depth by evaluating the load bearing capacity of the native soil and the intended use of the space. A failure to account for the frost heave cycle or the specific gravity of the bedding material will result in uneven settling and the eventual failure of the stone or paver surface. Precision in these early measurements prevents the loss of turgor in the surrounding landscape by ensuring proper drainage and preventing localized compaction that could suffocate the rhizosphere of nearby ornamental specimens.
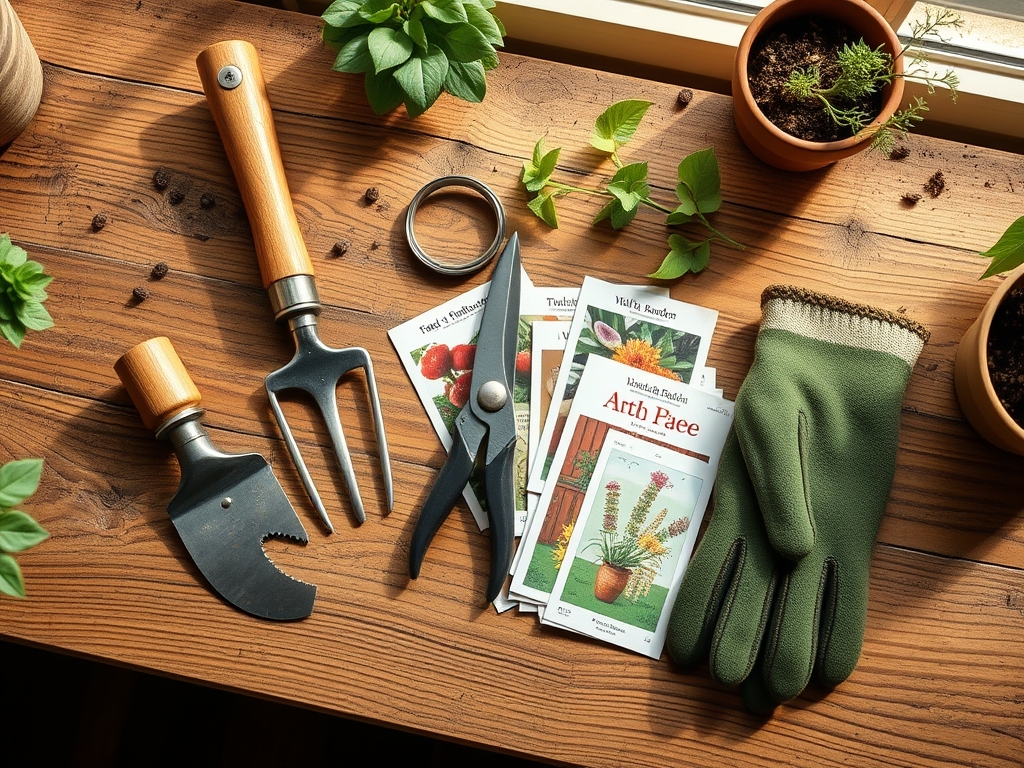
Materials:
The foundation of a patio is not merely a structural requirement but a modification of the local pedology. To maintain a healthy surrounding ecosystem, the base materials must interact correctly with the soil chemistry. Ideal sub-base materials consist of crushed stone or “3/4-minus” gravel, which provides a high Cation Exchange Capacity (CEC) if it contains basaltic or volcanic components. The native soil beneath the base should ideally be a **friable loam** with a **pH between 6.0 and 7.0** to ensure that any runoff does not alter the acidity of adjacent planting beds.
When planning the drainage layer, consider the NPK ratios of the surrounding turf. A high-phosphorus (0-20-0) starter fertilizer may be used at the perimeter to encourage root density after excavation. The physical texture of the base must be angular rather than rounded; rounded river rock lacks the interlocking friction necessary for a stable 98 percent Proctor density compaction. Use a soil moisture meter to verify that the subgrade is at its optimum moisture content before mechanical compaction begins.
Timing:
Construction should be synchronized with the local climate and the "Biological Clock" of the surrounding flora. In Hardiness Zones 4 through 7, excavation must occur after the spring thaw but before the peak heat of midsummer. This window prevents the soil from being too plastic (saturated) or too brittle (desiccated). For most temperate regions, the period between the last frost date and the summer solstice is optimal.
During this time, plants are transitioning from the vegetative stage to the reproductive stage. Moving heavy machinery or altering soil grades during this transition can cause physiological stress. Avoid compacting the soil within the drip line of trees when their auxin levels are peaking in late spring, as this is when root expansion is most active. If construction occurs during the senescence of autumn, ensure the base is sealed before the first hard freeze to prevent ice lenses from forming within the aggregate layers.
Phases:

Sowing the Foundation
The first phase involves removing the organic "O" horizon of the soil. This layer contains decomposing plant matter that will shrink over time. You must excavate down to the mineral-rich "B" horizon. To calculate the total depth, add the thickness of your paver (typically 2.375 inches), the sand setting bed (1 inch), and the compacted gravel base (4 to 6 inches for foot traffic). For a standard residential patio, the total excavation depth is approximately 9 to 10 inches.
Pro-Tip: Always slope the subgrade at a 2 percent grade (1/4 inch per linear foot) away from structures. This utilizes gravity to prevent hydrostatic pressure from building up against foundations, which can lead to root rot in foundation plantings due to poor oxygen diffusion in the rhizosphere.
Transplanting the Aggregate
Once the hole is cleared, install a geotextile fabric. This prevents the fine particles of the native soil from migrating into the gravel base, a process known as "intermixing." Fill the area with 2-inch lifts of crushed stone. Each lift must be compacted with a plate compactor to ensure the particles are mechanically locked.
Pro-Tip: Lightly mist the aggregate with water during compaction. This reduces friction between the stone particles, allowing them to settle into a tighter matrix. This is a form of mechanical "turgor" where the water acts as a lubricant to achieve maximum density before evaporating.
Establishing the Surface
The final phase is the application of the bedding sand. This layer should be exactly 1 inch thick and left uncompacted until the pavers are set. Once the pavers are placed, sweep polymeric sand into the joints. This sand contains additives that harden when misted, creating a semi-permeable barrier.
Pro-Tip: Use a hori-hori knife to trim any geotextile fabric at the edges. Keeping the fabric below the soil line prevents it from wicking moisture away from the roots of edge-row plants, ensuring that the transition from hardscape to softscape does not create a localized drought zone.
The Clinic:
Physiological disorders in the landscape often stem from poor patio installation. Monitor the following symptoms in nearby vegetation:
- Symptom: Marginal leaf burn on nearby shrubs.
- Solution: Check for lime leaching from the concrete base. Excess calcium can spike the pH, causing iron chlorosis. Use elemental sulfur to lower the pH back to 6.5.
- Symptom: Standing water on the patio surface.
- Solution: This indicates a failure in the 2 percent pitch. Regrade the bedding sand layer to ensure positive drainage.
- Symptom: Paver "rocking" or shifting.
- Solution: This is caused by insufficient base depth or poor compaction. The "Fix-It" requires removing the affected pavers and re-compacting the sub-base with a vibratory plate.
- Nutrient Deficiency (Nitrogen Chlorosis): If plants near the patio show yellowing older leaves, the high-carbon runoff from some stone types may be "tying up" nitrogen. Apply a high-nitrogen fertilizer (30-0-0) to compensate for the biological demand of soil microbes.
Maintenance:
A patio requires ongoing monitoring to ensure it does not negatively impact the surrounding soil health. Inspect the joints annually for moss or weed growth; these organisms can trap moisture and cause the base to undergo premature freeze-thaw degradation. Use bypass pruners to keep overhanging limbs clear of the patio; this increases airflow and reduces the accumulation of organic debris that can stain the stone and alter the surface pH.
For the surrounding landscape, provide 1.5 inches of water per week at the drip line of any trees impacted by the excavation. Use a soil moisture meter to check the moisture levels at a depth of 6 inches. Because the patio base acts as a massive drain, the soil at the perimeter will dry out faster than the rest of the yard. Supplemental irrigation is mandatory during the first two growing seasons following construction.
The Yield:
While a patio does not produce a harvest in the traditional sense, the "yield" is measured in the longevity of the structure and the health of the integration. A correctly calculated base depth prevents the need for reconstruction for 25 to 30 years. To maintain the "day-one" freshness of the stone, seal the surface with a breathable siloxane-based sealer. This prevents the penetration of oils while allowing water vapor to escape from the soil below, maintaining the natural gas exchange necessary for a healthy sub-surface biome.
FAQ:
How deep should a gravel base be for a walkway?
For pedestrian traffic, a compacted gravel base of 4 inches is sufficient. If the soil is heavy clay, increase this to 6 inches to improve drainage and prevent shifting during the frost-thaw cycle.
Can I use stone dust instead of sand for the bedding layer?
Stone dust is not recommended for the bedding layer. It contains too many "fines" which retain water and can lead to heaving. Use coarse concrete sand (ASTM C33) for a stable, free-draining setting bed.
How do I calculate the amount of gravel needed?
Multiply the total square footage by the depth in feet (e.g., 4 inches is 0.33 feet). Divide the resulting cubic feet by 27 to find the total cubic yards required for the project.
Do I need a base if my soil is already rocky?
Yes. Native rocky soil is not compacted to the necessary density and contains organic matter. You must excavate and replace it with a graded aggregate to ensure a level, stable surface that resists settling.