8 Pro Tips How to Prune Ornamental Trees
The scent of damp earth and crushed xylem fills the air when a precise cut is made. Understanding how to prune ornamental trees begins with recognizing the turgor pressure within the vascular cambium. A healthy tree maintains high internal water pressure; this allows the specimen to seal wounds through the production of callus tissue. Proper structural intervention prevents limb failure and ensures the canopy remains an efficient solar collector rather than a tangled mess of unproductive wood.
Effective pruning is not merely aesthetic. It is a calculated biological disruption designed to redirect energy from apical dominance to lateral development. When you remove a terminal bud, you suppress the flow of auxins. This hormonal shift triggers dormant lateral buds to break, resulting in a denser, more structurally sound specimen. Mastery of this process requires an understanding of how to prune ornamental trees while respecting the natural architecture of the species. Every cut must be intentional; every removal must serve the long term health of the rhizosphere and the canopy.
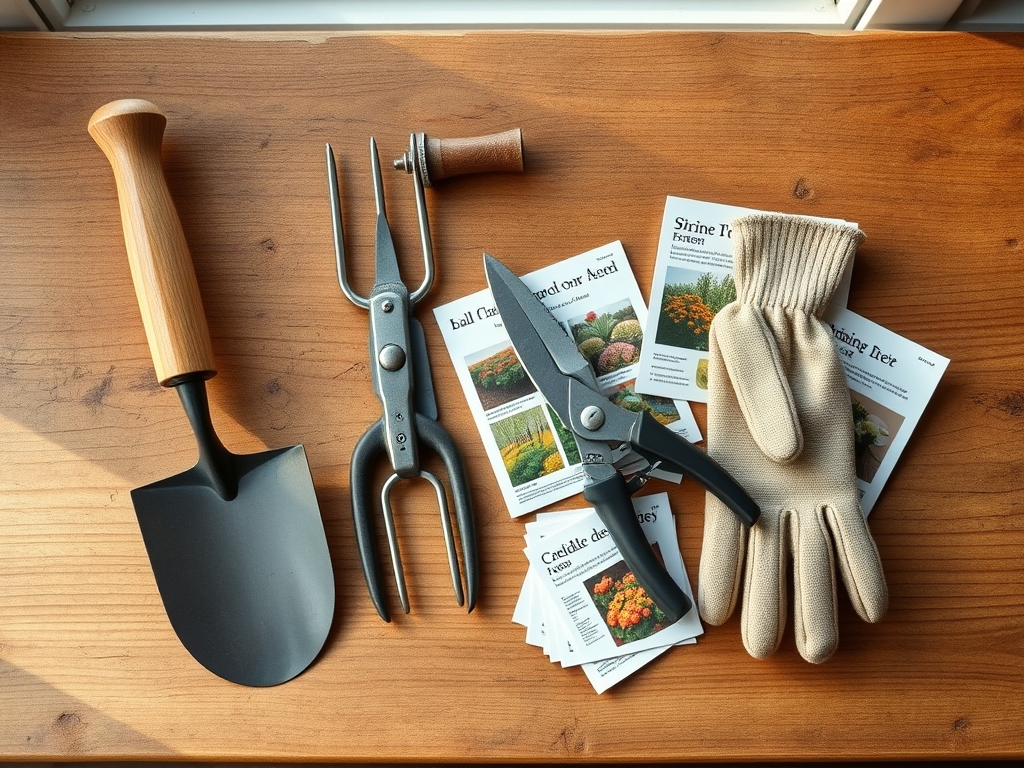
Materials:
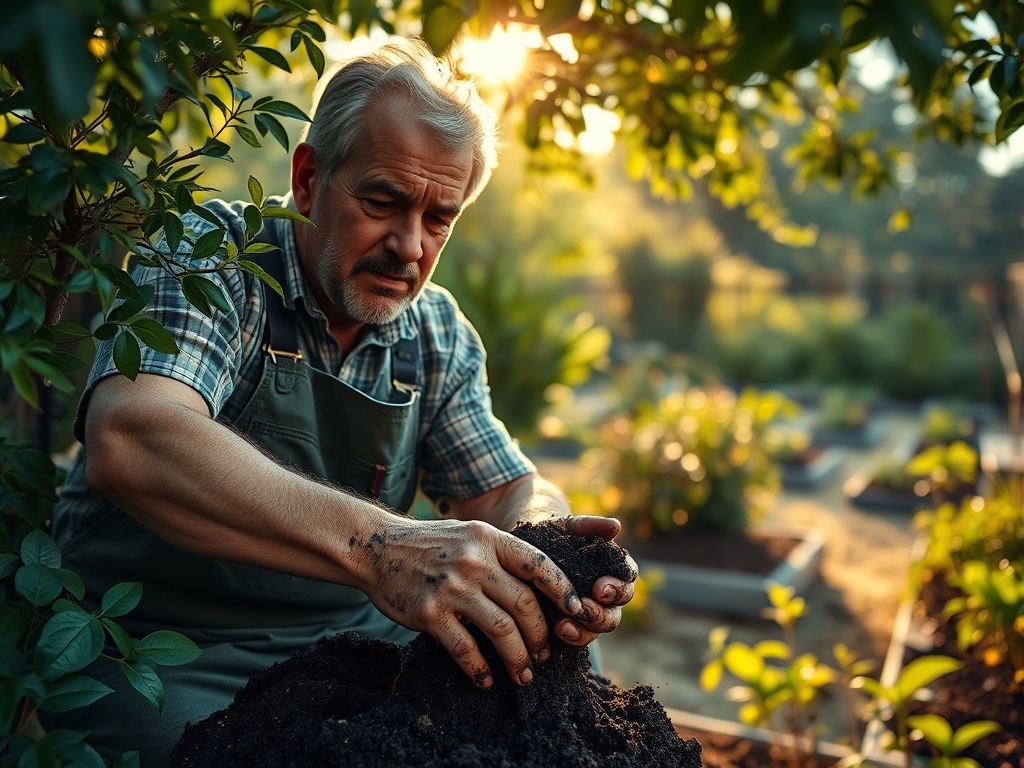
Before making the first cut, evaluate the growing medium. Ornamental trees thrive in a **friable loam** with a **Soil Cation Exchange Capacity (CEC) between 15 and 25 meq/100g**. This ensures the soil can hold and exchange essential cations like Calcium and Magnesium. The ideal soil pH for most ornamental species, such as *Cornus florida* or *Acer palmatum*, ranges from **5.8 to 6.5**.
Nutrition is critical for post-pruning recovery. Use a slow release fertilizer with an NPK ratio of 10-10-10 for general maintenance, or a 5-10-10 ratio if you aim to prioritize root development and lignification over rapid succulent growth. High nitrogen levels (the first number in the NPK ratio) can lead to weak, elongated "water sprouts" that are susceptible to environmental stress. The substrate must feel granular and crumble easily when squeezed; this indicates adequate pore space for oxygen diffusion to the roots.
Timing:
The biological clock of an ornamental tree is governed by the photoperiod and temperature fluctuations. In Hardiness Zones 4 through 8, the optimal window for heavy structural pruning is during late dormancy, typically 4 to 6 weeks before the first predicted spring frost. During this phase, the tree has sequestered its carbohydrate reserves in the root system, minimizing the shock of biomass removal.
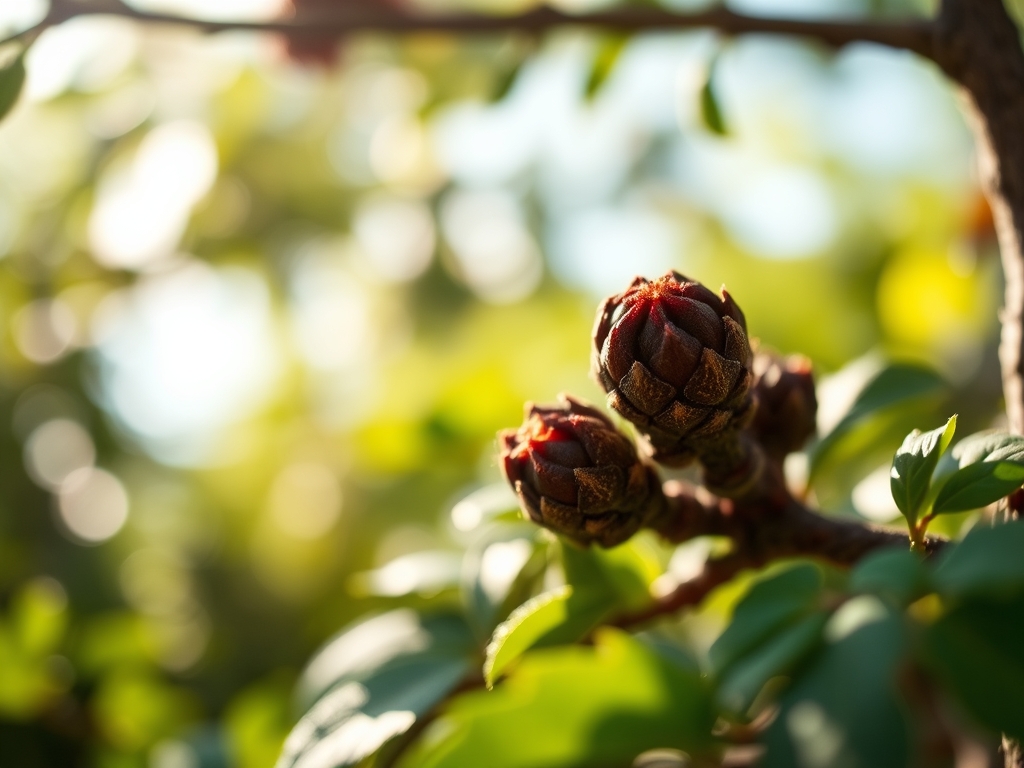
Avoid pruning during the transition from vegetative to reproductive stages in early spring when sap flow is at its peak. Pruning during the "bleeding" phase can attract pathogens and lead to excessive moisture loss. For spring flowering ornamentals, wait until immediately after the flowers undergo senescence. This timing ensures you do not remove the following year's flower primordia, which are often set by mid summer.
Phases:
Sowing and Site Selection
Success starts with the initial placement. Ensure the tree is sited where it can reach its mature height without constant shearing. Check the soil drainage by digging a hole and filling it with water; it should drain at a rate of at least 1 inch per hour.
Pro-Tip: Position the tree to maximize light interception based on its specific phototropic needs. Biological Why: Phototropism causes plants to grow toward light. If a tree is shaded on one side, it will develop an asymmetrical canopy, leading to mechanical instability as the center of gravity shifts.
Transplanting and Root Management
When moving a container grown tree to the field, inspect the root ball for circling roots. Use a hori-hori knife to make vertical scores in the root mass. This encourages the development of lateral roots into the surrounding native soil.
Pro-Tip: Inoculate the planting hole with endomycorrhizal fungi. Biological Why: Mycorrhizal symbiosis expands the effective surface area of the root system by up to 1,000 times, significantly increasing the uptake of phosphorus and water during the critical establishment phase.
Establishing and First Year Pruning
During the first growing season, focus on removing only dead, damaged, or diseased wood. The tree needs maximum leaf area to produce the sugars required for root establishment. Limit pruning to less than 10 percent of the total canopy.
Pro-Tip: Use bypass pruners rather than anvil pruners for all cuts under 0.75 inches. Biological Why: Bypass pruners act like scissors, creating a clean slice through the xylem and phloem. Anvil pruners crush the tissue, leading to localized necrosis and slower wound occlusion.
The Clinic:
Physiological disorders often manifest as visible symptoms in the foliage or bark. Identifying these early prevents long term structural decline.
Symptom: Interveinal chlorosis (yellowing leaves with green veins).
Solution: This is often a sign of Manganese or Iron deficiency, usually caused by a soil pH above 7.0.
Fix-It: Apply chelated iron or elemental sulfur to lower the pH to the 6.0 range, which increases nutrient bioavailability.
Symptom: Epicormic sprouting (thin, vertical shoots growing from the trunk).
Solution: This indicates stress or over pruning. The tree is trying to rapidly replace lost photosynthetic capacity.
Fix-It: Thin these sprouts by 50 percent in the first year and remove the remainder the following year to prevent "shrubbing" of the tree form.
Symptom: Leaf scorch or marginal necrosis.
Solution: Inadequate water transport to the leaf margins, often due to high salts or drought.
Fix-It: Flush the rhizosphere with clean water and ensure the tree receives at least 1.5 inches of water per week during peak summer heat.
Maintenance:
Precision maintenance requires the right tools and data. Use a soil moisture meter to check the hydration levels at a depth of 6 to 8 inches. Ornamental trees generally require 1.5 inches of water per week delivered at the drip line, which is the area directly beneath the outer circumference of the tree branches. This is where the most active feeder roots reside.
Maintain a 3 inch layer of organic mulch around the base, keeping it at least 4 inches away from the trunk flare. This prevents bark rot while conserving soil moisture and suppressing weed competition. Annually inspect the branch collar; this is the swollen area at the base of a branch. When pruning, always cut just outside this collar to preserve the tree's natural defense zone.
The Yield:
For flowering ornamentals like Magnolia or Cercis, the "yield" is the floral display. To maximize the duration of the bloom, ensure the tree has adequate Potassium levels during the bud swelling stage. Once flowers begin to fade, deadheading (the removal of spent blooms) can prevent the tree from diverting energy into seed production. This allows the specimen to focus its resources on vegetative growth and carbohydrate storage for the following winter. Handle any cut flowers by immediately plunging the stems into 40 degree Fahrenheit water to maintain turgor and extend freshness.
FAQ:
How much of the canopy can I safely remove?
Never remove more than 25 percent of the live crown in a single season. Exceeding this limit starves the root system of carbohydrates and triggers the growth of weak water sprouts.
What is the "Three-Cut Method"?
This technique prevents bark stripping. Make an undercut 12 inches from the trunk, a top cut further out to remove the limb weight, and a final cut just outside the branch collar.
When should I prune spring-flowering trees?
Prune these species immediately after the flowers fade. Pruning them in winter will remove the dormant flower buds, resulting in a loss of the season's floral display.
Do I need to use pruning paint on cuts?
No. Research shows that pruning paint interferes with the tree's natural compartmentalization process. A clean, angled cut allows the tree to seal the wound naturally through callus formation.