9 Vital Steps to Install a Deck Railing
The smell of damp earth and the high turgor pressure of a hydrated cell wall define the success of any structural garden project. When you transition from the soft rhizosphere of the planting bed to the rigid requirements of a wooden structure, precision is the only currency that matters. Learning the steps to install a deck railing requires the same attention to structural integrity as grafting a fruit tree. You must account for load-bearing physics and moisture management to prevent premature wood senescence. A deck railing is not merely a boundary; it is a structural necessity that must withstand lateral force and environmental decay. Failure to secure posts correctly results in a loss of leverage that no amount of cosmetic finishing can fix. We treat the deck frame as the primary root system and the railing as the terminal growth. Both must be integrated with mechanical fasteners that resist the oxidative stress of the outdoors.
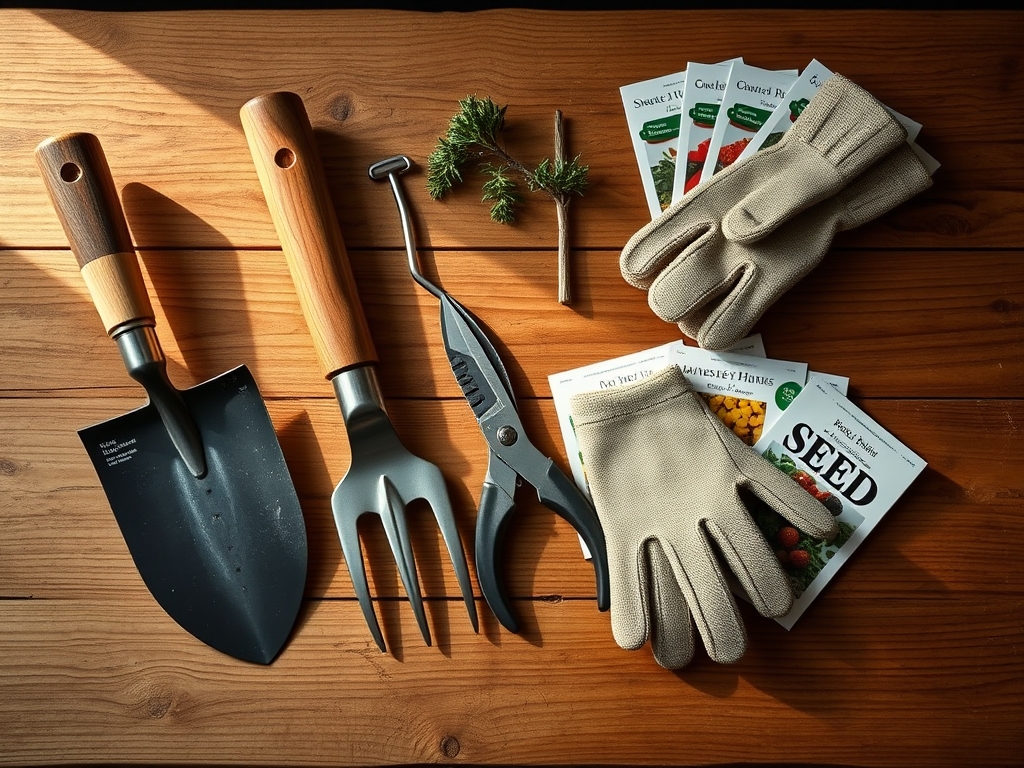
Materials:
The surrounding soil chemistry dictates the lifespan of your deck footings. If your deck posts meet the ground, the soil must be a friable loam with a pH between 6.0 and 7.0 to minimize the corrosive potential of acidic runoff on galvanized hardware. High Cation Exchange Capacity (CEC) in the soil indicates a high clay or organic matter content; this retains moisture against the wood, accelerating fungal decomposition.
For the installation itself, you require specific NPK equivalent inputs for the surrounding landscape to ensure post-hole digging does not shock nearby specimens. Apply a 5-10-5 starter fertilizer to the disturbed root zones of peripheral plants to encourage phosphorus-driven root repair. The hardware must be 316-grade stainless steel or hot-dipped galvanized to survive the high humidity of the garden microclimate. You will need a power miter saw, a level, impact driver, and structural lag screws (5-inch minimum).
Timing:
Installation should occur during the dormant season for your local flora, typically between late autumn and early spring in Hardiness Zones 4 through 8. Executing the steps to install a deck railing during the "Biological Clock" transition from vegetative growth to dormancy prevents accidental damage to active meristems of climbing vines or perimeter shrubs.
Avoid installation during the spring flush when sap flow is at its peak. High sap volume increases the risk of "bleeding" if you must prune back branches to clear space for the railing. Aim for a window where the ambient temperature is between 45 and 65 degrees Fahrenheit. This temperature range ensures that wood fibers are stable and not excessively expanded by summer heat or contracted by deep frost, allowing for the most accurate measurements and tightest joints.
Phases:

Sowing the Foundation
The first phase involves marking post locations. Posts must be spaced no more than 6 feet apart to maintain structural rigidity. Use a string line to ensure perfect linear alignment. If you are mounting posts to the rim joist, you must use two 1/2-inch diameter carriage bolts per post.
Pro-Tip: When drilling into the deck frame, treat the wood as a living vessel. Use a sharp bit to prevent "shattering" the lignin fibers. This mimics the clean cut of a bypass pruner, which allows the wood to maintain its structural seal against moisture rather than creating a jagged entry point for rot-inducing spores.
Transplanting the Rails
Cut your top and bottom rails to fit between the posts. The bottom rail must sit 2 to 4 inches above the deck surface to allow for airflow and debris removal. This gap prevents the accumulation of organic matter that creates a "perpetual damp" zone, which would otherwise invite wood-boring insects.
Pro-Tip: Use a slight "crown" or bevel on the top rail. This utilizes the principle of gravity to shed water, much like the cuticle layer of a leaf sheds rain to prevent fungal pathogens from colonizing the surface.
Establishing the Balusters
Install balusters with a maximum gap of 3.875 inches to meet standard building codes. Use a spacer block to ensure uniform distribution. Secure each baluster with two stainless steel screws at the top and bottom.
Pro-Tip: If using wooden balusters, orient the grain so the "heart side" faces outward. This manages the natural hygroscopic movement of the wood, ensuring that as the cells expand and contract with humidity, the railing remains straight rather than bowing toward the light source (phototropism).
The Clinic:
Symptom: Wood Checking and Splitting
Solution: This is caused by rapid moisture loss from the xylem and phloem channels of the timber. Apply a paraffin-based end-grain sealer immediately after cutting to slow the transpiration of internal moisture.
Symptom: Hardware Corrosion (Staining)
Solution: Black streaks around fasteners indicate a reaction between wood tannins and low-grade metal. Replace with 316-grade stainless steel to prevent chemical leaching into the surrounding rhizosphere.
Symptom: Railing Wobble
Solution: This is a failure of the "root" attachment. Check the rim joist for structural integrity. If the wood is soft, it is experiencing cellulose degradation. You must sister the joist with new pressure-treated lumber and use through-bolts rather than lag screws.
Fix-It: Nitrogen Chlorosis in Perimeter Plants
If your construction has caused yellowing of nearby leaves with green veins, you have likely compacted the soil. Use a hori-hori knife to gently aerate the soil around the affected plants and apply a liquid chelated iron supplement alongside a high-nitrogen (20-0-0) fertilizer to restore chlorophyll production.
Maintenance:
A deck railing requires the same observation as a high-value specimen. Use a soil moisture meter to check the ground around the posts; if the soil stays saturated, you must improve drainage to prevent "wet feet" for your deck. Apply a penetrating oil stain every 24 to 36 months to maintain the wood's hydrophobic properties.
Clean the railing annually using a solution of oxygen bleach and water to kill lichen and algae without altering the soil pH of the garden beds below. When pruning nearby vegetation, use bypass pruners to maintain a 12-inch clearance between foliage and the railing. This ensures adequate airflow and prevents the transfer of moisture and pathogens from the plant to the wood.
The Yield:
While a railing does not produce a caloric yield, its "harvest" is measured in the longevity of the structure and the safety of the garden space. A correctly installed railing should remain rigid for 15 to 20 years. Post-installation, monitor the fasteners for the first two seasonal cycles. The expansion and contraction of the wood will naturally loosen bolts; a "post-harvest" tightening of all hardware after the first winter is mandatory to ensure the structure remains "day-one" firm.
FAQ:
How far apart should deck posts be?
Posts should be spaced a maximum of 6 feet on center. This prevents the rails from sagging under their own weight and ensures the assembly can withstand a lateral load of 200 pounds per square foot.
What is the best height for a deck railing?
For residential decks higher than 30 inches off the ground, the railing must be at least 36 inches tall. Commercial applications often require 42 inches to meet safety codes and provide adequate leverage.
Can I use pressure-treated wood for railings?
Yes, but it must be rated for "above-ground use" or "ground contact" depending on the design. Ensure the wood has a moisture content below 19 percent before applying any sealants or stains to prevent peeling.
How do I prevent the wood from splitting?
Always pre-drill pilot holes that are 1/3 the diameter of the screw. This removes wood fiber rather than displacing it, which reduces internal tension and prevents the lignin from shearing along the grain lines.