5 Simple Steps to Install a Bender Board
The smell of damp, disturbed earth signals the start of a structural shift in the landscape. When the soil reaches a friable consistency, it is ready to be carved into clean, defined boundaries. Understanding the steps to install a bender board requires more than just manual labor; it demands an awareness of the physical forces acting upon the rhizosphere. A properly installed edging prevents the lateral migration of stolons and rhizomes while maintaining the structural integrity of the mulch layer. This process ensures that nutrient-rich topsoil remains contained, preventing the leaching of essential minerals into non-target areas. By mastering these steps to install a bender board, you create a permanent barrier that respects the hydraulic needs of your plantings while establishing a visual order that reflects a disciplined approach to horticulture. The goal is a seamless transition between turf and bed, anchored by stakes driven deep into the subsoil to resist the seasonal heave of freeze-thaw cycles.
Materials:
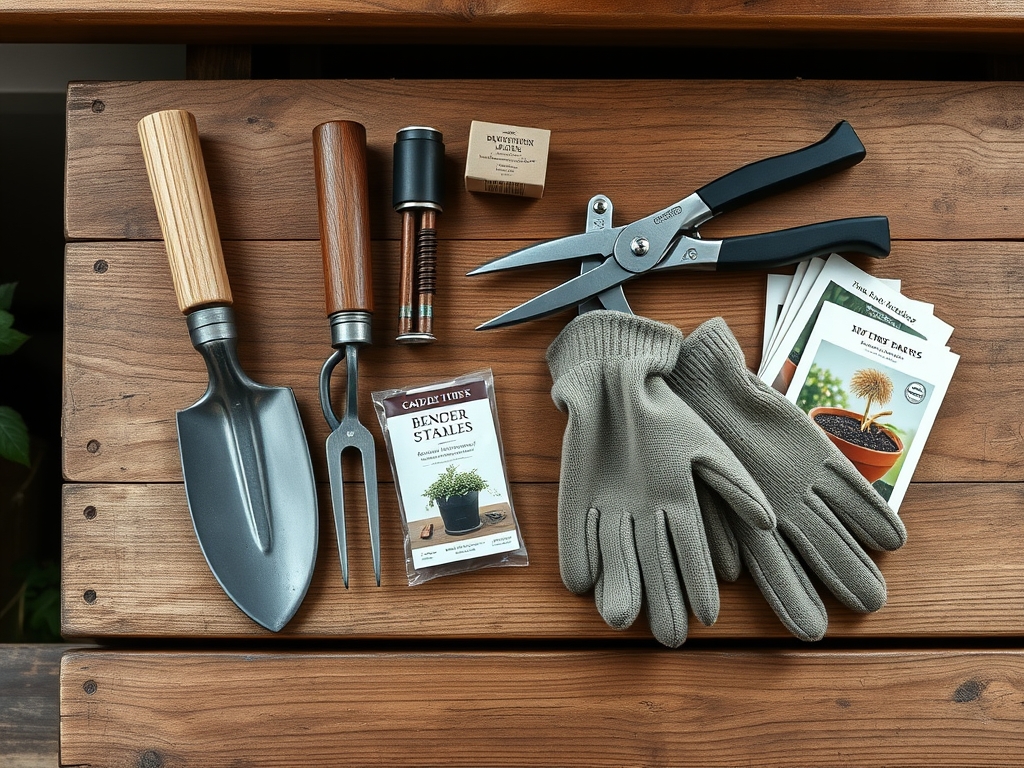
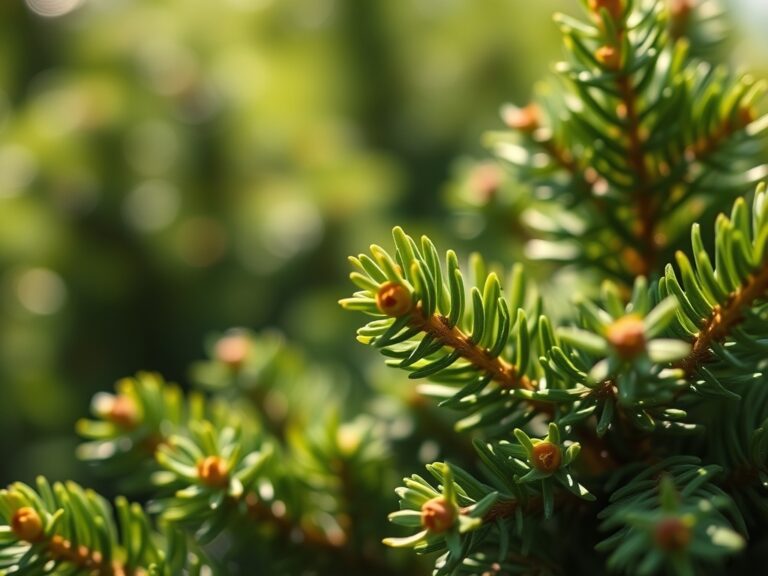
The success of any installation begins with the substrate. The ideal soil for trenching is a **friable loam** with a **pH range of 6.0 to 7.0**. This acidity level ensures that the Cation Exchange Capacity (CEC) remains high, allowing for the efficient transfer of nutrients like Calcium and Magnesium. If your soil is heavy clay, the Cation Exchange Capacity will be higher, but drainage will be poor; sandy soils offer low CEC and rapid drainage. Before installation, amend the area with a balanced **10-10-10 NPK ratio** fertilizer if the surrounding vegetation shows signs of nutrient stress. You will need high-density polyethylene (HDPE) bender boards, 12-inch resin or wood stakes, and 1-inch galvanized screws. The HDPE material is preferred for its resistance to ultraviolet degradation and its ability to withstand soil pressures without warping.
Timing:
The installation window is dictated by the Hardiness Zone and the local frost-date calendar. In Zones 5 through 7, the optimal time is early spring after the ground has thawed but before the spring flush of vegetative growth begins. In Zones 8 through 10, installation can occur year-round, though late autumn is preferred to avoid working in extreme heat which can cause the HDPE to expand excessively. You must time the installation to coincide with the biological clock of your plants. Installing edging during the transition from the vegetative stage to the reproductive stage (flowering) can be risky if root systems are disturbed. Aim for the dormant period or the very beginning of the spring surge when auxin levels are high, allowing for rapid root recovery if any peripheral roots are severed during the trenching process.
Phases:

Sowing the Line
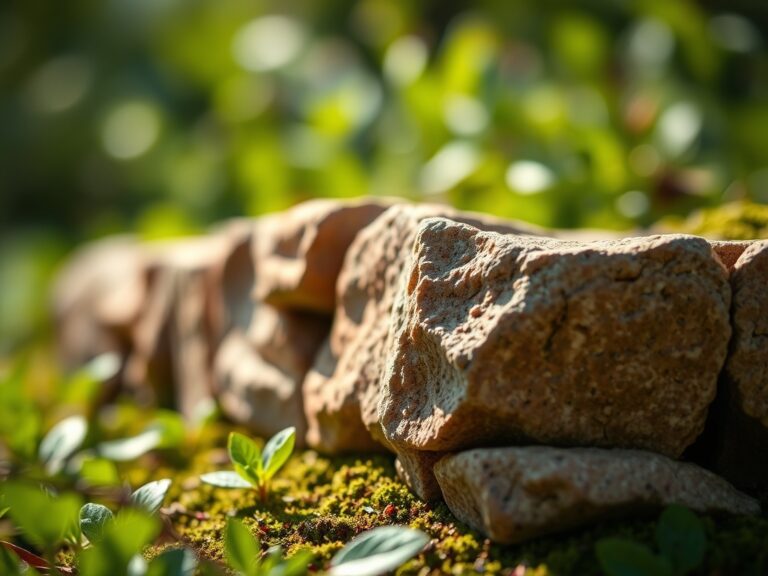
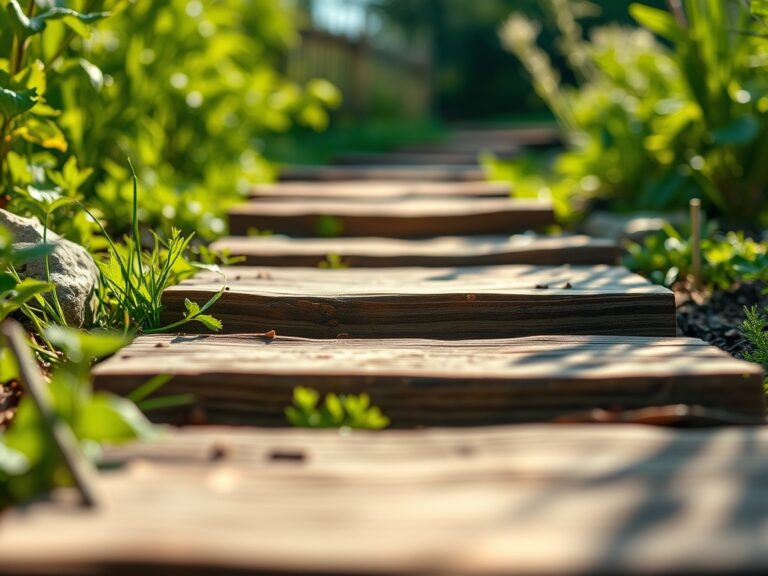
The first phase involves marking the perimeter. Use a garden hose or a heavy rope to layout the desired curve. Once the line is set, use a sharp spade to cut a vertical trench 4 to 6 inches deep. The depth must be sufficient to bury at least two-thirds of the board to prevent "frost heaving" during winter months.
Pro-Tip: Maintaining a clean vertical cut minimizes disruption to the mycorrhizal symbiosis in the soil. These fungal networks are essential for phosphorus uptake; a jagged, wide trench destroys more hyphae than a precise, narrow cut.
Transplanting the Board
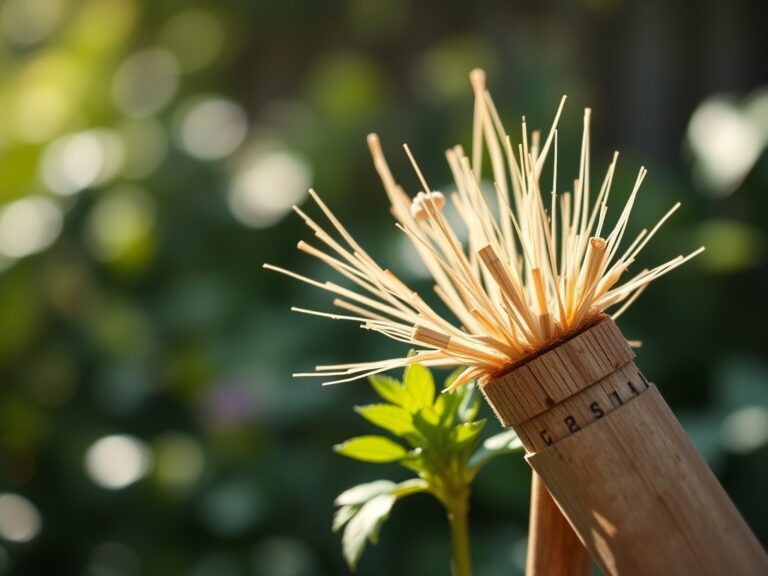
Place the bender board into the trench. If the board is stiff, leave it in the sun for two hours to increase its flexibility. This allows the polymer chains to relax, making it easier to follow tight radii without snapping. Drive stakes every 2 to 3 feet on the side of the board that will be hidden by mulch or soil.
Pro-Tip: When bending the board, you are fighting the material's structural memory. Using stakes on the "inside" of the curve utilizes the board's tension to hold the shape, a principle similar to thigmotropism where plants grow in response to touch or pressure.
Establishing the Barrier
Secure the board to the stakes using galvanized screws. Ensure the top of the board sits 0.5 to 1 inch above the final soil grade. This height is critical; it is low enough for mower blades to pass over safely but high enough to prevent turf grass from "creeping" over the top via stoloniferous growth. Backfill the trench with the displaced loam and compact it firmly.
Pro-Tip: Firm compaction is necessary to eliminate air pockets. Air pockets around the board can lead to localized root desiccation or "root burn" if the board heats up in the sun and dries out the adjacent rhizosphere.
The Clinic:
Physiological disorders in the landscape often manifest near edges where soil compaction or moisture fluctuations are highest.
- Symptom: Yellowing of leaf margins (Chlorosis).
- Solution: This often indicates a Nitrogen deficiency or a pH imbalance. Test the soil; if pH is above 7.5, apply sulfur to lower it.
- Symptom: Wilting despite moist soil.
- Solution: Check for "root girdling" near the bender board. If the board was installed too close to a woody shrub, the roots may be circling against the plastic.
- Symptom: Board "popping" out of the ground.
- Solution: This is caused by hydrostatic pressure or frost heave. Increase the frequency of stakes to one every 18 inches and ensure the trench depth is at least 5 inches.
Fix-It: For Nitrogen chlorosis, apply a quick-release 21-0-0 (Ammonium Sulfate) fertilizer at a rate of 0.5 pounds per 100 square feet to rapidly restore chlorophyll production and turgor.
Maintenance:
A professional landscape requires consistent monitoring. Use a soil moisture meter to ensure the area along the bender board receives at least 1.5 inches of water per week at the drip line. Edges tend to dry out faster than the center of a bed due to increased surface area exposure. Every spring, use a hori-hori knife to slice along the inside of the board to sever any adventurous roots or runners that are attempting to breach the barrier. If the board becomes scarred by a string trimmer, use bypass pruners to snip away any jagged plastic shards that could catch debris. Check the integrity of the stakes annually; if a stake has rotted or pulled loose, replace it immediately to maintain the tension of the curve.
The Yield:
While bender boards are structural, they directly impact the yield of ornamental and edible crops by defining the root zone. A well-defined edge allows for precise application of top-dressing materials like compost or aged manure. When harvesting herbs or flowers near the edge, do so in the early morning when turgor pressure is at its peak. This ensures the plant tissues are fully hydrated, leading to "day-one" freshness that lasts significantly longer than mid-day harvests. Use sharp snips to make clean cuts at a 45-degree angle, which maximizes the surface area for water uptake once the stems are placed in a vase or hydro-cooler.
FAQ:
How deep should I dig the trench?
Dig the trench 4 to 6 inches deep. This ensures that at least two-thirds of the board is subterranean, which prevents the board from shifting during heavy rains or soil expansion during winter freeze cycles.
Can I use bender boards for vegetable gardens?
Yes, HDPE bender boards are chemically inert and safe for food-producing areas. They help maintain a consistent NPK ratio within the bed by preventing fertilizer runoff into the surrounding lawn or pathways.
How do I connect two pieces of bender board?
Overlap the ends by at least 6 inches and secure them with two stakes and four galvanized screws. This creates a "splice" that maintains the structural continuity and prevents gaps where weeds could emerge.
Why is my bender board warping in the sun?
Thermal expansion causes HDPE to move. To prevent warping, ensure the board is secured with stakes every 24 to 36 inches and that the backfill is compacted to provide lateral support against the board.
Do I need special tools for installation?
A sharp spade, a cordless drill, galvanized screws, and a hori-hori knife are essential. A soil moisture meter is also recommended to monitor the hydration levels of the rhizosphere immediately following the soil disturbance.