9 Best Landscape Fabric for Weeds
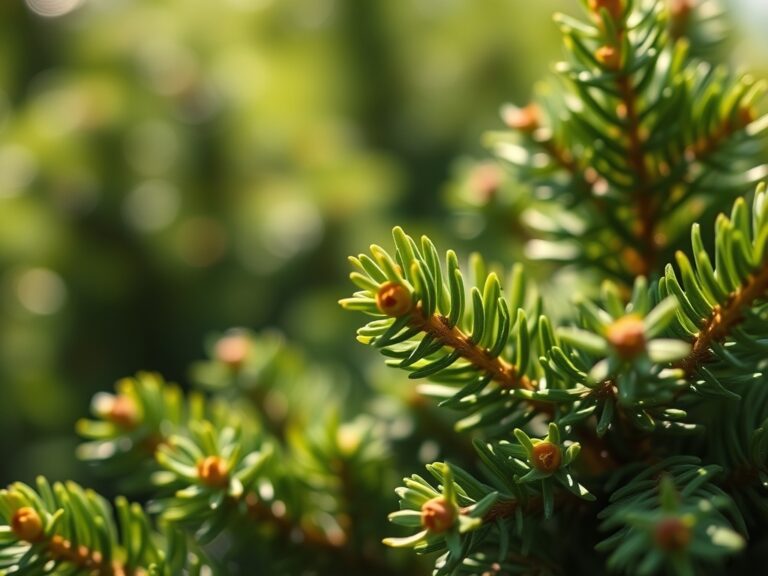
Damp earth releases a sharp, metallic scent as the sun warms the topsoil; this is the smell of geosmin, a byproduct of Actinobacteria activity within the rhizosphere. When you press your thumb against a leaf, the resistance you feel is turgor pressure, the internal water force keeping the plant upright and functional. To maintain this cellular integrity, you must manage the soil surface to prevent competition from invasive species. Selecting the best landscape fabric for weeds is not a decorative choice; it is a technical intervention designed to manage light penetration and gas exchange. A high quality barrier suppresses the germination of dormant seeds by blocking the specific wavelengths of light required for photosynthesis. Without this intervention, opportunistic weeds will deplete the soil of available nitrogen and moisture, leading to a measurable drop in the turgor of your desired cultivars. You are building a controlled environment where the soil remains undisturbed, allowing the microbial community to thrive without the constant disruption of mechanical weeding or the chemical load of herbicides.
Materials:
The success of any barrier depends on the substrate beneath it. An ideal substrate is a **friable loam** with a **pH between 6.0 and 7.0**, which ensures optimal nutrient availability. Before laying the best landscape fabric for weeds, the soil should be amended to reach a specific NPK ratio based on your crop. For woody perennials, a ratio of **10-10-10** is standard. For heavy feeders like roses or fruiting shrubs, a **5-10-5** ratio provides the phosphorus necessary for root development without overstimulating vegetative growth.
Soil Cation Exchange Capacity (CEC) must be considered; a higher CEC (above 20 meq/100g) indicates a greater ability to hold onto essential cations like calcium and magnesium. If your soil is sandy with a low CEC, incorporate organic matter to improve the physical texture. The fabric itself must be a non-woven needle-punched polypropylene or a woven geotextile. Non-woven fabrics offer superior permeability for water and air, while woven versions provide the tensile strength required for heavy gravel or stone mulches.
Timing:
Installation must align with the local biological clock to avoid trapping excessive heat or moisture during sensitive growth phases. In Hardiness Zones 5 through 7, the optimal window is early spring, at least two weeks before the last frost date. This timing allows the soil to warm gradually while preventing the first flush of winter annual weeds from establishing.
Plants transition from vegetative to reproductive stages based on the photoperiod and thermal accumulation, measured in Growing Degree Days (GDD). Installing the barrier during the dormant phase ensures that you do not disturb the root systems during the high-demand "bolting" or flowering stages. In Zones 8 through 10, installation can occur in late autumn to manage cool-season invasive species that thrive in milder winters. Always monitor soil temperature with a probe; do not install fabric if the soil is saturated, as this can lead to anaerobic conditions and root rot.
Phases:

Sowing
When sowing seeds through a barrier, cut a precise "X" or circular aperture no larger than 3 inches in diameter. This minimizes the exposed soil surface where weed seeds can land. Ensure the seed is placed at a depth of 2.5 times its diameter.
Pro-Tip: Proper aperture sizing prevents auxin suppression. If the opening is too small, the physical friction against the emerging hypocotyl can trigger a stress response, redirecting growth hormones away from the primary leader and stunting the plant.
Transplanting
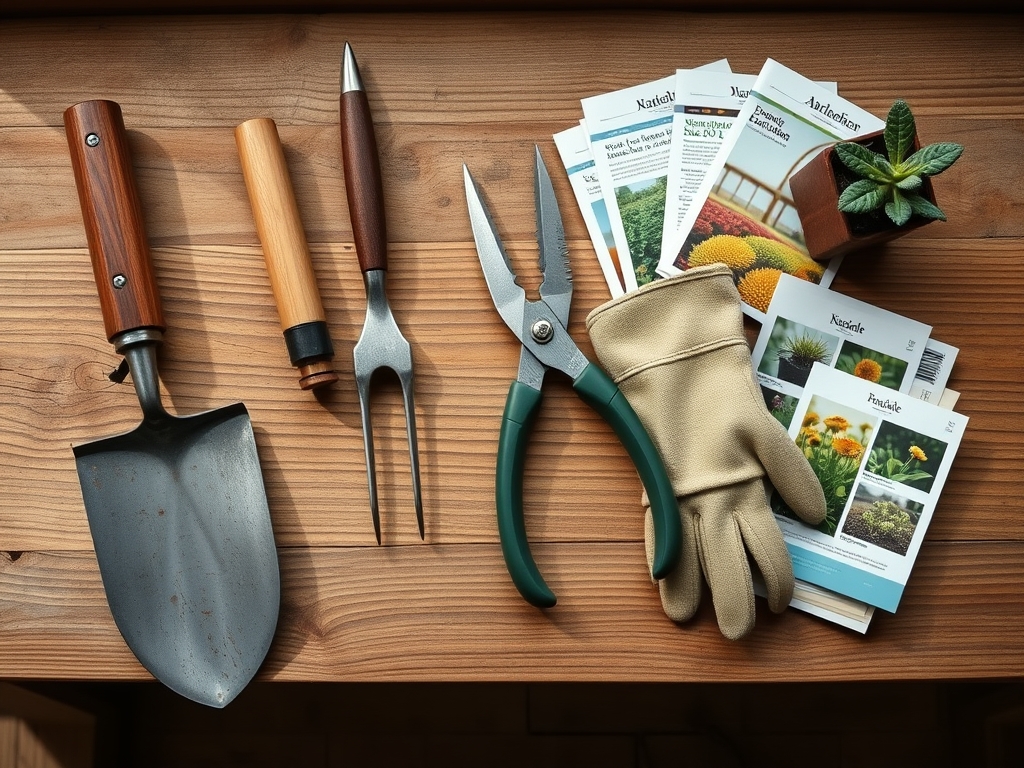
Use a hori-hori knife to cut the fabric and excavate a hole twice the width of the root ball. Position the plant so the root flare is exactly level with the soil surface. Backfill with native soil to maintain consistent capillary action between the root ball and the surrounding earth.
Pro-Tip: Maintaining soil continuity encourages mycorrhizal symbiosis. These beneficial fungi extend the root system's reach, increasing the uptake of phosphorus and water by up to 200 percent in some species.
Establishing
During the first 21 days, the plant focuses on root expansion. Water must be applied directly into the fabric opening to ensure it reaches the root zone. Monitor for signs of transplant shock, such as leaf flagging or premature abscission.
Pro-Tip: Direct watering exploits phototropism and geotropism. By ensuring the root zone is hydrated, the plant can devote energy to vertical growth toward light sources rather than searching for moisture in the upper, dryer layers of the soil.
The Clinic:
Physiological disorders often mimic disease but are usually rooted in environmental or nutritional imbalances.
- Nitrogen Chlorosis: Symptoms include a uniform yellowing of older leaves while veins remain slightly green. Fix-It: Apply a liquid kelp or fish emulsion with a high nitrogen count directly to the root zone at a rate of 1 tablespoon per gallon of water.
- Blossom End Rot: This appears as a dark, sunken leathery spot on the bottom of fruit. It is caused by a calcium deficiency often triggered by inconsistent watering. Fix-It: Maintain a steady moisture level of 15 to 20 centibars as measured by a tensiometer.
- Leaf Scorch: Edges of the leaves turn brown and brittle. This is a sign of excessive transpiration. Fix-It: Increase mulch depth over the landscape fabric to 3 inches to lower soil temperature and reduce evaporation.
Maintenance:
Precision is the hallmark of professional maintenance. Use a soil moisture meter daily during the first growing season. Most established landscapes require 1.5 inches of water per week delivered at the drip line. This is the area directly beneath the outermost circumference of the plant canopy where the most active feeder roots reside.
Every spring, pull back the mulch and inspect the fabric for "silt-up," where organic matter breaks down on top of the barrier and allows weeds to grow in the mulch itself. Use bypass pruners to remove any suckers or water sprouts that emerge from the base of the plants, as these draw energy away from the main structure. Check the staples or pins securing the fabric; they should be spaced every 12 inches along the seams to prevent wind uplift or shifting.
The Yield:
For flowering perennials or edible shrubs, timing the harvest is a matter of biochemistry. Harvest flowers in the early morning when turgor pressure is at its peak and temperatures are lowest. This prevents rapid wilting caused by transpiration. For fruit, monitor the "ground color" or use a refractometer to check the Brix level, which measures sugar content.
Post-harvest, submerge the stems in 40-degree Fahrenheit water to remove field heat immediately. This slows the rate of respiration and prevents the onset of senescence, the biological aging process. For woody stems, a 45-degree angle cut with a sharp knife increases the surface area for water uptake, extending the post-harvest life of the plant.
FAQ:
Does landscape fabric stop all weeds?
No. It prevents most soil-borne seeds from germinating by blocking light. However, wind-blown seeds can still germinate in the mulch layer on top of the fabric. Regular maintenance and mulch replacement are required to maintain a sterile surface.
How long does professional grade landscape fabric last?
High quality needle-punched polypropylene typically lasts 10 to 20 years if it is covered by a protective layer of mulch or stone. UV degradation will destroy the fabric within 12 months if it is left exposed to direct sunlight.
Can I use landscape fabric in a vegetable garden?
It is best suited for permanent plantings. In annual vegetable beds, the frequent digging and replanting can tear the fabric. For vegetables, use a heavy organic mulch or a specialized 6-mil black plastic for heat retention and weed control.
Will landscape fabric suffocate my plant roots?
Not if you choose a permeable material. Professional fabrics are designed with a specific flow rate, often measured in gallons per minute per square foot. This ensures that oxygen and water reach the rhizosphere to maintain aerobic soil conditions.