10 Expert Steps to Build a Vertical Garden Wall
The smell of damp peat moss and the sharp, metallic tang of oxidized steel define the workspace of a high performance vertical build. When you handle a seedling, you feel the turgor pressure within the stem; it is the hydraulic force that keeps the plant upright against gravity. Mastering the steps to build a vertical garden wall requires more than aesthetic intent. It demands an understanding of structural load, hydraulic conductivity, and the precise chemical requirements of a suspended rhizosphere. Success is measured in biomass density and the absence of localized wilting.
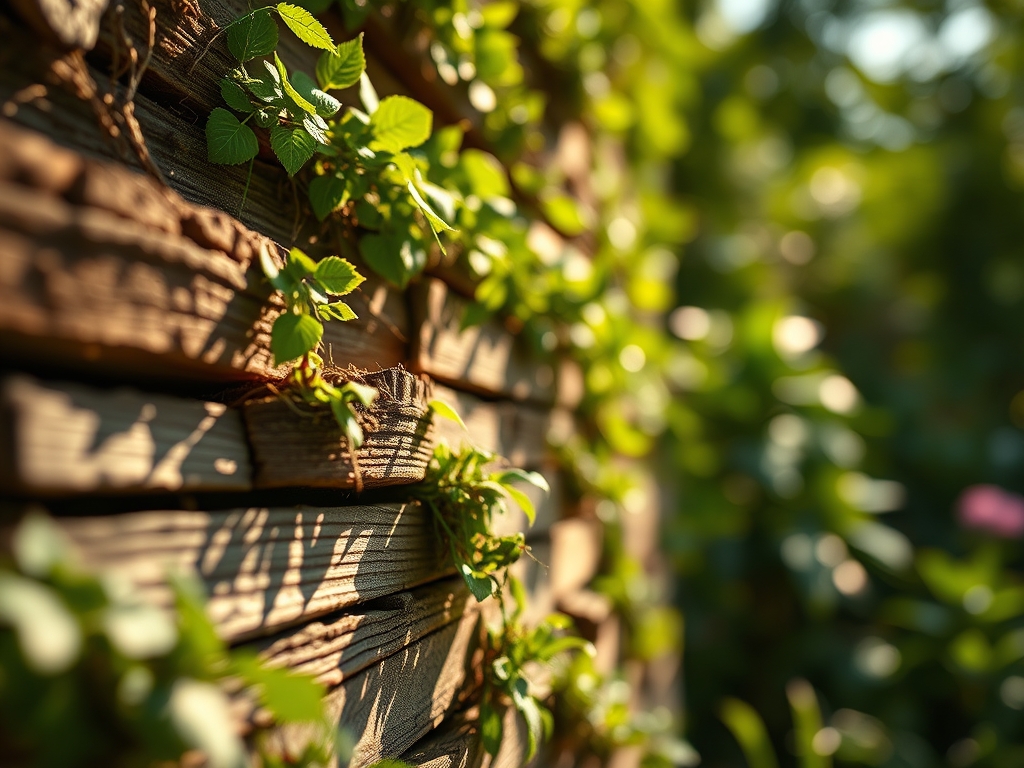
Building a vertical system is an exercise in engineering biology. You are creating an artificial ecosystem that must defy the natural drainage patterns of terrestrial soil. The primary challenge is the gravity-driven migration of moisture and nutrients. Without a calibrated approach to substrate selection and irrigation frequency, the top tiers will suffer from desiccation while the bottom reservoirs succumb to anaerobic root rot. This guide provides the technical framework to construct a resilient, self-sustaining vertical system that maintains physiological balance across all elevations.
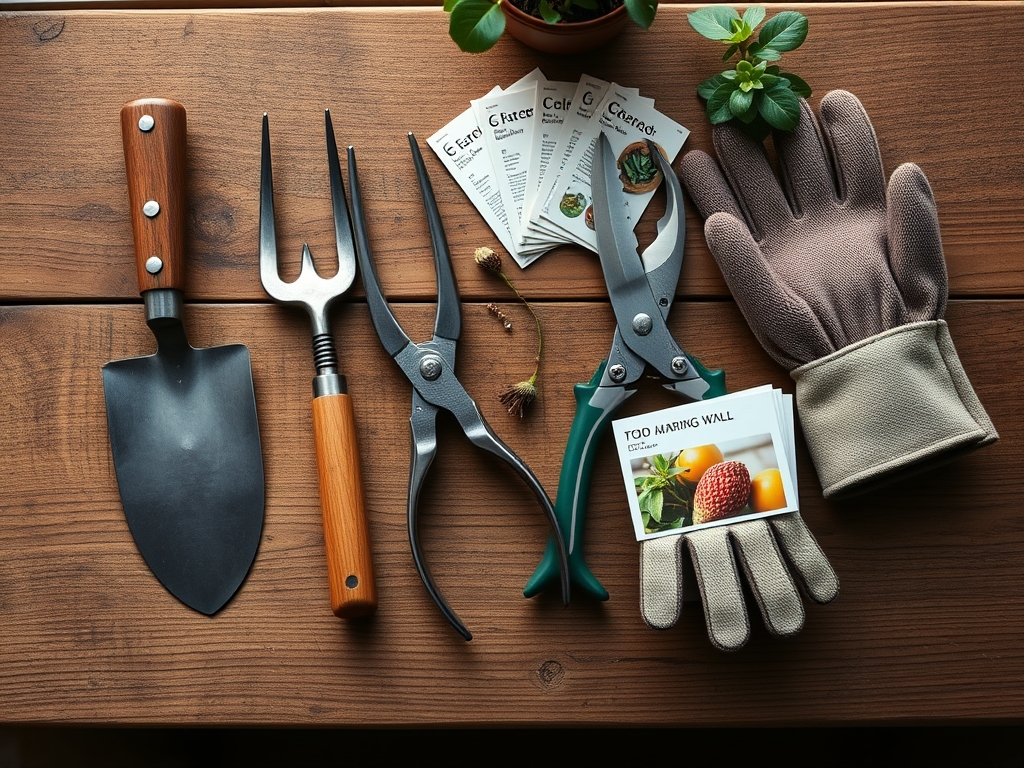
Materials:
Vertical systems require a specialized substrate. Standard garden soil is too heavy and compacts quickly; this reduces the Cation Exchange Capacity (CEC) and suffocates roots. Use a friable loam substitute consisting of 40 percent coconut coir, 30 percent perlite, and 30 percent vermiculite. This mixture ensures high porosity and moisture retention without excessive weight.
The nutritional profile must be precise. For leafy greens and ferns, maintain a pH between 6.0 and 6.5. Incorporate a slow release fertilizer with an NPK ratio of 10-10-10 for general growth. If the wall is dedicated to flowering species, shift to a 5-10-5 ratio to prioritize phosphorus for bud development. Ensure the mounting structure is marine-grade plywood or high-density polyethylene (HDPE) to prevent rot and chemical leaching into the root zone.
Timing:
Installation timing depends on your local Hardiness Zone. In Zones 7 through 9, the ideal window for outdoor installation is late March to early April. This allows the root systems to establish before the heat of the summer increases the evapotranspiration rate. In Zones 4 through 6, wait until the final frost date has passed and soil temperatures consistently reach 55 degrees Fahrenheit.
The biological clock of your plants dictates the success of the transition. You must move plants from the nursery to the wall during their vegetative stage. Once a plant enters the reproductive stage (flowering), its energy is diverted from root expansion to seed production. Transplanting during senescence or peak flowering often leads to transplant shock because the plant cannot repair the fine root hairs damaged during the move.
Phases:

Sowing and Germination
Start seeds in 72-cell plug trays using a sterile seed-starting mix. Maintain a constant temperature of 70 degrees Fahrenheit to optimize germination enzymes. Do not sow directly into the vertical wall; the seeds will likely wash away during the initial irrigation cycles.
Pro-Tip: Utilize a heat mat to stimulate rapid cellular division in the radical. This is a biological necessity because warmer temperatures increase the metabolic rate of the embryo, ensuring the plant develops a robust enough structure to handle the vertical orientation.
Transplanting to the Wall
Once the seedlings have developed two sets of true leaves, move them into the vertical pockets or felt layers. Ensure the root ball is fully encased in the substrate to prevent air pockets. Air pockets lead to root desiccation and localized necrosis.
Pro-Tip: Angle the plants slightly upward during insertion to counteract phototropism. As the plant naturally grows toward the light source, this initial angle prevents the stem from kinking against the edge of the planter, which would otherwise restrict the flow of water and nutrients through the xylem.
Establishing the System
For the first 14 days, the system requires "soft" irrigation. Provide 0.5 inches of water daily to keep the rhizosphere consistently moist. Monitor the plants for "flagging" or loss of turgor, which indicates the roots have not yet bonded with the new substrate.
Pro-Tip: Inoculate the substrate with mycorrhizal fungi. This symbiotic relationship extends the reach of the root system through fungal hyphae, significantly increasing the plant's ability to absorb phosphorus and water in the restricted space of a vertical pocket.
The Clinic:
Symptom: Interveinal chlorosis (yellowing between green veins) on older leaves.
Solution: This indicates a Magnesium deficiency. Apply a foliar spray of Epsom salts (magnesium sulfate) at a concentration of 1 tablespoon per gallon of water.
Symptom: Tip burn on new growth despite wet soil.
Solution: This is often Calcium deficiency caused by inconsistent transpiration. Increase airflow with a fan or adjust the irrigation timer to ensure the plant never experiences a dry-down period that halts calcium transport.
Symptom: Elongated, weak stems with large gaps between nodes.
Solution: This is etiolation. The plant is receiving insufficient light. Increase the light intensity to at least 15,000 lux or 14 hours of supplemental LED exposure.
Fix-It for Nitrogen Chlorosis: If the entire leaf turns pale green or yellow, the plant lacks nitrogen. Apply a liquid fish emulsion with a 5-1-1 NPK ratio directly to the root zone for immediate uptake.
Maintenance:
A vertical garden requires disciplined monitoring. Use a soil moisture meter daily to check the middle and bottom rows. The top row typically dries out 30 percent faster than the bottom due to gravity and air exposure. Aim for 1.5 inches of water per week delivered through a pressure-compensated drip line to ensure even distribution.
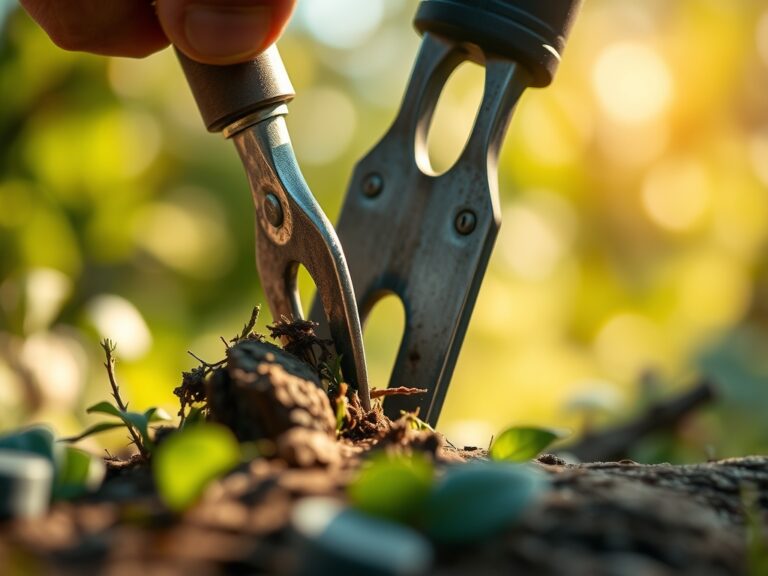
Pruning is essential to prevent the canopy from shading out the lower tiers. Use bypass pruners for clean cuts that minimize tissue damage. For harvesting or removing dead plants, a hori-hori knife is the most efficient tool for slicing through the dense root mats that form in vertical pockets. Every six months, flush the system with plain water to remove accumulated mineral salts that can raise the electrical conductivity (EC) of the substrate to toxic levels.
The Yield:
When harvesting from a vertical wall, timing is critical to preserve the sugar content of the tissues. Harvest leafy greens in the early morning when the plants are at maximum turgidity. Use a sharp blade to cut the outer leaves, leaving the central meristem intact for continuous growth.
Post-harvest handling determines the shelf life of the produce. Immediately submerge harvested greens in 40-degree Fahrenheit water to remove field heat. This process, known as hydro-cooling, slows down the respiration rate and prevents the rapid breakdown of cellular structures. For flowers, a 45-degree angle cut on the stem while submerged will prevent air embolisms from forming in the vascular system.
FAQ:
What is the best orientation for an outdoor vertical wall?
A south-facing orientation provides the maximum photoperiod for most species. If you are in a high-heat environment, an east-facing wall protects plants from the intense afternoon sun, reducing the risk of heat stress and excessive transpiration.
How do I prevent the bottom of the wall from being overwatered?
Install a pressure-compensated drip system. Use individual emitters for each pocket rather than a "soaker" hose. This ensures that the top row receives the same volume of water as the bottom row regardless of gravitational pressure.
Can I use standard potting soil?
No. Standard potting soil contains too much organic matter that decomposes and compacts over time. This reduces the oxygen availability in the rhizosphere. Use a specialized inorganic-heavy mix with perlite or expanded clay pebbles to maintain structural integrity.
How often should I fertilize?
In a vertical system, nutrients leach out faster than in the ground. Use a dilute, water-soluble fertilizer every two weeks during the growing season. Monitor the electrical conductivity (EC) of the runoff to ensure salt levels remain below 2.0 mS/cm.