6 Unique Ways How to Build a Garden Bridge
The scent of damp humus and the sound of water moving through a swale define the structural integrity of a well planned landscape. When you learn how to build a garden bridge, you are not merely installing a walkway; you are managing the intersection of soil physics and moisture gradients. A bridge must span a gap without compacting the sensitive rhizosphere of the surrounding flora. Proper installation ensures that the high turgor pressure of your marginal plants remains undisturbed by foot traffic.
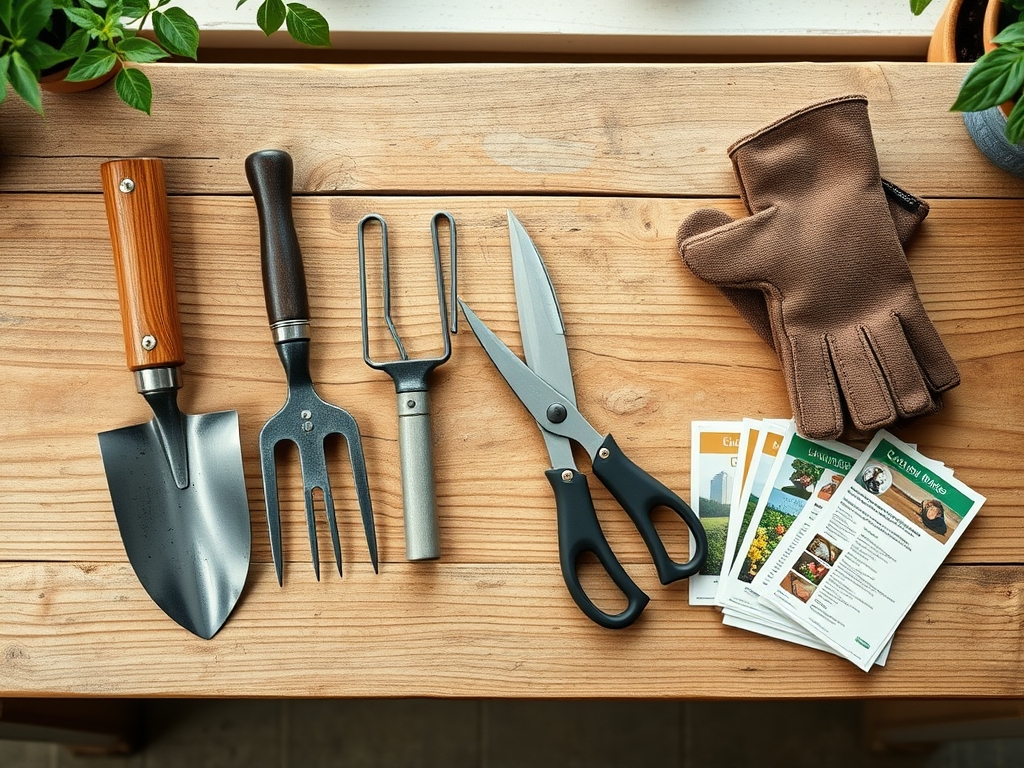
Materials:
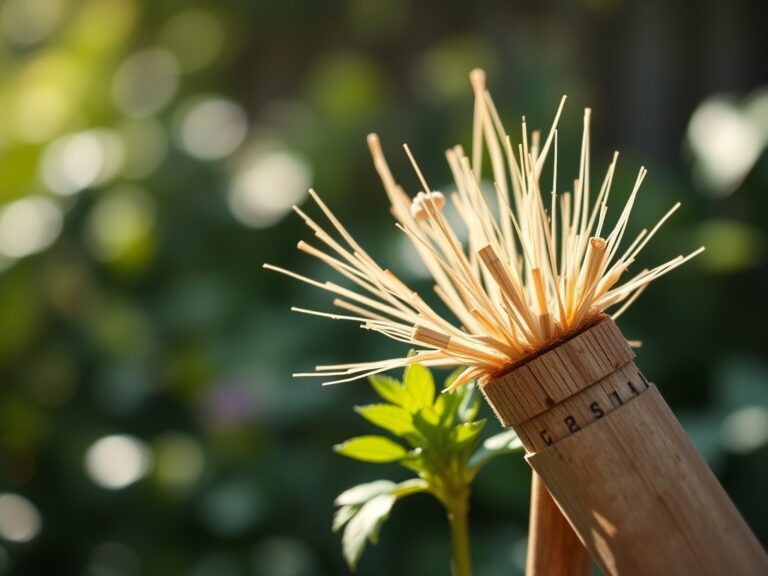
Construction begins with the substrate. The footings of your bridge should sit on a **friable loam** with a **pH between 6.0 and 7.0**. Soil with a high Cation Exchange Capacity (CEC) is essential for the health of the plants flanking the bridge. Before digging, test your soil for a balanced **NPK ratio of 10-10-10**. Excessive nitrogen can lead to soft, succulent growth that is prone to fungal pathogens in the high-humidity microclimate under a bridge. Use pressure-treated lumber rated for ground contact or rot-resistant hardwoods like cedar or redwood. Fasteners must be stainless steel or high-grade galvanized screws to resist the corrosive effects of moist soil and organic acids.
Timing:
The installation of a garden bridge is best executed during the dormant season for most Hardiness Zones (Zones 4 through 8). This window typically falls between late autumn and early spring, before the first frost or after the ground thaws but before the spring flush. Monitoring the biological clock of your garden is vital. You want to complete heavy construction before the transition from the vegetative stage to the reproductive stage in your perennials. Disturbing the soil during active growth can cause root shock and trigger premature senescence in sensitive species. Aim for a soil temperature of at least 45 degrees Fahrenheit to ensure any remedial planting can establish roots.
Phases:

Sowing and Site Preparation
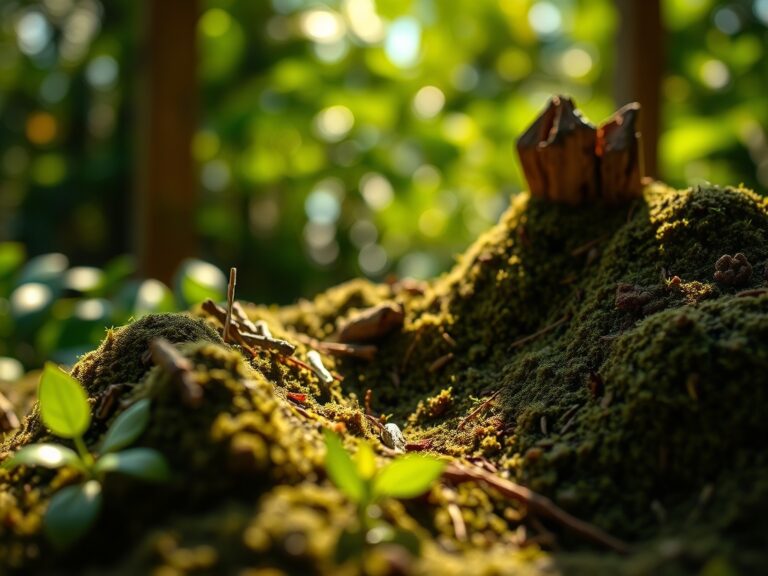
Clear the area of invasive species and competitive weeds. Excavate the footings to a depth of 12 inches below the frost line to prevent heaving. Level the base using a 2 inch layer of compacted crushed stone to facilitate drainage and prevent anaerobic conditions in the soil.
Pro-Tip: Mycorrhizal symbiosis is critical here. Inoculate the disturbed soil with beneficial fungi to restore the underground network that construction disrupts; this ensures nutrient uptake remains efficient despite the physical disturbance.
Transplanting and Anchoring
Once the footings are set, anchor the primary stringers. These are the load-bearing beams of the bridge. If you are integrating the bridge into a planted bank, ensure that you are not burying the root flares of existing trees. Keep a distance of at least 3 feet from the drip line of established woody plants to avoid root necrosis.
Pro-Tip: Use auxin suppression techniques by pruning back the apical meristems of nearby shrubs. This redirects the plant's energy toward lateral root development; this stabilizes the soil around your bridge footings.
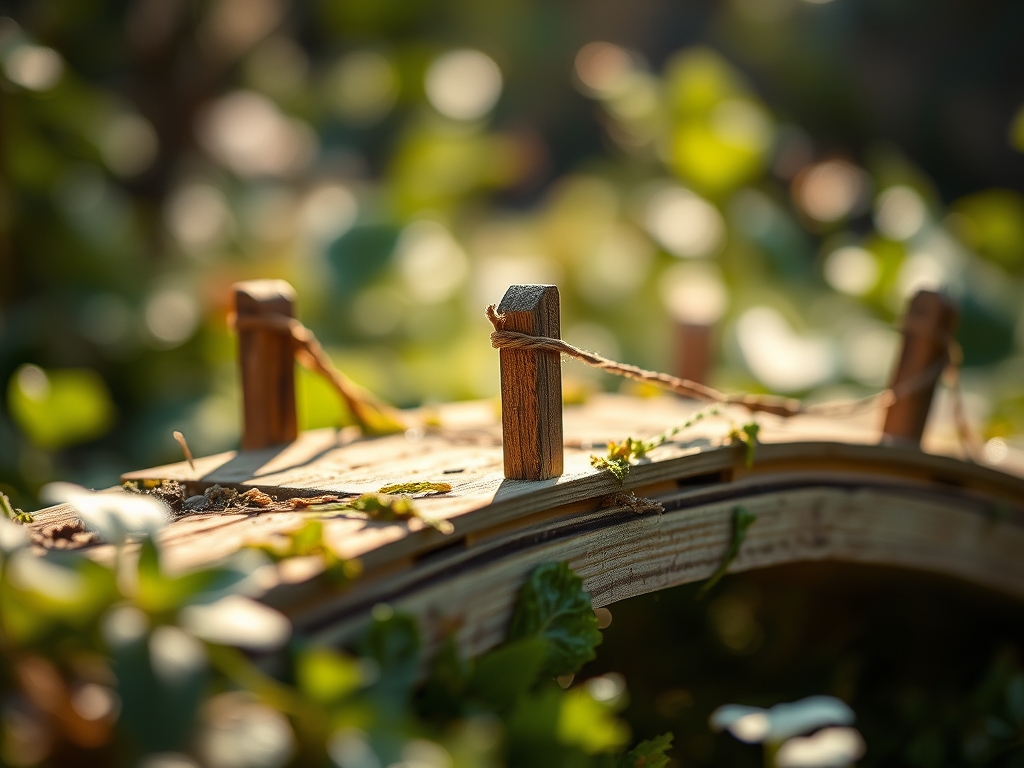
Establishing the Structure
Lay the decking boards with a 1/4 inch gap between each plank. This allows for wood expansion and ensures that debris does not trap moisture against the grain. Secure the handrails at a standard height of 36 inches for safety and ergonomic support.
Pro-Tip: Phototropism will cause plants under the bridge to lean toward the light. Select shade-tolerant species for the under-bridge area to prevent leggy, weak growth that can harbor pests.
The Clinic:
Physiological disorders often manifest in the plants surrounding a new structure due to changes in light and water distribution.
- Symptom: Yellowing of lower leaves with green veins (Interveinal Chlorosis).
- Solution: This indicates a Magnesium deficiency or high pH. Apply Epsom salts (Magnesium Sulfate) at a rate of 1 tablespoon per gallon of water.
- Symptom: Stunted growth and dark purple tint on foliage.
- Solution: Phosphorus deficiency. Incorporate bone meal into the top 2 inches of the soil to support ATP production and root energy.
- Symptom: Marginal leaf burn or scorching.
- Solution: Potassium deficiency. Apply kelp meal or potash to regulate osmotic pressure and improve drought resistance.
Fix-It: If you notice Nitrogen chlorosis (general paling of the entire leaf), apply a liquid seaweed extract. This provides a quick boost of bioavailable nitrogen to restore chlorophyll density.
Maintenance:
A garden bridge requires consistent monitoring of the surrounding ecosystem. Check the soil moisture levels twice weekly using a soil moisture meter. Most ornamental plants near water features require 1.5 inches of water per week delivered at the drip line. Use a hori-hori knife to remove deep-rooted weeds that may compromise the bridge footings. Annually inspect the timber for signs of decay. Use bypass pruners to maintain a 6 inch clearance between foliage and the bridge structure; this prevents moisture trapping and fungal spread. Ensure that the soil remains aerated and not compacted by heavy foot traffic near the bridge entry points.
The Yield:
If your bridge spans a kitchen garden or a cut-flower bed, timing the harvest is a science. Harvest leafy greens and herbs in the early morning when turgor pressure is at its peak. This ensures the cells are fully hydrated and crisp. Use a sharp, sterilized blade to make clean cuts at a 45-degree angle. For flowers, immediately plunge the stems into 100 degree Fahrenheit water to remove air bubbles from the xylem. Store the harvest in a cool, dark location to slow down the metabolic rate and prevent rapid senescence.
FAQ:
What is the best wood for a garden bridge?
Cedar and Redwood are superior due to natural tannins that resist rot. Pressure-treated lumber is a cost-effective alternative for ground-contact footings. Ensure all wood is rated for high-moisture environments to prevent structural failure.
How deep should bridge footings be?
Footings should reach 12 inches below the local frost line. This prevents the structure from shifting during freeze-thaw cycles. Proper depth ensures the bridge remains level and does not compress the surrounding soil rhizosphere.
How do I prevent wood rot near water?
Maintain a 2 inch air gap between the wood and the soil surface using concrete piers. Apply a UV-resistant sealant annually. Ensure the site has a pH of 6.5 to minimize chemical weathering of the wood fibers.
Can I build a bridge over a dry creek bed?
Yes. A dry creek bed requires the same structural footings as a water feature. Ensure the bridge spans the entire width to prevent soil erosion at the banks. Use crushed stone to facilitate rapid drainage during heavy rain.
Which plants grow best under a bridge?
Select species with low light requirements and high tolerance for humidity. Ferns and mosses thrive in the microclimate created by the bridge's shadow. These plants help stabilize the soil and maintain a healthy moisture balance.