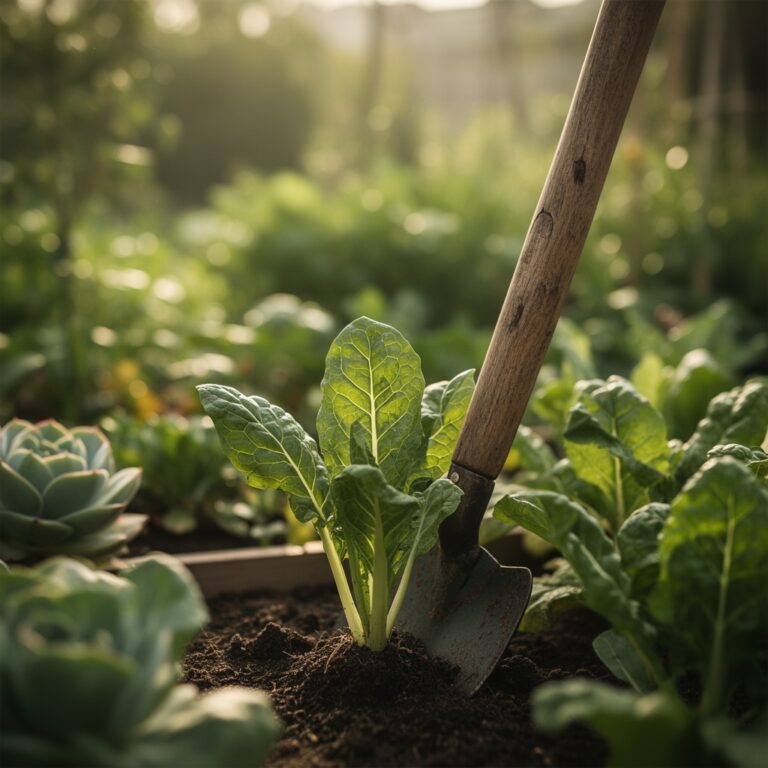
9 Simple Steps to Plant Watercress Garden
Crushing a fresh leaf of Nasturtium officinale releases a sharp, peppery scent caused by the enzymatic breakdown of glucosinolates into phenethyl isothiocyanate. This chemical defense mechanism is the hallmark of a healthy crop. To achieve high turgor pressure in the stems, you must master the steps to plant watercress garden environments that mimic cool, flowing riparian zones. Success depends on maintaining a constant saturation level without allowing the water to stagnate and deplete dissolved oxygen.
Materials:

Watercress requires a substrate with a high Cation Exchange Capacity (CEC) to facilitate the rapid uptake of minerals. The ideal medium is a friable loam mixed with composted organic matter to a ratio of 2:1. Aim for a soil pH between 6.5 and 7.5. Because watercress is a heavy feeder of nitrogen for leaf production, use a fertilizer with an NPK ratio of 10-5-5. Avoid high phosphorus levels that can trigger premature flowering. If growing in containers, ensure the basin is deep enough to hold a 2 to 3 inch layer of gravel at the bottom to stabilize the roots while allowing water to circulate around the rhizosphere.
Timing:
This perennial aquatic herb thrives in USDA Hardiness Zones 3 through 11, provided water temperatures remain between 50 and 65 degrees Fahrenheit. The biological clock of watercress is highly sensitive to the photoperiod. As day lengths increase toward the summer solstice, the plant shifts from vegetative growth to reproductive senescence, producing small white flowers and bitter foliage. To maximize the vegetative phase, begin your steps to plant watercress garden journey 3 to 4 weeks before the last frost in spring. In warmer climates, a secondary planting in autumn ensures a harvest before the first hard freeze.
Phases:

Sowing and Germination
Broadcast seeds thinly over the surface of pre-saturated soil. Do not bury them deep; watercress seeds require light to trigger the germination process. Maintain a consistent temperature of 55 to 60 degrees Fahrenheit. Seedlings typically emerge within 7 to 14 days.
Pro-Tip: Keep the surface misted but not submerged during this phase. This prevents the displacement of seeds while ensuring the seed coat remains hydrated to allow the radicle to emerge without mechanical resistance.
Transplanting and Spacing
Once seedlings reach 2 inches in height and have developed two sets of true leaves, transplant them into their final location. Space individual plants 6 to 8 inches apart. If using a hydroponic or gravel-trench system, ensure the crown of the plant sits just above the water line to prevent rot.
Pro-Tip: Handle seedlings by the leaves rather than the stems to avoid crushing the vascular tissue. Maintaining stem integrity is vital for auxin suppression, which encourages the plant to bush out rather than grow a single, weak lead stem.
Establishing the Flow
Watercress is unique because it requires moving water to prevent the buildup of anaerobic bacteria. If you are not planting in a natural stream, you must flush the growing container daily. The water should be cool and rich in calcium; if your local water is soft, add crushed limestone to the substrate.
Pro-Tip: Constant water movement enhances gas exchange at the root zone. This prevents the accumulation of toxic metabolic byproducts and ensures the roots have access to the dissolved oxygen necessary for cellular respiration.
The Clinic:
Physiological disorders in watercress often stem from environmental stressors or nutrient imbalances.
- Symptom: Nitrogen Chlorosis. Leaves turn pale yellow, starting with the older growth.
- Solution: Apply a water-soluble 10-0-0 fertilizer or fish emulsion to the water supply to restore chlorophyll production.
- Symptom: Tip Burn. The edges of new leaves turn brown and crispy.
- Solution: This is often a calcium transport issue caused by low humidity or poor circulation. Increase airflow and check the pH levels to ensure they have not dropped below 6.0.
- Symptom: Stunted Growth and Purpling. Foliage takes on a dark, reddish-purple hue.
- Solution: This indicates phosphorus deficiency or water temperatures below 45 degrees Fahrenheit. Insulate the water source or provide a light application of bone meal.
- Fix-It Section: For general decline, use a soil moisture meter to verify that the root zone is not drying out between flushes. Even ten minutes of dry roots can cause irreversible wilting and cell collapse.
Maintenance:
Precision is required for high-yield watercress. Use a soil moisture meter daily to ensure the substrate remains at 100 percent saturation. If growing in a trench, maintain a water depth of 2 to 4 inches over the roots. Use a hori-hori knife to remove invasive weeds that compete for nitrogen in the narrow riparian zone.
Pruning is essential to prevent the plant from becoming leggy. Use bypass pruners to trim the top 3 inches of growth every two weeks once the plant is established. This stimulates lateral branching and increases the density of the canopy. If you notice any signs of pests like flea beetles, use a strong stream of water to dislodge them; avoid chemical interventions that could contaminate the water supply or alter the plant's delicate chemistry.
The Yield:
Harvesting can begin once the plants reach 6 to 8 inches in height. Use sharp shears to cut the stems 2 inches above the soil line. This allows the remaining nodes to regenerate for a second and third harvest. To maintain "day-one" freshness, submerge the cut ends in a container of cold water immediately after harvest. Store in a refrigerator at 34 to 38 degrees Fahrenheit. The high water content of the leaves makes them prone to rapid wilting; maintaining maximum turgor through cold storage is the only way to preserve the peppery flavor and crisp texture for more than 48 hours.
FAQ:
Can I grow watercress in standard garden soil?
No. Watercress is an aquatic plant that requires constant saturation. Standard soil will dry out too quickly, leading to vascular collapse and plant death. You must use a dedicated water garden or a constantly flushed container system.
How do I prevent my watercress from tasting bitter?
Bitterness is caused by heat stress or the onset of flowering. Keep water temperatures below 70 degrees Fahrenheit and harvest frequently to prevent the plant from reaching its reproductive stage. Shading the crop during peak afternoon sun also helps.
Does watercress need full sun?
Watercress performs best in full sun to partial shade. In hotter climates, provide 40 percent shade cloth to prevent the water from overheating. At least 4 to 6 hours of direct light is required for robust photosynthesis.
What is the best way to start watercress?
While seeds are effective, watercress roots easily from stem cuttings. Place a store-bought bunch in a glass of water; once white adventitious roots appear, transplant them into a saturated loam or gravel bed to begin your garden.
How do I manage pests without chemicals?
Physical barriers and water pressure are the most effective tools. Use floating row covers to block beetles and use a high-pressure hose to wash away aphids. Maintaining a healthy, fast-growing crop is the best defense against infestation.