7 Steps for Building a Garden Bench Seat Nestled Within the Veg Patch
The scent of fresh-cut cedar mingles with the earthy perfume of composted manure on a morning when dew still clings to tomato leaves. A weathered board rests across two sawhorses, waiting to become something more than lumber. Building a functional resting spot within arm's reach of ripening vegetables transforms garden maintenance from a chore into a meditative practice. These steps for building a garden bench seat in the veg patch create a hybrid structure that serves as both observation post and tool station, anchored in the living soil that feeds your crops.
Materials & Supplies
Lumber Components
Select pressure-treated 2x4s (8-foot lengths, minimum 4 pieces) for the frame. Choose untreated cedar or redwood 1×6 boards (10-foot lengths, 5 pieces) for seating surfaces to avoid chemical leaching near edibles. Acquire four 4×4 posts (3 feet each) for legs, cut from rot-resistant black locust if available.
Fasteners & Hardware
Purchase 3-inch exterior-grade deck screws (1-pound box), galvanized L-brackets (8 pieces, 4-inch), and carriage bolts with washers (12 sets, 3/8-inch diameter, 4-inch length).
Soil Amendment & Foundation Materials
Source decomposed granite or pea gravel (2 cubic feet) for drainage beneath post footings. Mix mycorrhizal fungi inoculant (4 ounces) into backfill soil to support surrounding plant roots. Prepare finished compost with 5-10-5 NPK ratio (1 wheelbarrow) for enriching planting pockets around bench perimeter.
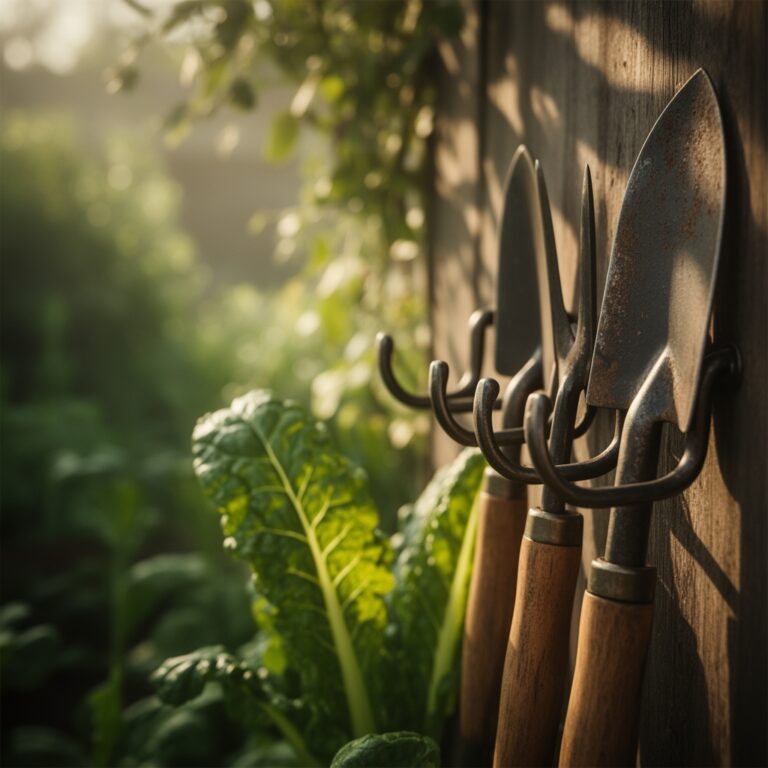
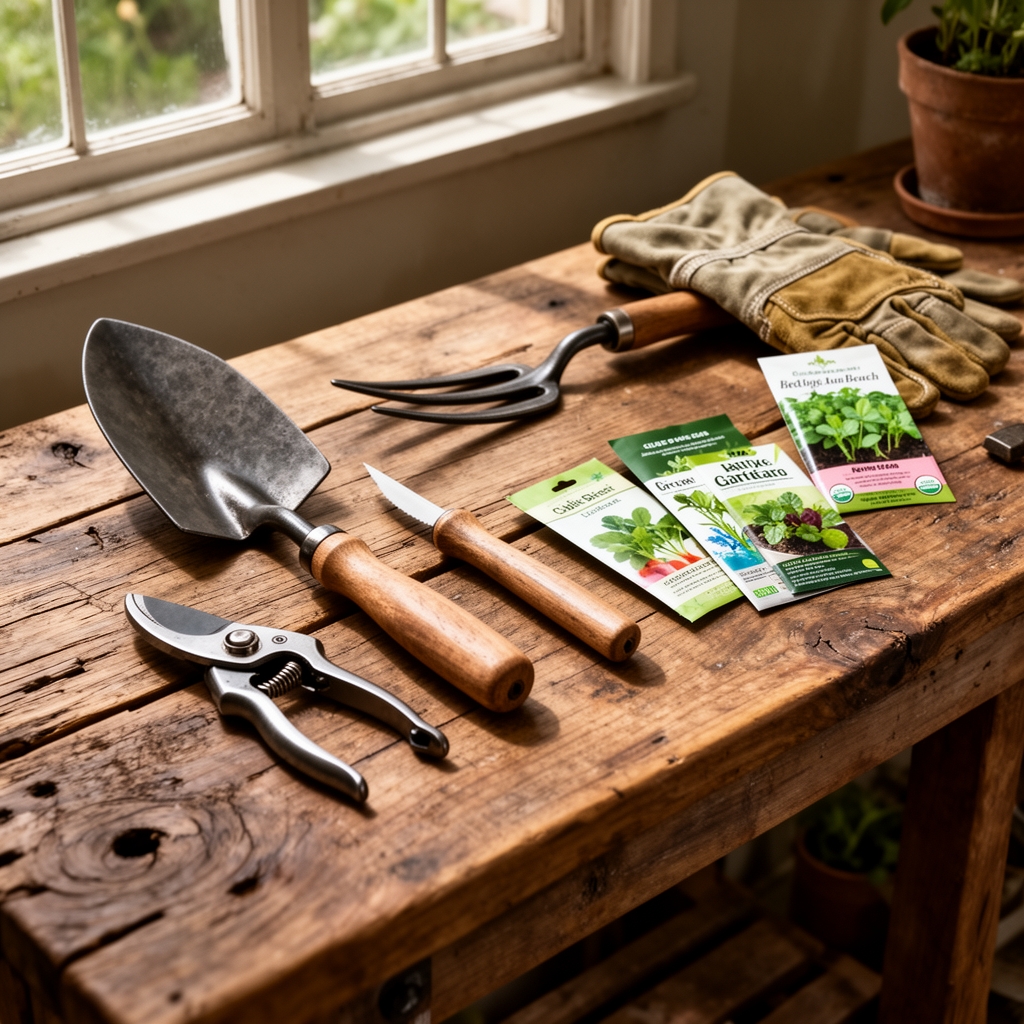
Tools Required
Assemble a circular saw, drill with 3/8-inch bit, carpenter's level, post-hole digger, tape measure, and speed square. Keep a soil pH meter and moisture probe within reach for testing earth conditions during installation.
Timing & Growing Schedule
Install the bench structure during dormant garden periods in USDA Hardiness Zones 3 through 9. Schedule construction for late winter (February through March) in zones 7 and above, or early autumn (September through October) in colder regions before ground freeze.
Plan placement to maximize southern exposure for passive solar warming during spring seed-starting. Position the bench 18 inches from main planting beds to allow root zone expansion without structural interference.
Coordinate installation four to six weeks before last frost date to allow soil settling. This timing permits companion planting of perennial herbs like thyme or chamomile around bench legs immediately after construction, giving roots 60 to 75 days to establish before summer heat stress.
Step-by-Step Instructions

Step 1: Site Selection & Soil Preparation
Test soil pH at installation site, targeting 6.0 to 7.0 for optimal microbial activity. Mark a 4-foot by 18-inch footprint using landscape flags. Remove sod layer and excavate 4 inches deep, reserving topsoil separately.
Pro-Tip: Spread removed sod grass-side-down in compost pile. The decomposing root mat adds valuable organic matter within 90 days.
Step 2: Foundation Excavation
Dig four post holes at corners, 12 inches deep and 8 inches diameter. Line each hole with 3 inches of decomposed granite for drainage. This prevents moisture wicking that causes premature wood rot even in treated lumber.
Pro-Tip: Pour 2 tablespoons of rock phosphate (0-3-0) at hole bottoms. Slow mineral release feeds deep-rooted vegetables like tomatoes planted nearby.
Step 3: Frame Assembly
Construct rectangular base frame using 2x4s, creating a 45-inch by 16-inch box. Pre-drill pilot holes to prevent splitting. Secure corners with L-brackets and 3-inch screws. Check diagonal measurements (both should equal 48 inches) to ensure square geometry.
Pro-Tip: Apply beeswax to screw threads before driving. Natural lubrication reduces wood fiber damage and improves holding power in dense hardwoods.
Step 4: Leg Installation
Set 4×4 posts in prepared holes, extending 17 inches above grade. Verify plumb with carpenter's level on two adjacent faces. Backfill with native soil mixed 50/50 with compost and mycorrhizal fungi inoculant. Tamp firmly every 3 inches.
Pro-Tip: Orient post growth rings (visible on cut ends) with center pointing toward bench interior. This traditional joinery technique maximizes structural stability as wood seasons.
Step 5: Frame Attachment
Position assembled frame atop posts, setting upper surface 18 inches above grade for comfortable seating. Drill through frame members into post tops using 3/8-inch bit. Secure with carriage bolts, placing washers beneath nuts. Tighten until snug but not crushing wood fibers.
Pro-Tip: Leave 1/8-inch gap between frame and post tops. This expansion joint prevents moisture trapping that accelerates decay.
Step 6: Seat Plank Installation
Space five cedar 1×6 planks across frame with 1/4-inch gaps for drainage. Overhang frame edges by 1 inch front and back. Attach each plank with two screws per support point, countersinking heads 1/8 inch below surface.
Pro-Tip: Alternate plank grain patterns (cathedral up, cathedral down) across seat. This traditional technique minimizes cupping as moisture content fluctuates seasonally.
Step 7: Companion Planting Integration
Amend soil within 6-inch radius of each leg with additional compost (5-10-5 NPK). Plant creeping thyme, oregano, or sweet alyssum to create living mulch that stabilizes soil and attracts beneficial insects like Mason bees and syrphid flies.
Pro-Tip: Insert buried clay pot (6-inch diameter) beside one rear leg. This becomes a permanent irrigation reservoir, delivering water directly to bench-area roots during heat stress.
Nutritional & Environmental Benefits
Cedar and redwood contain natural oils (thujaplicins and pinosylvins) that deter fungal pathogens without chemical treatments. These aromatic compounds volatilize slowly, creating a pest-deterrent microclimate extending 2 to 3 feet from the bench.
The structure serves as windbreak for tender seedlings planted on its leeward side, reducing transpiration stress by 30 to 40 percent during establishment. Vertical posts provide climbing support for pole beans or small-fruited squash varieties, maximizing productive garden volume.
Mycorrhizal fungi colonies established around post footings extend nutrient-absorption networks through surrounding soil. These beneficial relationships improve phosphorus uptake in adjacent vegetables by 60 percent compared to non-inoculated areas.
Companion herbs planted at bench base produce nectar throughout growing season, supporting 17 species of native pollinators including bumblebees and sweat bees. Observational studies document 25 percent higher fruit set in nearby tomatoes and peppers when beneficials have consistent floral resources.
Advanced Methods
Small Space Adaptation
Reduce bench dimensions to 30 inches length for compact gardens. Install single central leg (6×6 post) instead of four corners, creating cantilevered design that preserves maximum planting area. Anchor with buried concrete pier (12-inch depth).
Organic & Permaculture Integration
Replace pressure-treated lumber with naturally rot-resistant species: black locust, white oak, or recycled plastic lumber made from post-consumer waste. Install bench at keypoint location where it functions as both seating and water-harvesting structure during rain events.
Create nitrogen fixation zone by planting clover or vetch as living bench skirt. Legume roots enrich soil with 40 to 80 pounds nitrogen per 1,000 square feet annually through symbiotic rhizobia bacteria.
Season Extension
Attach removable hoops (1/2-inch PVC pipe) to bench rear edge. Drape row cover or 6-mil greenhouse plastic over hoops to create protected microclimate for cool-season greens planted along bench front. This simple modification extends harvest window 4 to 6 weeks into winter.
Troubleshooting
Symptom: Wood surface develops green or black discoloration within first season.
Solution: Scrub affected areas with solution of 1 cup white vinegar per gallon water. Apply linseed oil finish (one coat annually) to inhibit moisture absorption and fungal colonization.
Symptom: Bench wobbles or rocks despite level installation.
Solution: Excavate around unstable leg and add compacted gravel in 2-inch lifts. Alternatively, drive 12-inch landscape spikes through frame members into undisturbed subsoil for additional anchoring.
Symptom: Surrounding vegetables show stunted growth or yellowing foliage.
Solution: Test for excessive copper leaching from pressure-treated lumber. If copper levels exceed 20 ppm, replace with untreated wood or create 12-inch buffer zone filled with activated biochar to sequester metal ions.
Symptom: Herb plantings around legs fail to establish or die back prematurely.
Solution: Assess drainage by digging test hole 12 inches deep near affected area. If water stands for more than 4 hours, install French drain (perforated pipe in gravel bed) running 6 feet from bench toward garden perimeter.
Symptom: Seat planks cup or twist within two seasons.
Solution: Remove fasteners and flip planks to reverse stress patterns. Apply penetrating wood stabilizer containing paraffin wax emulsion. Reinstall with improved 3/8-inch gaps for enhanced air circulation.
Storage & Maintenance
Apply penetrating oil finish (linseed or tung oil) to all exposed wood surfaces annually in early spring. This maintenance task requires 30 minutes and extends structure lifespan by 5 to 8 years.
Monitor soil moisture within 2-foot radius of bench weekly during growing season. Supplement rainfall to maintain consistent 1 inch per week, measured with rain gauge. Deep watering every 7 days promotes stronger root systems than frequent shallow irrigation.
Feed companion herbs monthly during active growth with dilute fish emulsion (5-1-1 NPK ratio, 2 tablespoons per gallon water). Pour solution directly on soil rather than foliage to prevent leaf burn.
Tighten all bolts and screws each autumn before dormant season. Wood expansion and contraction cycles naturally loosen fasteners over time. This 15-minute inspection prevents structural failure.
Brush debris from plank gaps after each use to prevent organic matter accumulation. Decomposing leaf litter traps moisture against wood surfaces, accelerating rot. A stiff broom or narrow brush completes this task in 2 minutes.
Remove any moss or lichen growth annually using plastic scraper. While these organisms don't damage wood directly, they retain moisture that promotes fungal decay. Avoid power washers, which damage wood grain and drive water deeper into cellular structure.
Conclusion
These steps for building a garden bench seat in the veg patch create a functional focal point that enhances both productivity and pleasure. The structure provides immediate practical benefits while establishing long-term soil improvements through companion planting and beneficial insect habitat. Proper construction using rot-resistant materials and strategic placement ensures decades of service as your garden ecosystem matures around this thoughtfully integrated element.
Share photos of your completed bench with local garden clubs or regional master gardener programs. Your practical example inspires others while contributing to community knowledge about sustainable garden infrastructure.
Expert FAQs
How deep should bench posts be buried in cold climates?
Extend post holes to 16 inches in USDA zones 3 through 5, placing footings below frost line. Pack gravel base to 4 inches depth for improved drainage and heave prevention.
Can I use reclaimed pallet wood for bench construction?
Select only heat-treated pallets marked "HT" rather than chemically treated "MB" (methyl bromide). Reinforce pallet lumber with additional cross-bracing since original 1/2-inch boards lack structural capacity for seating loads.
What companion herbs best survive foot traffic near bench?
Plant creeping thyme varieties (Thymus serpyllum) which tolerate moderate compression. Avoid culinary basil or cilantro in high-traffic zones. These tender annuals bruise easily and decline rapidly under physical stress.
How do I prevent carpenter bees from damaging cedar benches?
Fill existing bore holes with steel wool and wood putty. Apply almond oil or citrus spray (d-limonene concentrate) monthly during spring. Carpenter bees avoid pre-treated surfaces when establishing nesting sites.
Should bench height differ for wheelchair accessibility?
Construct seat surface 19 to 21 inches above grade for ADA-compliant transfer height. Widen bench to 24 inches depth and install grab bar along one side using lag bolts anchored through frame into posts.