9 Tips to Use a Trowel for Precise Plant Placement
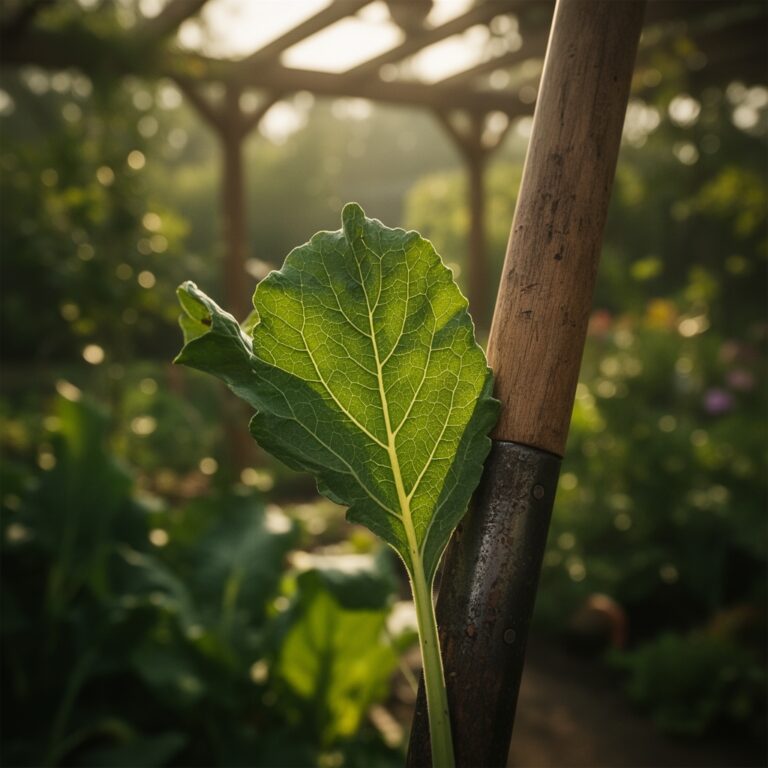
The trowel's blade enters soil at a 45-degree angle, slicing through the root zone with minimal disturbance. Using a trowel for garden planting separates careful gardeners from those who damage transplants through rough handling and improper hole preparation. The tool's curved scoop channels loose soil away from the planting cavity while its beveled edge severs competing roots. This precision matters when positioning perennials in established beds or tucking annuals between existing plants where every inch of space counts.
Materials

Select a forged steel trowel with a 6-inch blade and full tang construction. Stainless steel resists soil acids between pH 5.5 and 7.5, the range where most ornamentals thrive. For acidophiles like azaleas requiring pH 4.5 to 5.5, pair your trowel with sulfur-amended compost at 2 pounds per 100 square feet.
Prepare a transplant amendment mix combining sphagnum peat moss (pH 3.5 to 4.0) with balanced organic fertilizer rated 4-4-4. The equal nitrogen-phosphorus-potassium ratio supports root establishment without promoting excessive foliar growth. Add mycorrhizal fungi inoculant at 1 tablespoon per gallon of mix. These fungi colonize root surfaces and extend the effective absorption area by 100 to 1,000 times.
For heavy clay soils with high cation exchange capacity, incorporate coarse sand at a 1:3 sand-to-clay ratio. This improves drainage without destroying soil structure. Avoid fine builder's sand, which compacts into concrete-like layers.
Timing
Hardiness zones determine transplant windows. In Zones 5 and 6, transplant cold-hardy perennials 6 weeks before the first fall frost or immediately after the last spring frost. Zones 7 through 9 allow year-round planting except during peak summer heat above 90°F, when root desiccation outpaces water uptake.
Calculate local frost dates using 30-year climate averages. Spring transplanting begins when soil temperatures reach 50°F at 4-inch depth for three consecutive days. Fall planting concludes 6 weeks before ground freeze to allow root systems to establish before dormancy.
Cool-season annuals tolerate soil temperatures between 40°F and 65°F. Warm-season species require minimum soil temperatures of 60°F. Use a soil thermometer at 9 a.m. for accurate readings, as afternoon measurements skew high.
Phases
Sowing: Direct-seed large-seeded species using the trowel to create furrows 2 to 3 times seed diameter in depth. The tool's pointed tip marks precise spacing intervals. For carrots requiring 2-inch spacing, notch marks every 2 inches along the furrow edge. Cover seeds with soil equal to twice their diameter. Firm the surface with the trowel's flat back to ensure seed-to-soil contact, which accelerates imbibition.
Pro-Tip: Dust seeds with powdered rock phosphate (0-3-0) at 1 teaspoon per 10 feet of row. Phosphorus concentrates near germinating seeds, accelerating radicle emergence by 15 to 20 percent.
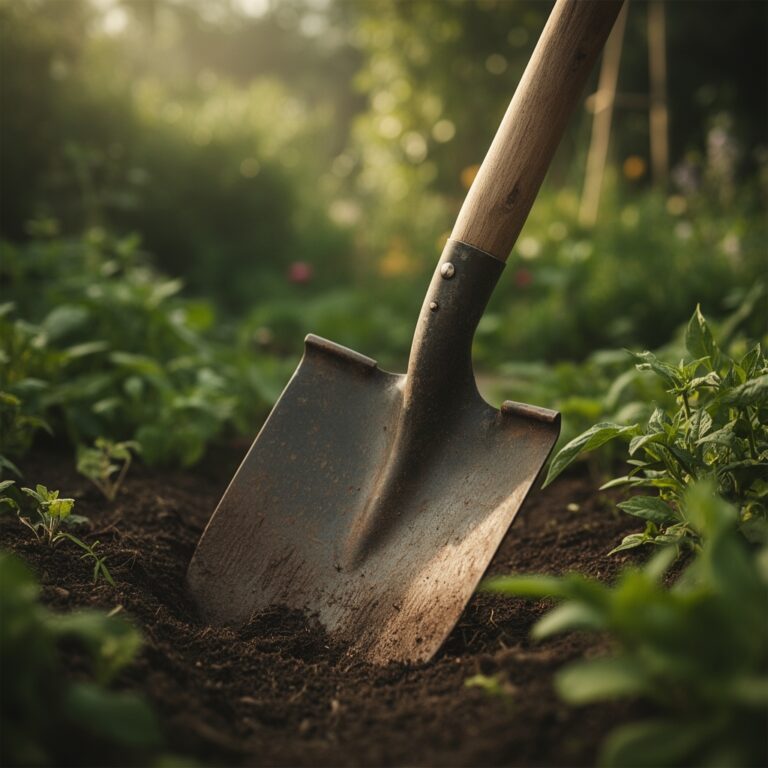
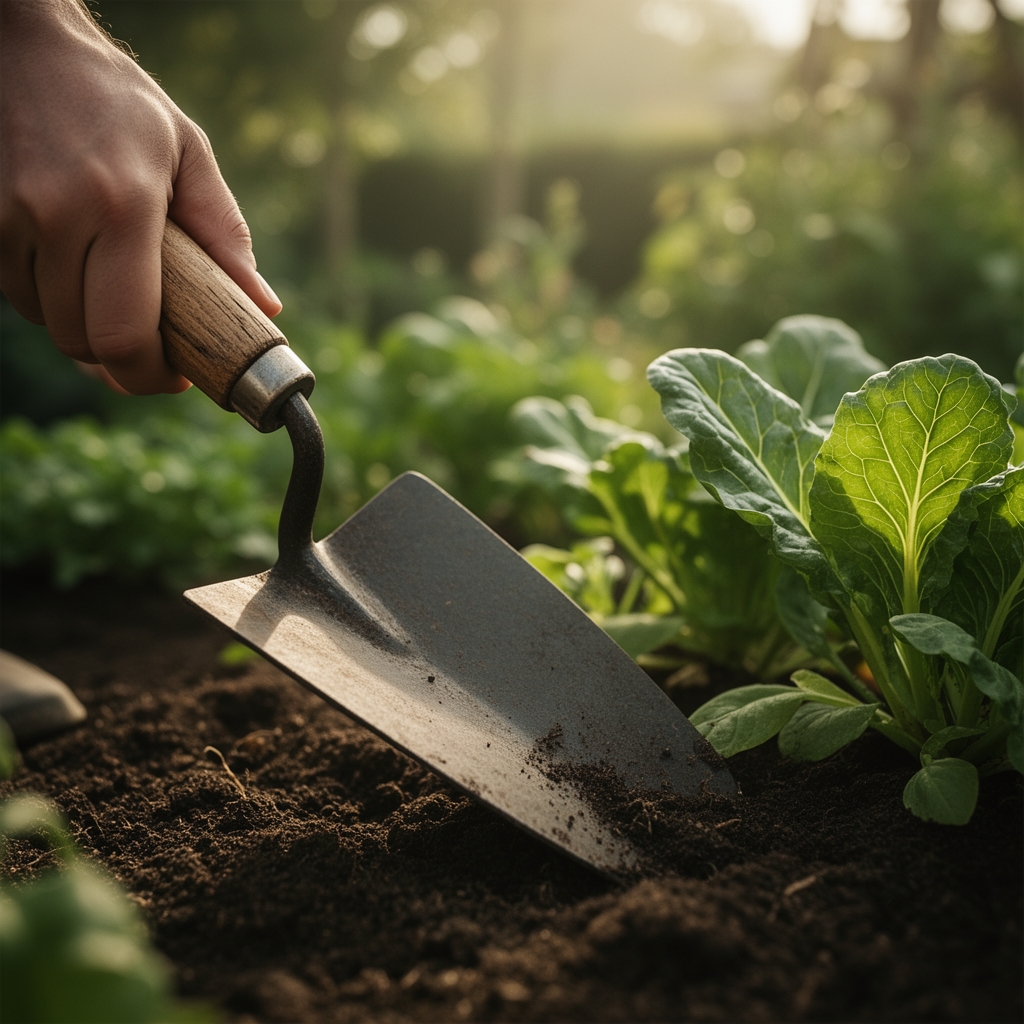
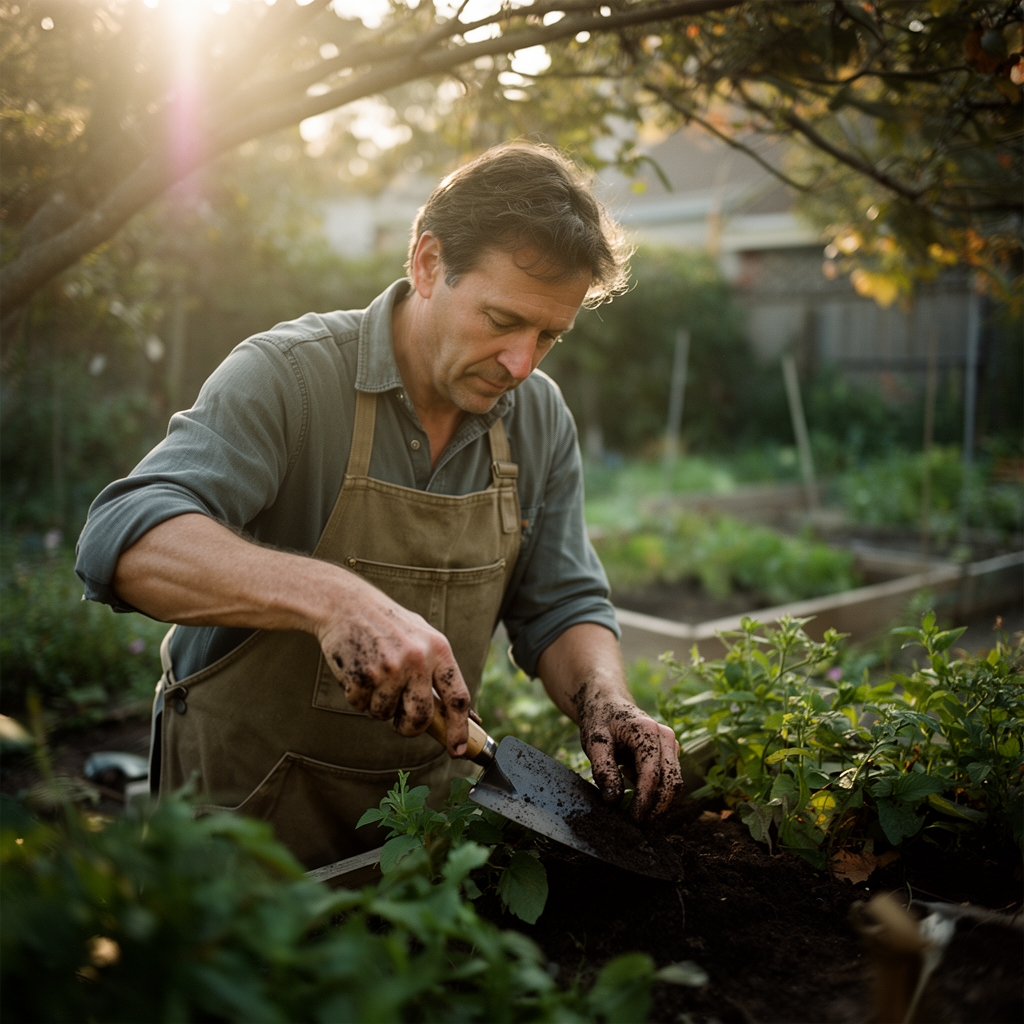
Transplanting: Dig holes 1.5 times the root ball diameter. The extra width allows roots to penetrate loosened soil immediately. Insert the trowel vertically to full blade depth, then lever the handle to widen the cavity. Check hole depth by placing the transplant's container inside. The root ball surface should sit level with surrounding grade.
Score root-bound transplants with the trowel's serrated edge, making four vertical cuts 0.25 inches deep. This severs circling roots and stimulates lateral branching. Position the plant so the root flare sits at grade. Backfill with native soil mixed 50:50 with compost. Tamp soil in 2-inch layers to eliminate air pockets without compacting.
Pro-Tip: Add controlled-release fertilizer (14-14-14) at 1 tablespoon per gallon of backfill. The coated granules release nutrients over 90 days, matching root expansion rates.
Establishing: Create a 3-inch soil berm around the transplant at the drip line. This basin captures irrigation and directs water to the root zone. Apply 1 gallon of water per transplant immediately after planting. The initial watering settles soil and eliminates voids where roots desiccate.
Pro-Tip: Spray transplants with kelp extract diluted to 2 tablespoons per gallon. The auxins and cytokinins reduce transplant shock and promote adventitious root formation within 7 to 10 days.
Troubleshooting
Symptom: Transplant wilting despite adequate soil moisture.
Solution: Root damage during planting disrupted water uptake. Prune 20 percent of foliage to reduce transpiration demand. Apply shade cloth rated at 30 percent reduction for 14 days.
Symptom: Yellow lower leaves with green veins (interveinal chlorosis).
Solution: Iron deficiency caused by high pH (above 7.5). Apply chelated iron at 1 tablespoon per gallon as a soil drench. Acidify soil with elemental sulfur at 0.5 pounds per 100 square feet.
Symptom: Stunted growth and purple leaf undersides.
Solution: Phosphorus deficiency in cold soil (below 55°F). Apply liquid phosphorus (0-20-0) as foliar spray at 1 tablespoon per gallon weekly until soil warms.
Symptom: Brown leaf margins and tip burn.
Solution: Fertilizer salt accumulation. Leach soil with 2 inches of water, allowing drainage between applications.
Maintenance
Water transplants with 1 inch per week for the first 8 weeks. Measure using rain gauges placed at plant bases. Deep, infrequent irrigation promotes roots growing 12 to 18 inches deep rather than shallow surface roots.
Mulch with 2 inches of shredded hardwood bark, keeping material 3 inches from stems to prevent crown rot. Replenish mulch each spring to maintain depth.
Side-dress established plants with compost (1-1-1 average NPK) at 0.5 inches depth in a 6-inch band around the drip line. Apply in early spring as growth resumes.
FAQ
How deep should I dig with a trowel for transplants?
Dig to 1.5 times root ball depth. Measure by placing the container in the hole and adjusting until the root flare sits at grade.
Can I transplant during bloom?
Yes, but remove 50 percent of flowers to redirect energy to root establishment. Water daily for 2 weeks.
What trowel angle prevents root damage?
Insert at 45 degrees, then lever to vertical. This motion cuts feeder roots cleanly rather than tearing.
How do I clean soil from my trowel?
Scrape with a wire brush after each use. Disinfect monthly with 10 percent bleach solution for 5 minutes to prevent pathogen transfer.
Should I amend clay soil in the planting hole?
No. Amend the entire bed to prevent a "bathtub effect" where water pools in the amended hole surrounded by impermeable clay.