6 Steps to Prepare a Solid Garden Statue Base
Learning how to prepare a site for a garden statue correctly prevents costly failures and ensures permanence. A statue set improperly will tilt, crack, or sink within two growing seasons. The soil beneath must bear distributed weight without settling. Water must drain away from the base. Frost heave cannot disrupt the foundation. These six steps address each requirement through tested horticultural and engineering principles.
Materials and Soil Amendments
The substrate must support vertical load while maintaining drainage. Crushed stone aggregate (3/4-inch diameter) creates a stable, free-draining base layer. Apply 6 inches minimum depth. Coarse sand (grain size 0.5-2.0 mm) fills voids between aggregate particles and improves compaction uniformity.
Portland cement mixed at 1 part cement to 4 parts sand creates mortar for leveling pads. Use Type I cement for general applications. Type III provides faster curing in cool conditions (below 50°F).
Compacted subsoil must have adequate cation exchange capacity to resist erosion around the perimeter. Test native soil. If clay content exceeds 40 percent, drainage issues will develop. Amend with coarse sand at 1:1 ratio by volume. Sandy soils below 15 percent clay content lack cohesion. Add bentonite clay at 10 pounds per cubic yard to improve binding.
Landscape fabric (4-ounce polypropylene minimum) separates aggregate from native soil. This prevents fine particles from migrating upward and compromising drainage. Avoid permeable weed barriers. They clog with sediment.
Timing and Climate Considerations
Install statue bases between late spring and early fall in USDA Hardiness Zones 3-7. Soil must be workable and frost-free to at least 18 inches depth. Concrete and mortar require minimum ambient temperatures of 40°F for proper curing. Curing slows by 50 percent at 50°F compared to 70°F.
In Zones 8-10, year-round installation is feasible, but avoid periods of heavy rainfall. Saturated soil cannot be compacted effectively. Cation exchange sites remain filled with water rather than base cations that provide structural stability.
For statues exceeding 200 pounds, schedule installation at least 8 weeks before first expected frost. This allows the base to settle and permits one corrective leveling before winter. Frost heave exerts 30,000 pounds per square foot of upward force in poorly drained soils.
Step-by-Step Installation Phases

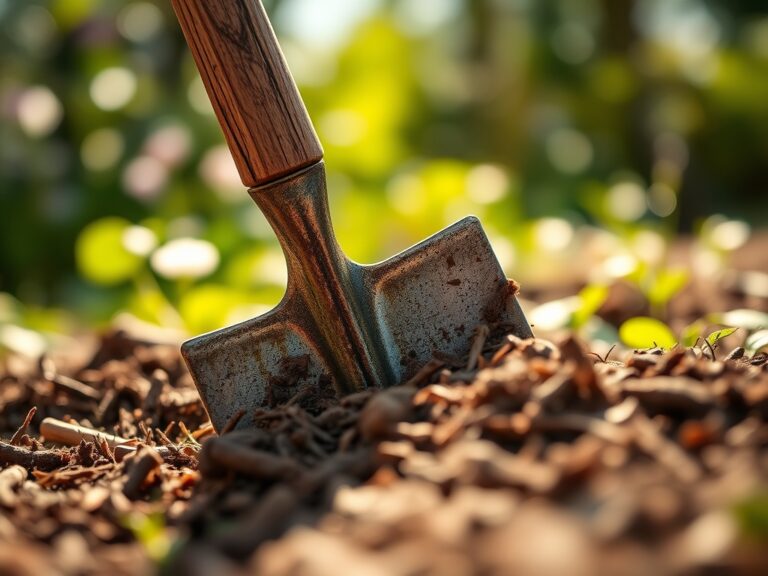
Phase 1: Excavation
Dig a pit 12 inches wider than the statue footprint in all directions. Depth must extend below the frost line for your zone. Consult local building codes. Typical depths: Zone 3-4, 48 inches; Zone 5-6, 36 inches; Zone 7-8, 18 inches.
Remove all organic matter. Roots, leaves, and humus decompose and create voids. Compact the bottom of the pit using a hand tamper or plate compactor. Target 95 percent maximum dry density. Test with a soil probe.
Pro-Tip: Moisten soil to 12 percent moisture content before compacting. This approaches optimum moisture for maximum density. Overly dry soil will not bind. Saturated soil squeezes rather than compacts.
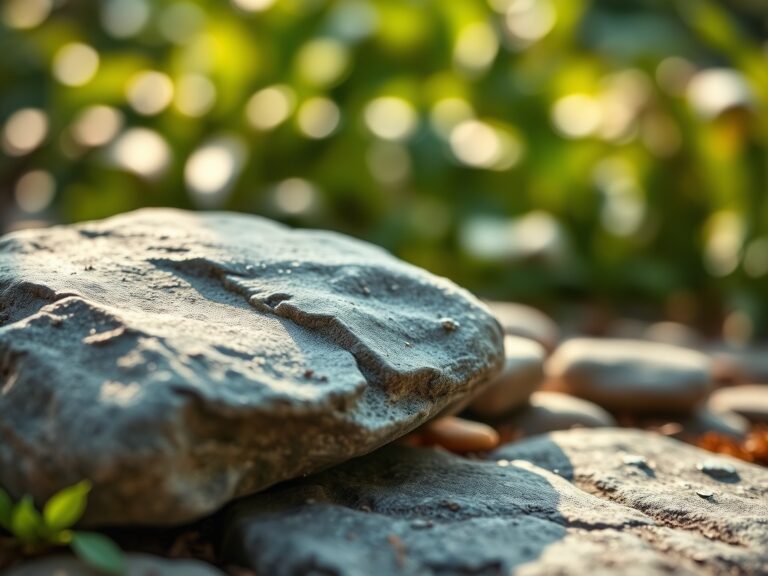
Phase 2: Aggregate Base
Pour crushed stone aggregate to half the excavation depth. Spread evenly with a rake. Compact in 3-inch lifts. Each lift requires four passes with a plate compactor. Check level with a 4-foot spirit level after each lift.
Add coarse sand over the compacted aggregate. Use 2 inches depth. Screed smooth with a straight board. This layer distributes point loads and prevents the statue from rocking on uneven aggregate.
Pro-Tip: Dampen sand lightly before screeding. Surface tension helps particles align. The layer will resist displacement during statue placement.
Phase 3: Leveling Pad
Mix mortar to stiff consistency (1:4 cement to sand). Spread over the sand layer in a uniform bed 1 inch thick. Work quickly. Portland cement begins setting in 45 minutes at 70°F.
Set a concrete paver or poured pad on the wet mortar. Size the pad to match the statue base exactly. Use a level to adjust. Tap with a rubber mallet to seat. Recheck level in two perpendicular directions.
Pro-Tip: Insert 1/4-inch plastic shims under the pad perimeter during curing. This creates drainage gaps and prevents water pooling under the statue. Remove shims after 48 hours.
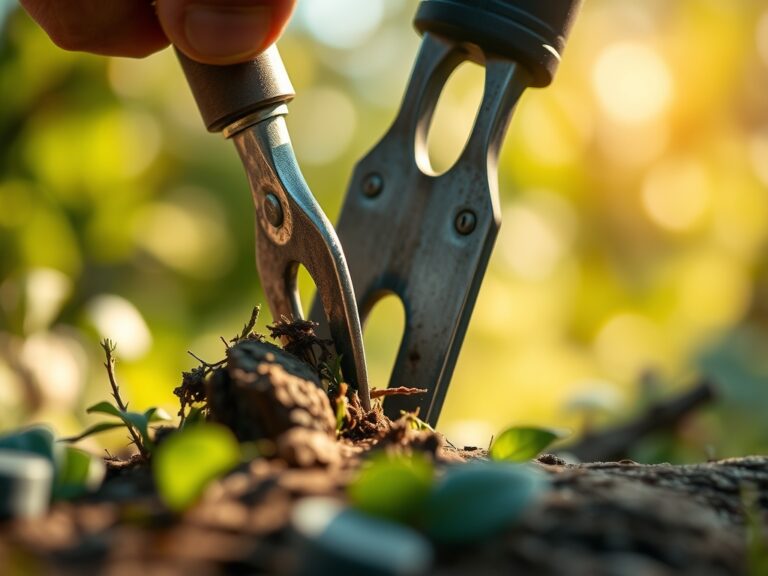
Troubleshooting Common Base Failures
Symptom: Statue tilts within first year
Solution: Inadequate compaction or organic matter decomposition. Excavate one side. Remove 6 inches of base material. Check for roots or humus. Refill with clean aggregate. Compact thoroughly. Re-level statue.
Symptom: Cracking in mortar pad
Solution: Freeze-thaw cycles or rapid temperature change during curing. Apply concrete curing compound immediately after finishing. Maintain surface moisture for 7 days. In freezing climates, use air-entrained concrete (5-7 percent air content).
Symptom: Water pools around base
Solution: Insufficient perimeter drainage. Dig a trench 6 inches from statue base, 8 inches deep. Fill with 3/4-inch crushed stone. Slope trench away from statue at 2 percent grade (1/4 inch per foot). Prevents hydrostatic pressure and erosion.
Symptom: Settling on one corner
Solution: Uneven subsoil bearing capacity. Likely clay lens or old root channel. Excavate beneath settled corner to frost depth. Backfill with lean concrete (10 percent cement, 90 percent aggregate). Prevents differential settlement. Reset statue after 14-day cure.
Symptom: White efflorescence on statue base
Solution: Calcium carbonate leaching from mortar. Normal in first year. Calcium ions migrate through capillaries as moisture evaporates. Apply penetrating silane sealer to mortar surfaces. Reduces moisture movement by 80 percent. Does not alter appearance.
Maintenance Protocol
Inspect the base twice annually. Check in early spring after final thaw and mid-autumn before freeze. Use a 2-foot level across two perpendicular axes. Document deviation. Movement exceeding 1/4 inch requires corrective action.
Clean the perimeter drainage annually. Remove leaf litter and sediment from crushed stone trenches. Flush with water. Clogged aggregate loses 60 percent drainage capacity.
Apply 1/2 inch of coarse sand around the statue base perimeter each spring. This compensates for erosion and maintains grade. Slope away from base at 2 percent minimum.
In Zones 3-5, wrap the statue neck with burlap November through March. Ice buildup creates mechanical stress. Condensation freeze-thaw can spall stone surfaces. Wrapping moderates temperature swings by 15°F.
Reseal mortar joints every 5 years with polyurethane caulk. Prevents water infiltration. Cracks smaller than 1/8 inch do not compromise structural integrity but allow root penetration from nearby perennials.
Frequently Asked Questions
How deep should a garden statue base be?
Base depth must reach below the frost line for your hardiness zone. This ranges from 18 inches in Zone 8 to 48 inches in Zone 3. Shallow bases experience frost heave and require annual releveling.
Can I place a statue directly on soil?
No. Organic-rich soil compresses and settles. Statues sink unevenly. Clay soils expand when wet and shrink when dry, causing tilt. A properly engineered base distributes load and remains stable.
What is the minimum base size for a 150-pound statue?
Excavate 12 inches beyond the statue footprint in all directions. A statue with a 16-inch square base requires a 40-inch square excavation. This distributes 150 pounds over 11 square feet, reducing point load to 14 pounds per square foot.
Do I need a concrete pad for lightweight statues?
Statues under 50 pounds may rest on compacted crushed stone with a 2-inch sand leveling layer. Use a concrete paver for easier leveling. Full mortar pads become necessary above 75 pounds to prevent settling.
How long before I can place the statue?
Wait 48 hours after setting the leveling pad. Mortar achieves 60 percent strength in two days at 70°F. Full cure requires 28 days, but statues may be placed earlier with care. Avoid lateral force during placement.