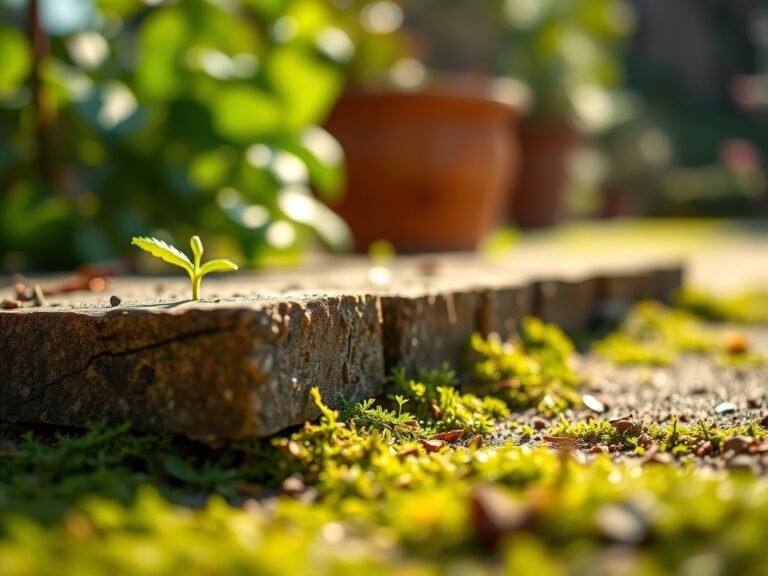
7 Steps to Build a Winding Natural Stone Path
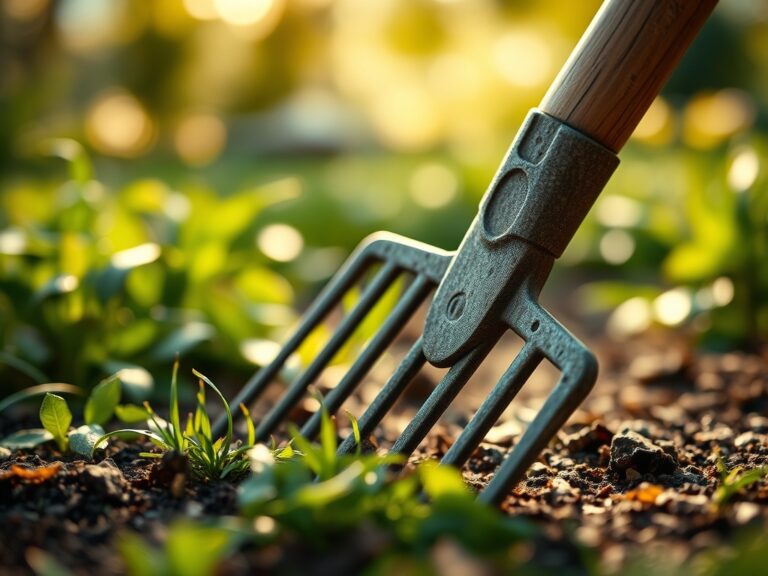
Damp earth exudes the sharp scent of geosmin as the spade slices through the root zone; this is the physical reality of ground disturbance. Successful installation requires an understanding of soil compaction and drainage. To master the steps for building a garden path, a horticulturist must respect the underlying geology and the biological health of the surrounding rhizosphere. A path is not merely a hardscape feature; it is a structural intervention that alters the hydrological flow and thermal mass of the garden ecosystem. Proper execution prevents the anaerobic conditions caused by poor drainage and ensures the long-term stability of the surrounding flora. By focusing on site preparation and substrate integrity, you create a functional conduit that preserves the turgor pressure of nearby specimens by preventing soil compaction over their delicate root systems. This process demands precision, physical effort, and a scientific approach to material selection.
Materials:
The foundation of a stone path begins with the substrate. You must analyze the soil Cation Exchange Capacity (CEC) to determine how the base materials will interact with local chemistry. For areas adjacent to the path, the ideal soil is a friable loam with a pH between 6.0 and 7.0. The base layer requires crushed limestone or 3/4-inch minus gravel to ensure rapid drainage.
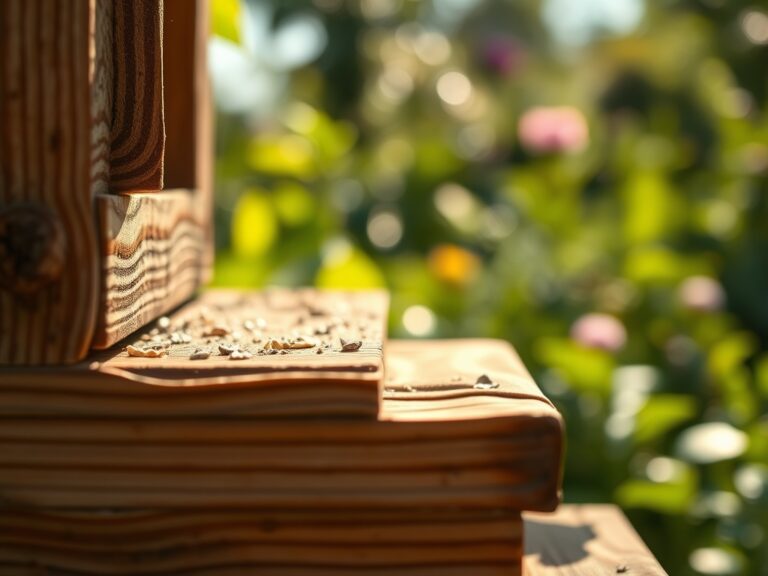
If you are planting groundcovers between stones, use a specialized planting medium. Incorporate a balanced NPK ratio of 5-10-5 to encourage root development without triggering excessive vegetative growth that leads to legginess. High nitrogen levels (above 10) can cause rapid cell elongation, weakening the plant's structural integrity. The stone selection should be local flagstone or fieldstone, typically 1.5 to 2.5 inches thick, to provide sufficient thermal mass to regulate soil temperatures during nocturnal cooling periods.
Timing:
Installation must align with the local frost cycle. In Hardiness Zones 4 through 7, the ideal window opens after the final spring frost when the soil moisture levels allow for compaction without creating a "hardpan" layer. In Zones 8 through 10, late autumn is preferable to avoid the extreme heat that accelerates transpiration in nearby plants.
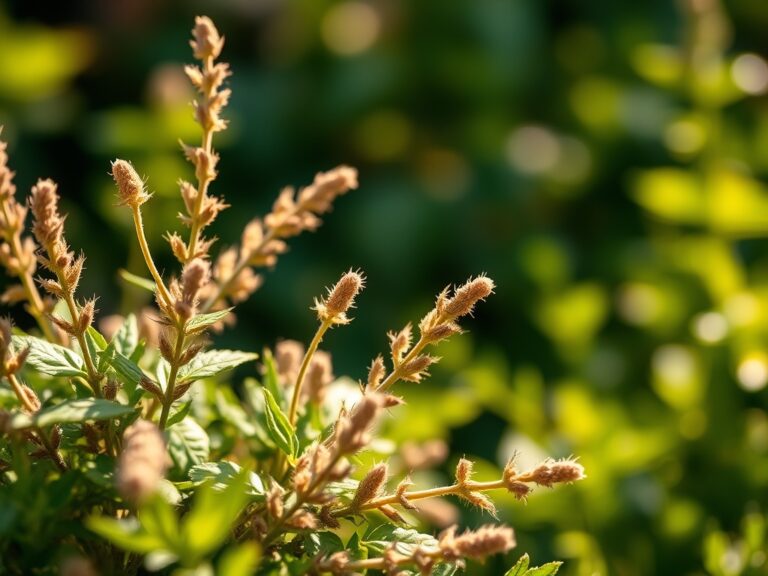
Understanding the biological clock of your garden is essential. Avoid major excavation during the "bolting" or reproductive stages of nearby perennials, as the root disturbance can trigger premature senescence. Aim for the transition period between dormancy and active vegetative growth. This ensures that any incidental root pruning stimulates the production of lateral roots rather than causing systemic shock to the plant's vascular system.
Phases:

Sowing the Foundation
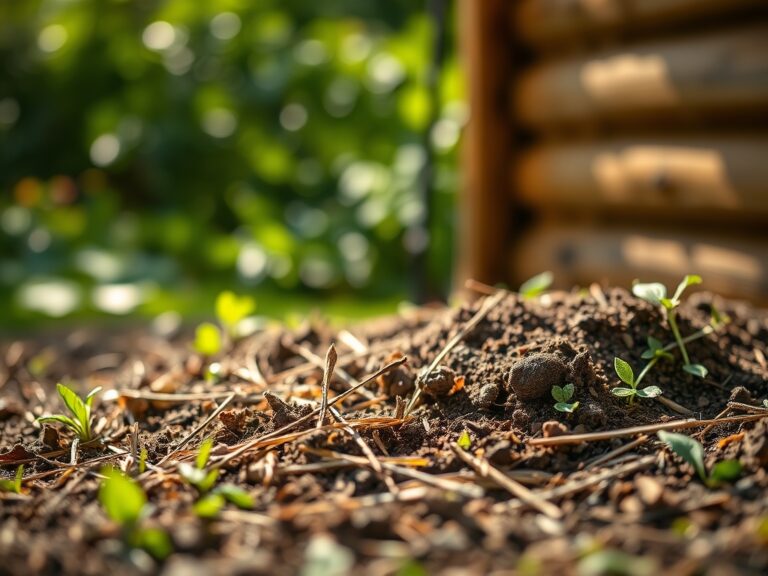
Excavate the path to a depth of 6 inches. This depth allows for a 4-inch base of compacted aggregate and a 2-inch layer of leveling sand. Use a plate compactor to reach a density that prevents settling. Ensure a 2 percent cross-slope to facilitate water runoff and prevent localized flooding of the rhizosphere.
Pro-Tip: Maintaining proper drainage prevents the development of anaerobic pathogens in the soil. Excess water displaces oxygen in the soil pores, leading to root rot and the suppression of beneficial aerobic bacteria.
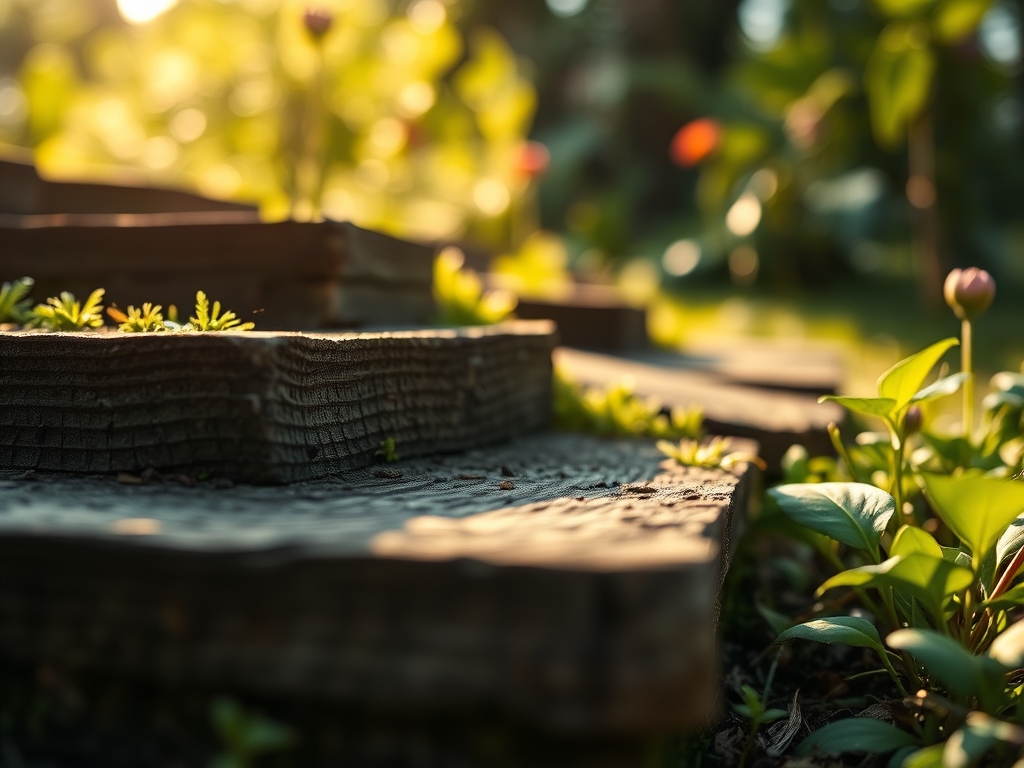
Transplanting the Stones
Lay the stones starting from the highest elevation point. Place larger "anchor" stones at curves to provide structural stability. Maintain a gap of 1 to 3 inches between stones if you intend to plant "steppable" groundcovers. Use a rubber mallet to set each stone firmly into the sand bedding, checking for "wobble" which indicates uneven pressure distribution.
Pro-Tip: Stones act as heat sinks, creating a microclimate. This thermal mass can extend the growing season for adjacent plants by radiating heat during the night, a process that influences the metabolic rate of nearby root systems.
Establishing the Border
Backfill the edges with the friable loam mentioned earlier. If planting creeping thyme or moss, ensure the roots make direct contact with the soil. Apply a light dusting of mycorrhizal inoculant to the planting holes to facilitate nutrient uptake.
Pro-Tip: Mycorrhizal fungi form a symbiotic relationship with plant roots, effectively increasing the surface area for water and mineral absorption. This symbiosis is critical for plants recovering from the stress of a hardscape installation.
The Clinic:
Physiological disorders often manifest after soil disturbance or improper stone placement.
- Symptom: Interveinal chlorosis (yellowing leaves with green veins) in nearby shrubs.
- Solution: This often indicates an iron deficiency caused by high pH levels from limestone leaching. Apply chelated iron and monitor soil pH.
- Symptom: Marginal leaf burn on groundcovers between stones.
- Solution: This is likely salt accumulation or heat stress. Increase irrigation frequency to leach salts and cool the stone surfaces.
- Symptom: Stunted growth and purple-tinted foliage.
- Solution: Phosphorus deficiency. The cold soil or high compaction prevents uptake. Use a liquid seaweed extract to provide readily available micronutrients.
Fix-It Section: For Nitrogen chlorosis (uniform paling of older leaves), apply a blood meal supplement at a rate of 2 pounds per 100 square feet. This provides a slow-release nitrogen source that won't burn the delicate root hairs.
Maintenance:
A stone path requires consistent monitoring of the surrounding soil moisture. Use a soil moisture meter to ensure the groundcovers receive 1.5 inches of water per week at the drip line. During the heat of mid-summer, stones can reach temperatures exceeding 110 degrees Fahrenheit, which increases the transpiration rate of nearby plants.
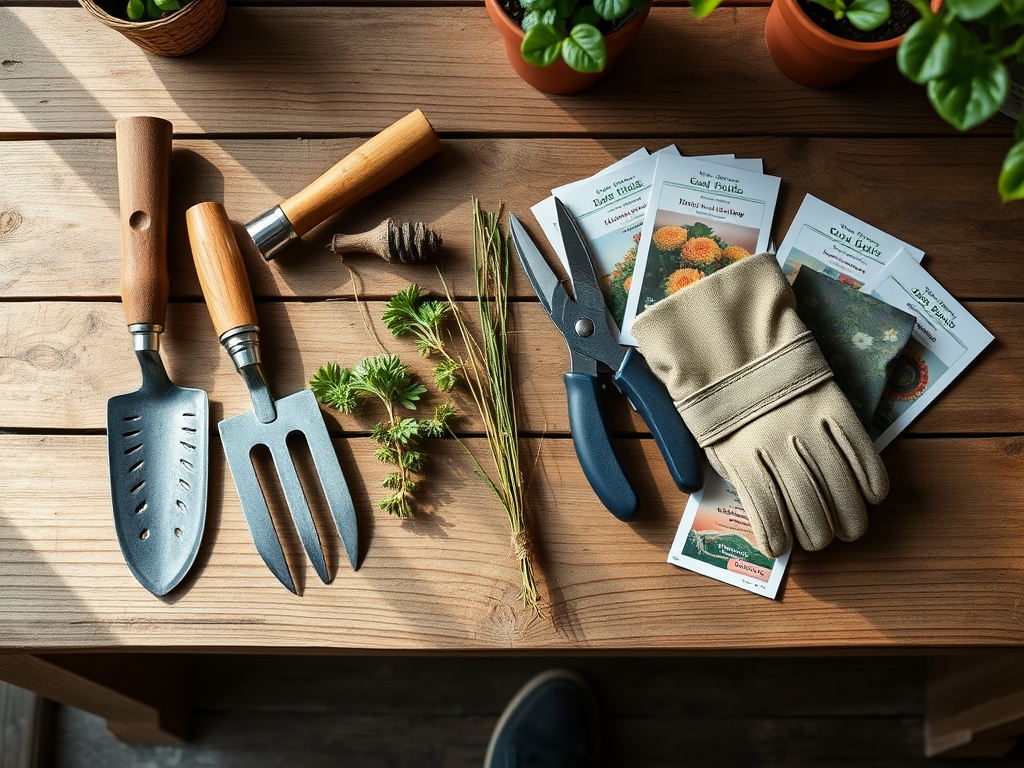
Use a hori-hori knife to remove deep-rooted weeds that penetrate the aggregate base; this tool allows for precise extraction without disrupting the leveling sand. For any overhanging vegetation that obstructs the path, use bypass pruners to make clean cuts at the branch collar, preventing tissue necrosis. Annually check the "level" of the stones; if heaving occurs due to the freeze-thaw cycle, lift the stone and add supplemental leveling sand to restore the grade.
The Yield:
If your path winds through a cutting garden or edible border, harvesting timing is critical for cellular turgidity. Harvest flowers and herbs in the early morning, specifically between 6:00 AM and 8:00 AM, when the plant's turgor pressure is at its peak.
Use a sharp blade to avoid crushing the xylem and phloem vessels. Immediately submerge the stems in 40-degree Fahrenheit water to slow the rate of respiration and enzymatic breakdown. This "cold chain" management ensures that the harvest maintains its structural integrity and nutrient density from the garden to the table.
FAQ:
How deep should I dig for a natural stone path?
Excavate to a total depth of 6 to 8 inches. This accommodates a 4-inch compacted gravel base, a 1-inch sand setting bed, and the thickness of your stone, ensuring a stable foundation that resists frost heaving.
What is the best material to fill gaps between stones?
Use polymeric sand for a solid, weed-resistant joint, or a mix of loam and grit if planting steppable groundcovers. The latter supports root respiration and provides the necessary Cation Exchange Capacity for plant health.
How do I prevent weeds from growing through the stones?
Install a heavy-duty geotextile fabric between the soil and the gravel base. This barrier prevents weed seeds in the subsoil from germinating while allowing water to permeate, maintaining the hydrological balance of the site.
Can I build a path over tree roots?
Avoid cutting roots larger than 2 inches in diameter. If roots are present, bridge over them using a thicker layer of sand or organic mulch to prevent crushing the vascular tissue, which could lead to canopy dieback.