6 Steps to Build a Decorative Garden Stream Bridge
The smell of damp humus and the sound of moving water define the sensory profile of a functional riparian landscape. When the soil reaches a consistent temperature of 55 degrees Fahrenheit, the structural integrity of the stream bank becomes the primary focus for any serious land manager. Integrating a crossing requires more than aesthetic consideration; it demands an understanding of soil compaction and the hydrological impact on the surrounding rhizosphere. Following the specific steps for building a garden bridge ensures that the passage does not impede the natural drainage of the site or cause localized anaerobic conditions in the substrate. A bridge serves as a structural transition point that connects distinct botanical zones while protecting the delicate root systems of marginal plants from foot traffic. By elevating the path of travel, you preserve the turgor pressure of nearby groundcovers and prevent the mechanical crushing of subterranean fungal networks. This technical approach treats the bridge as a biological asset rather than a mere ornament.
Materials:

The foundation of any structural element in the garden begins with the soil profile. For the footings of a bridge, you require a **friable loam** with a high Cation Exchange Capacity (CEC) to support the surrounding vegetation. The ideal soil pH for the bridge perimeter is **6.2 to 6.8**, which optimizes nutrient availability for the stabilizing plants. Before construction, amend the soil with a balanced NPK ratio of **10-10-10** to provide a baseline of nitrogen, phosphorus, and potassium. Use pressure-treated timber rated for ground contact or rot-resistant hardwoods like cedar or black locust. These materials must resist the high humidity levels found at the water’s edge. Avoid using untreated softwoods that succumb to fungal decay and compromise the structural safety of the crossing. Hardware should be **316-grade stainless steel** to prevent oxidation in the moist microclimate.
Timing:
Construction should align with the dormant season or early spring before the "Biological Clock" triggers the transition from vegetative to reproductive stages in local flora. In Hardiness Zones 5 through 7, the window for ground disturbance opens once the threat of deep frost has passed but before the spring sap flow begins. Initiating the project during the late winter ensures that the soil is firm enough to support heavy lumber without causing excessive compaction. Compaction reduces the pore space in the soil, limiting the oxygen available to aerobic bacteria and beneficial mycorrhizae. Monitoring the local frost-date window is essential; you want the bridge completed before the photoperiod extends beyond 12 hours, which signals the rapid growth phase for most temperate perennials.
Phases:

Sowing the Foundation
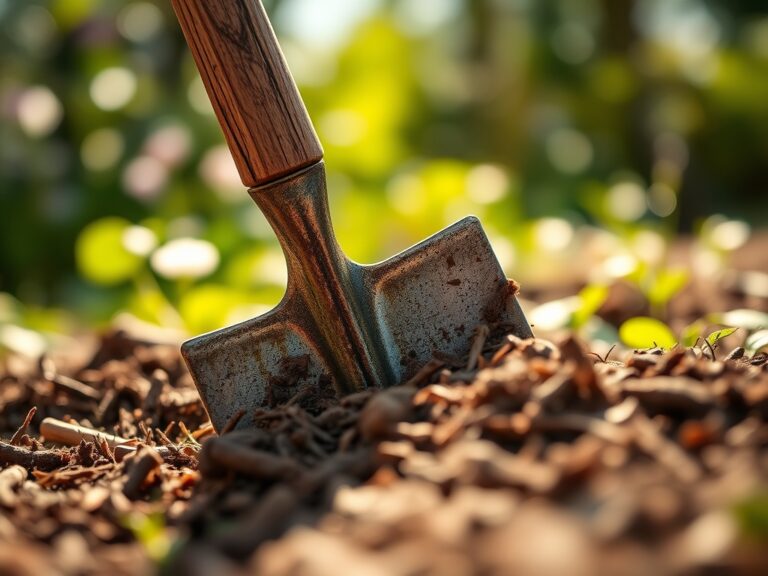
The first step involves excavating the footings on both sides of the stream. Dig down 12 inches to reach stable subsoil, bypassing the organic-rich O-horizon which is prone to shifting. Fill the base with 4 inches of compacted crushed stone to facilitate drainage.
Pro-Tip: Proper drainage at the footing prevents the "heaving" caused by freeze-thaw cycles. This protects the mycorrhizal symbiosis in the surrounding soil by ensuring that the structural weight does not create waterlogged, anaerobic pockets that kill beneficial fungi.
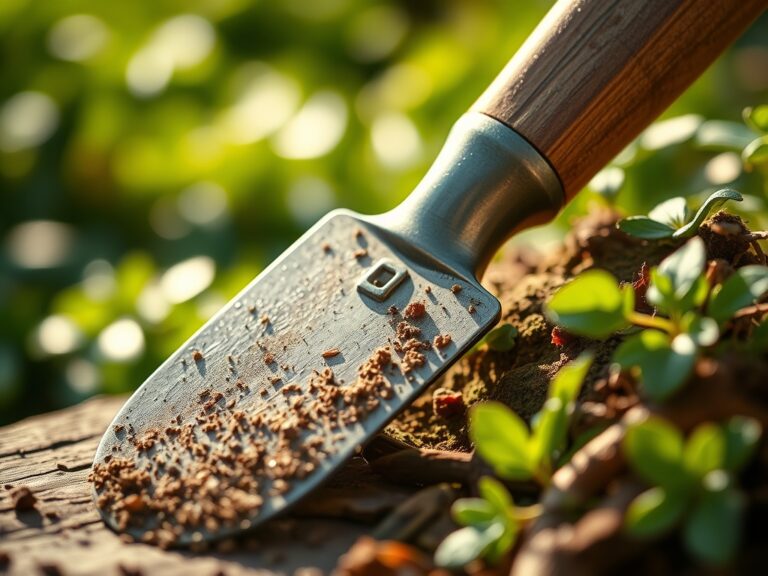
Transplanting the Structure
Assemble the primary joists, or stringers, across the span. These must be anchored into the footings using concrete piers or heavy timber sills. Ensure the bridge has a slight arch to allow for thermal expansion and to shed water efficiently.
Pro-Tip: When positioning the bridge, consider the phototropism of the plants beneath it. A wide bridge creates a "rain shadow" and a light deficit. Use open decking with 1/4-inch gaps to allow solar radiation and precipitation to reach the understory vegetation.
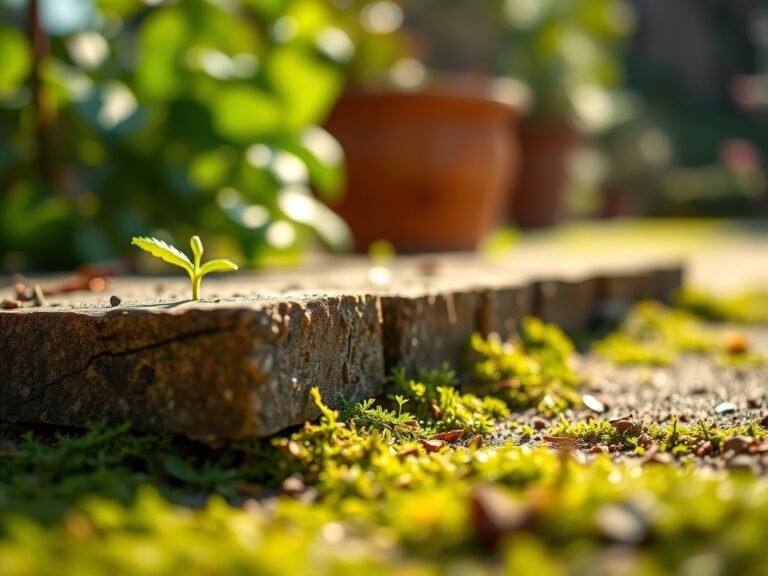
Establishing the Perimeter
Once the decking is secured, replant the disturbed banks with native sedges or rushes. These plants have fibrous root systems that anchor the soil and prevent erosion around the bridge footings. Apply a 2-inch layer of organic mulch to regulate soil temperature.
Pro-Tip: Use a root-stimulating hormone or a high-phosphorus "starter" fertilizer (ratio 5-15-5) during replanting. This encourages rapid root elongation and counteracts auxin suppression caused by the mechanical stress of transplanting near the new structure.
The Clinic:
Physiological disorders often appear in plants adjacent to new construction due to soil chemistry changes or physical damage.
-
Symptom: Interveinal chlorosis (yellowing leaves with green veins) on new growth.
-
Solution: This indicates an Iron deficiency, often caused by high pH from concrete runoff. Apply chelated iron and elemental sulfur to lower the pH to 6.5.
-
Symptom: Leaf wilting despite adequate soil moisture.
-
Solution: This is likely root necrosis from soil compaction during construction. Use a garden fork to gently aerate the soil around the drip line to restore gas exchange.
-
Symptom: Stunted growth and purple tinting on the undersides of leaves.
-
Solution: Phosphorus deficiency. The "Fix-It" is to incorporate bone meal or a high-phosphate fertilizer into the top 3 inches of the soil.
-
Symptom: General yellowing of older leaves (Nitrogen chlorosis).
-
Solution: Apply a quick-release nitrogen source like blood meal or a liquid 20-20-20 fertilizer to restore chlorophyll production.
Maintenance:
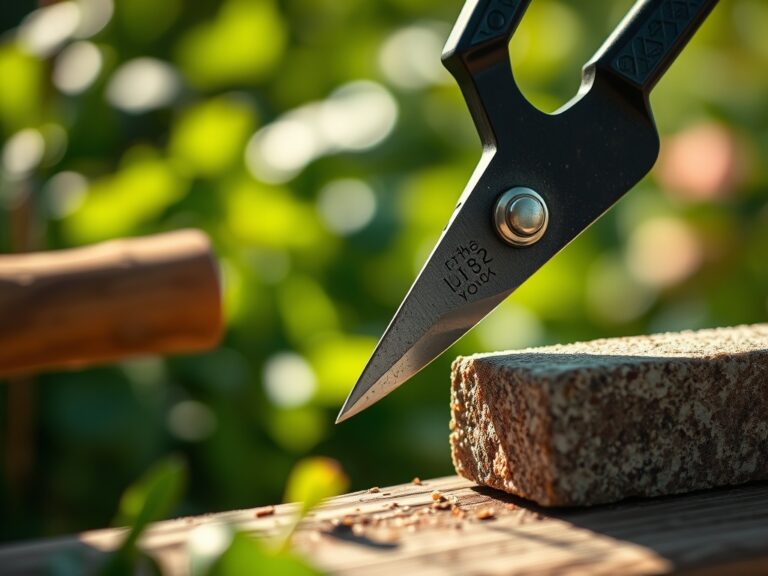
A bridge requires consistent environmental monitoring to ensure it does not negatively impact the local ecosystem. Use a soil moisture meter weekly to check the hydration levels at the bridge footings. Plants under the bridge overhang may require manual irrigation; provide 1.5 inches of water per week at the drip line if the structure blocks natural rainfall. Use a hori-hori knife to remove invasive weeds that thrive in the disturbed soil around the footings. Every autumn, use bypass pruners to remove any overhanging branches that touch the bridge. This prevents the transfer of wood-rotting fungi from the living canopy to the structural timber. Inspect the stainless steel fasteners annually for any signs of loosening due to the natural expansion and contraction of the wood fibers.
The Yield:
If the bridge serves an edible garden or a cut-flower border, the yield is measured in the health of the harvest. For riparian herbs like watercress or mint, harvest during the morning when turgor pressure is at its peak. Use sharp shears to make clean cuts above a node to encourage lateral branching. Post-harvest, immediately submerge the stems in 40-degree Fahrenheit water to maintain "day-one" freshness. For flowering perennials, harvest when the first bud on the spike is just beginning to show color. This stage ensures the maximum vase life and prevents the plant from diverting too much energy into seed production, which triggers early senescence.
FAQ:
What is the best wood for a garden bridge?
Select rot-resistant species like Western Red Cedar, Redwood, or Black Locust. These woods contain natural tannins and oils that inhibit fungal decay. Ensure all lumber is rated for ground contact if it touches the soil surface.
How deep should the bridge footings be?
Excavate footings to a depth of at least 12 inches or below the local frost line. Use a base of compacted gravel to ensure rapid drainage and prevent the wood from sitting in standing water, which causes cellular breakdown.
Can I build a bridge over a dry creek bed?
Yes. The structural requirements remain the same. You must account for soil stability and ensure the bridge does not impede the flow of water during heavy rain events, which could cause significant bank erosion.
How do I prevent the bridge from becoming slippery?
Apply a clear anti-slip coating or attach narrow strips of grip tape to the decking. Maintaining a clean surface by removing algae and moss with a stiff brush prevents the buildup of organic matter that retains moisture.