6 Steps to Build a Durable Stone or Block Garden Wall
The first stone you place determines whether your wall will stand for fifty years or crack by spring. Steps for building a garden wall require precision in footwork, material selection, and drainage planning that borrows more from soil science than from simple stacking. A properly constructed wall creates microclimates that extend hardiness zones by half a step, sheltering root systems and reflecting heat like southern-facing bedrock. The foundation must reach below the frost line, the drainage layer must move water faster than clay holds it, and every course must account for settling rates similar to those observed in alluvial soil profiles.
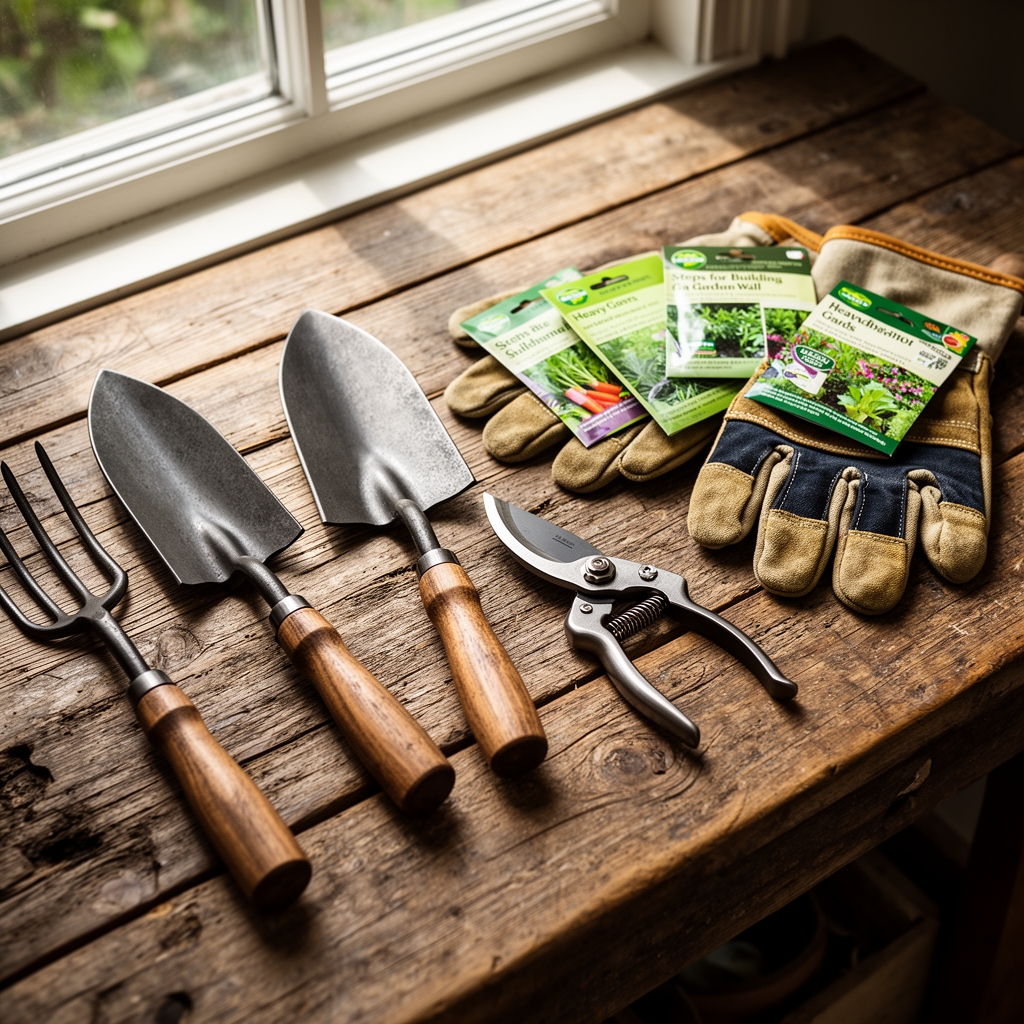
Materials
The substrate beneath your wall functions as a living medium. Excavate to a depth of 12 inches in Zones 6-7, or 18 inches in Zones 3-5 where frost heave applies lateral pressure comparable to root expansion in compacted clay. Line the trench with crushed stone graded at three-quarters inch diameter. This aggregate drains at a rate of 10 inches per hour, matching the percolation speed of sandy loam amended with perlite.
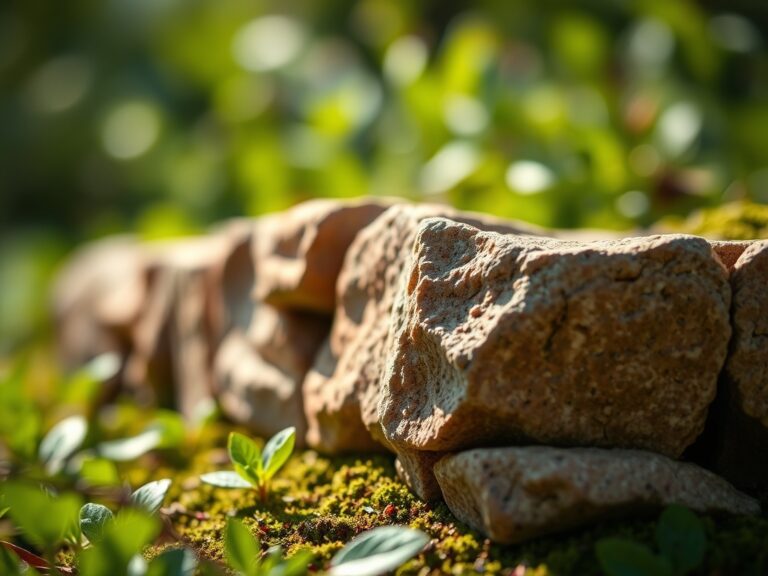
Stone selection follows the same logic as selecting mulch for pH-sensitive plants. Limestone weathers to raise soil pH by 0.3 to 0.8 points over five years, benefiting alkaline-loving species like lavender and dianthus. Granite and basalt remain neutral, ideal for acid-loving plantings of rhododendrons or blueberries that thrive at pH 4.5-5.5. Sandstone absorbs water like peat moss, creating freeze-thaw fractures unless sealed with penetrating stabilizers.
Concrete blocks offer uniformity but require the same foundation depth. If mixing mortar, aim for a ratio similar to balanced fertilizer: one part Portland cement, three parts sand, and enough water to achieve the consistency of potting soil at field capacity. Dry-stack walls rely on gravity and friction, functioning like the aggregate structure in well-developed topsoil where particle-to-particle contact creates shear strength.
Backfill behind the wall with coarse sand or fine gravel. This layer mimics the drainage function of perlite in container mixes, preventing hydrostatic pressure that acts like overwatering in root-bound specimens. Install perforated drain pipe at the base, sloped at one-quarter inch per foot, the same gradient used in greenhouse bench irrigation.
Timing
Construct walls during the dormant season, from late September through early April in Zones 5-8. Soil moisture content should match the crumbly texture of properly cured compost: moist enough to compact slightly under pressure but dry enough to avoid frost-induced heaving. In clay-heavy soils with cation exchange capacity above 20 meq/100g, wait for three consecutive days without rain to prevent the trench from becoming a sump.
Frost dates govern your schedule as strictly as last-frost dates govern tomato transplants. Pour footings or set base stones at least six weeks before the first hard freeze, allowing time for settling equivalent to the compression observed when top-dressing lawns with compost. Spring construction begins two weeks after the final frost, when subsurface temperatures reach 45°F at 6-inch depth.
Phases

Foundation Phase: Compact the trench base using a tamper, applying pressure equal to 150 pounds per square foot. This density prevents differential settling, the same principle that stabilizes root systems in well-structured loam. Lay the first course below grade, with stones or blocks spanning at least two-thirds the wall width. Check level every 8 feet using a 4-foot spirit level. Deviation beyond one-eighth inch per foot creates the same structural stress as wind-rocking in shallow-rooted trees.
Pro-Tip: Introduce mycorrhizal fungi spores into the backfill at a rate of 1 ounce per 10 cubic feet. These organisms colonize plant roots in adjacent beds, improving nutrient uptake by 30% through enhanced phosphorus mobilization.
Building Phase: Stagger vertical joints by at least 4 inches, replicating the offset pattern in brick bonds or the alternating arrangement of cells in plant cambium. Each course steps back by half an inch, creating a batter angle of 1:12 that resists overturning like a buttressed trunk resists wind shear. Fill voids with stone chips, not soil. Soil compresses over time like aged compost, while chips maintain structural integrity.
For mortared walls, mix fresh batches every 90 minutes. Mortar loses plasticity at the same rate that auxin distribution declines in detached cuttings. Butter the contact surfaces fully, avoiding voids that trap water and freeze like ice lenses in poorly drained clay.
Pro-Tip: Embed deadmen every 8 feet at mid-height. These perpendicular stones anchor into the backfill, functioning like lateral roots that stabilize trees on slopes exceeding 15 degrees.
Cap Phase: Top the wall with flat stones or cap blocks that overhang by 1 inch. This drip edge sheds water away from joints, preventing infiltration that mimics the damage caused by crown rot in poorly mulched perennials. Seal porous stone with penetrating sealers, applied at a rate of 200 square feet per gallon.
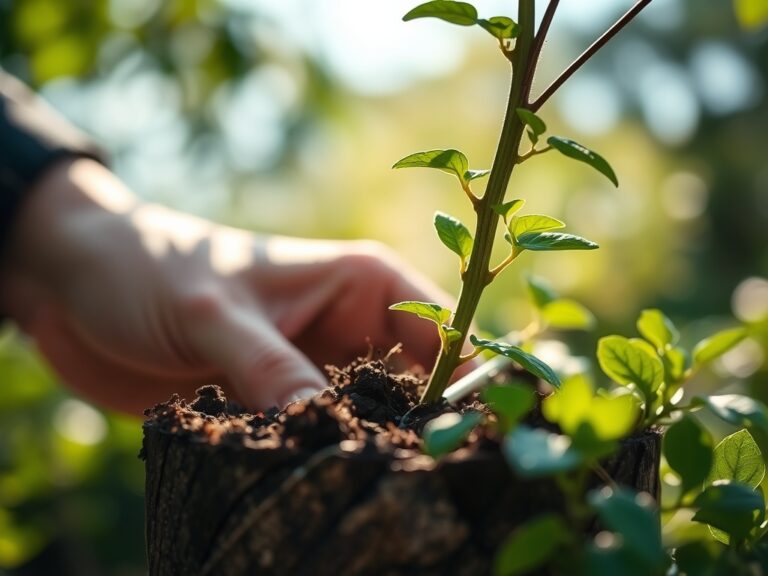
Pro-Tip: Plant creeping thyme or sedum in vertical gaps. Their roots secrete organic acids that improve aggregate stability, similar to the role of humic substances in binding soil particles.
Troubleshooting
Symptom: Bulging or leaning after the first winter.
Solution: Insufficient drainage or missing backfill. Excavate behind the wall and install corrective drainage. Compact backfill in 6-inch lifts, matching the layering technique used in raised-bed construction.
Symptom: Efflorescence (white salt deposits) on stone faces.
Solution: Water-soluble salts migrating through capillary action, identical to salt buildup in over-fertilized container plants. Apply silane-based sealers to block pore networks without trapping internal moisture.
Symptom: Cracking along mortar joints.
Solution: Freeze-thaw cycles or inadequate curing. Mortar requires seven days at 50°F minimum, the same temperature threshold for germinating cool-season grasses. Repair with polymer-modified mortars that flex like the cambium layer in young stems.
Symptom: Settlement cracks at wall ends.
Solution: Differential compaction in the foundation. Rebuild the affected section with deeper footings and better-compacted aggregate, applying principles from soil remediation in compacted lawns.
Symptom: Moss or algae growth.
Solution: Excess moisture retention. Treat with copper sulfate solution at 1 tablespoon per gallon, the same concentration used to prevent damping-off in seedling trays. Improve air circulation by thinning adjacent plantings.
Maintenance
Apply penetrating sealers every three years to porous stone. Inspect joints annually in early spring, the same timing used for checking tree stakes and ties. Repoint mortar when cracks exceed one-eighth inch width. Flush drainage pipes in autumn using a garden hose at full pressure, clearing debris as you would clean drip irrigation emitters.
Water newly planted pockets with 1 inch per week during the establishment period, measured with a rain gauge. Fertilize wall plantings with slow-release formulations rated 5-10-5, applied at half the rate recommended for container plants due to restricted root volume. Prune woody plants to maintain 6 inches of clearance from stone faces, preventing root intrusion similar to damage caused by aggressive spreaders like mint.
Remove snow promptly if it drifts above 18 inches against the wall. Snow load applies pressure equivalent to saturated soil, stressing structures the same way waterlogged media stresses container walls.
FAQ
How deep should the foundation be?
Dig to 12 inches in frost-free zones, 18 inches where frost penetrates below 6 inches. Match depth to your region's frost line data, available from county extension offices.
Can I build on a slope?
Step the foundation in terraces, each no taller than 4 feet. This mimics the natural terracing effect of roots on hillsides where grade exceeds 20%.
Do I need mortar for short walls?
Walls under 24 inches function well as dry-stack if backfill is properly compacted and drainage installed. Mortar adds rigidity for heights above 30 inches.
What spacing for drainage weep holes?
Place holes every 6 feet along the base course, each 2 inches in diameter. This matches the outlet spacing in commercial greenhouse drainage systems.
How long before planting behind the wall?
Wait four weeks for mortared walls to cure fully. Alkaline leachate from fresh mortar raises pH like overliming, stressing acid-loving plants until neutralized by rainfall.