6 Natural Ways to Sharpen Shears with a Whetstone
Crushed xylem and torn phloem are the calling cards of a dull blade. When you force a blunt edge through a stem, you collapse the plant's vascular system instead of severing it; this inhibits turgor pressure and invites opportunistic pathogens into the ragged wound. A surgical cut allows the plant to seal the injury through rapid cell division. Mastering the steps for sharpening a garden shears with a stone ensures your bypass pruners maintain the 20 degree bevel necessary for clean cellular separation. Precision maintenance is as vital to plant health as proper irrigation or soil chemistry.
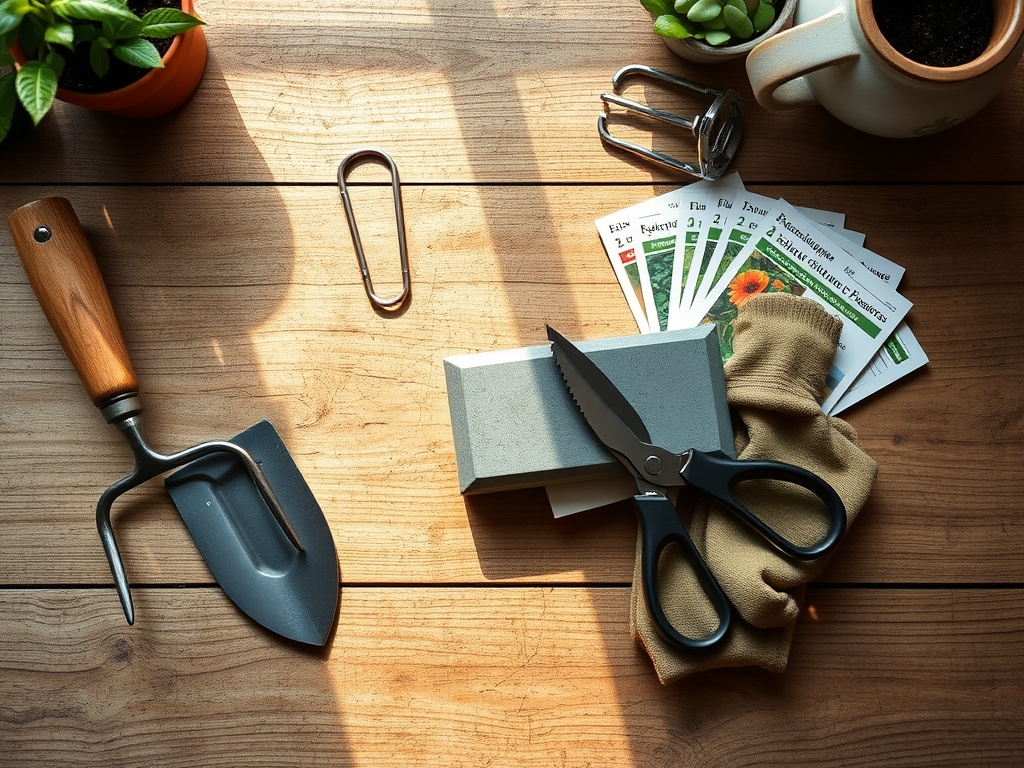
Materials:
While tool maintenance occurs on the workbench, the performance of the tool is measured in the field. To support the rapid recovery of pruned specimens, the surrounding soil must be a **friable loam** with a **pH range of 6.2 to 6.8**. This acidity level optimizes the **Cation Exchange Capacity (CEC)**, allowing the plant to mobilize nutrients for wound healing.
Before sharpening, ensure your garden beds are amended with a balanced NPK ratio. For woody perennials, a 10-10-10 NPK application provides the nitrogen required for new vegetative growth and the phosphorus needed for root resilience. For flowering shrubs, transition to a 5-10-10 NPK to prioritize reproductive health over excessive foliage. The physical substrate should consist of 40 percent sand, 40 percent silt, and 20 percent clay to ensure oxygen reaches the rhizosphere during the post-pruning recovery phase.
Timing:
Maintenance schedules must align with Hardiness Zones 3 through 9 and local frost dates. Sharpening and subsequent pruning should occur during the dormant season, typically late winter or early spring, before the biological clock triggers the transition from dormancy to the vegetative stage. In Zone 6, this window usually opens in late February.
Pruning with sharpened shears during the "silver tip" stage of bud development minimizes sap loss. Avoid heavy pruning during the senescence phase in autumn; cutting late in the season stimulates new growth that lacks the lignification necessary to survive sub-freezing temperatures. By timing your sharpening to the pre-vernal surge, you ensure that the first surge of auxins—the hormones responsible for apical dominance—is directed toward productive new nodes rather than healing jagged, dull-cut tissue.
Phases:

Sowing the Edge
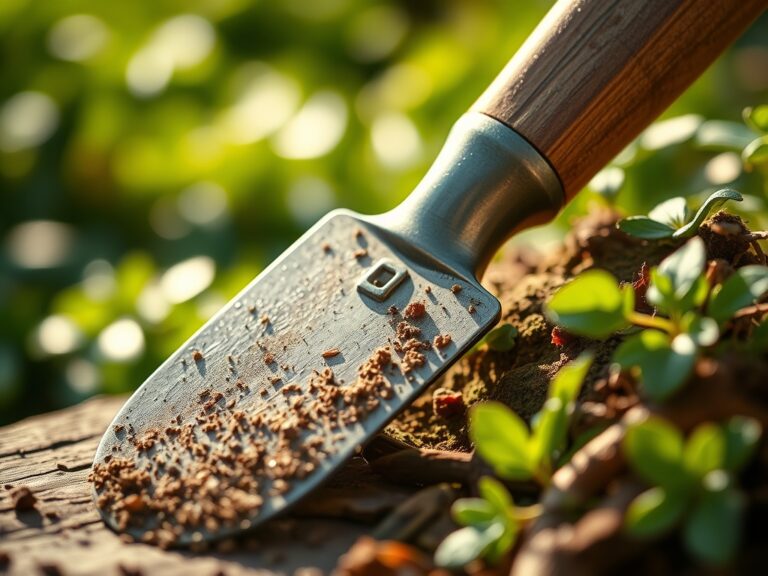
Begin by cleaning the blades with isopropyl alcohol to remove dried sap and fungal spores. Submerge your whetstone in water for 10 to 15 minutes until air bubbles cease to rise. For garden shears, use a medium 1000-grit stone for initial sharpening and a 6000-grit stone for honing. Hold the shears firmly, identifying the factory bevel angle, which is usually between 15 and 22 degrees.
Pro-Tip: Maintaining a consistent angle is critical because it dictates the "shear force" required to break plant cell walls. A consistent bevel prevents the crushing of the cambium layer, the thin layer of generative tissue between the bark and the wood.
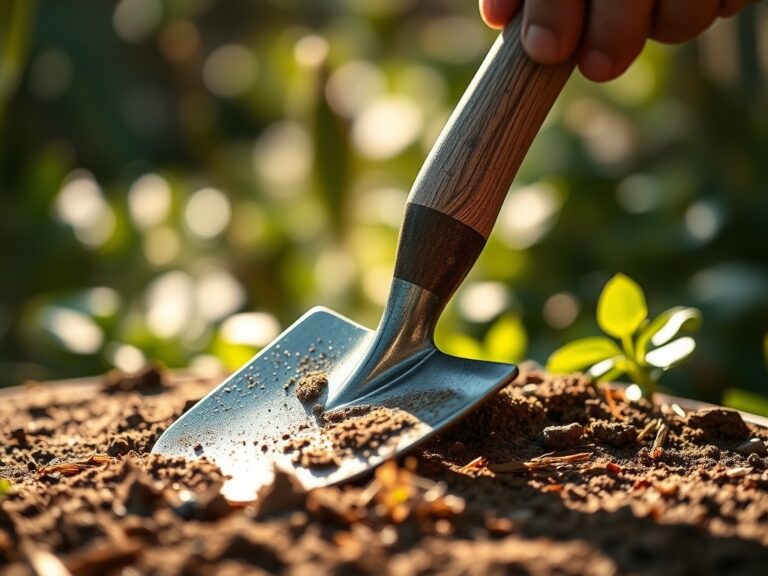
Transplanting the Motion
Stroke the whetstone along the beveled edge in a curved motion, following the contour of the blade from the base to the tip. Apply even pressure on the forward stroke and release on the return. Repeat this process 20 to 30 times until a "burr"—a microscopic curl of metal—forms on the flat backside of the blade.
Pro-Tip: The burr indicates that you have successfully removed enough fatigued metal to reach a fresh, molecularly sound edge. This ensures the blade slices through the middle lamella (the "glue" between plant cells) rather than tearing it.
Establishing the Finish
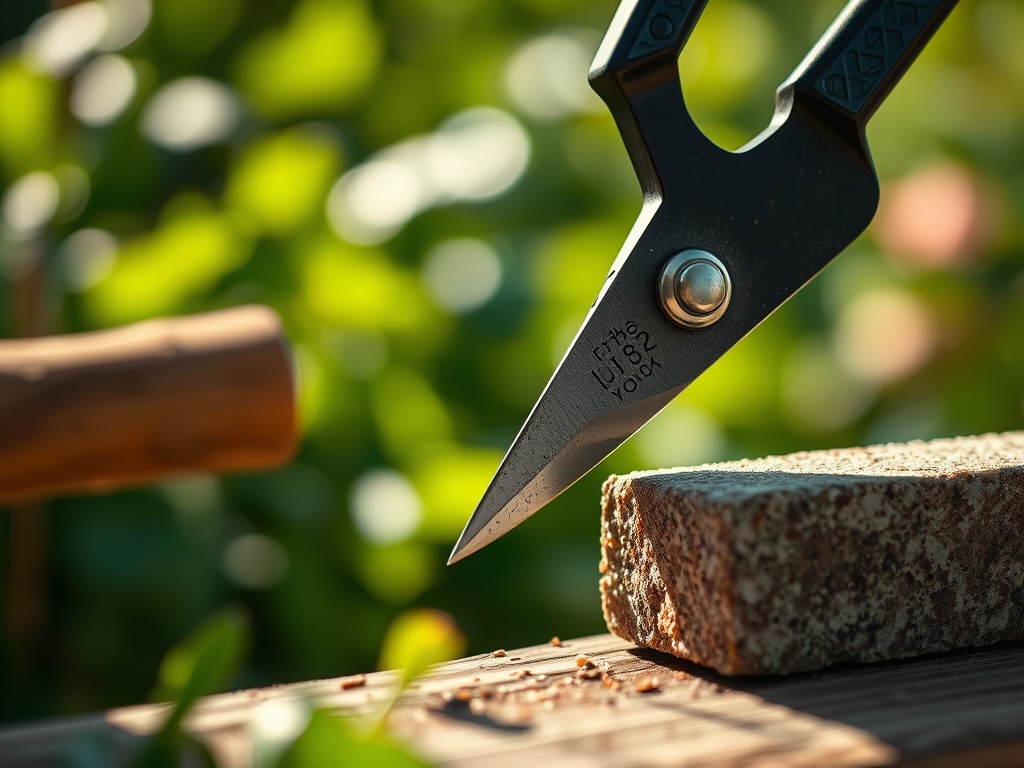
Flip the shears over and lay the flat side of the blade flush against the fine-grit stone. Perform a single, light pass to remove the burr. This creates a "zero-clearance" fit between the cutting blade and the anvil or counter-blade. Lubricate the pivot point with a drop of mineral oil to reduce friction during operation.
Pro-Tip: Removing the burr prevents microscopic metal shards from entering the plant's vascular bundles. Clean metal-to-metal contact reduces the mechanical stress on the gardener's hand, preventing repetitive strain while ensuring the plant's xylem remains open for water transport.
The Clinic:
Even with sharp tools, plants may exhibit physiological distress if environmental conditions are sub-optimal.
- Symptom: Dieback at the pruning site.
- Solution: This often results from "stubbing," or leaving too much wood beyond the branch collar. Recut the branch at a 45-degree angle just outside the branch bark ridge to facilitate the formation of a "callus" or wound wood.
- Symptom: Interveinal chlorosis (yellowing between leaf veins).
- Solution: This is a classic Magnesium deficiency. Apply Epsom salts (magnesium sulfate) at a rate of 1 tablespoon per foot of plant height to restore chlorophyll production.
- Symptom: Leaf tip burn or marginal necrosis.
- Solution: This indicates Potassium deficiency or salt accumulation. Flush the soil with 2 inches of water and adjust the NPK to a higher K-value to regulate osmotic pressure within the cells.
Maintenance:
Post-sharpening, the focus shifts to hydration and tool longevity. Plants require 1.5 inches of water per week delivered at the drip line to maintain the turgor pressure necessary for vertical growth. Use a soil moisture meter to verify that moisture has penetrated 6 to 8 inches deep into the root zone.
When working in the field, carry a hori-hori knife for weeding and a pair of bypass pruners for precision cuts. Avoid "anvil" style pruners for live tissue, as they function by crushing rather than slicing. After each use, wipe your blades with a dry cloth and apply a thin layer of oil to prevent oxidation. If you encounter diseased wood, dip the blades in a 10 percent bleach solution between every single cut to prevent the systemic spread of pathogens.
The Yield:
When harvesting woody herbs or cut flowers, timing is everything. Harvest in the early morning when turgor pressure is at its peak; this ensures the stems are turgid and the essential oils are concentrated. Use your sharpened shears to make a clean, slanted cut.
Immediately plunge the stems into 110 degree Fahrenheit water to remove air embolisms from the xylem. Store the harvest in a cool, dark location for two hours before arranging. This "hardening off" process extends the post-harvest life of the plant material by slowing the rate of transpiration and delaying the onset of senescence.
FAQ:
How often should I sharpen my shears?
Sharpen every 10 to 15 hours of active use. If you notice the blade "sliding" off a branch or leaving a jagged edge on the bark, the edge has lost its molecular alignment and requires honing.
Do I need to take the shears apart?
While not mandatory, removing the center bolt allows for a more thorough sharpening of the entire blade length. It also permits the removal of grit and sap trapped in the pivot assembly, ensuring smoother mechanical action.
Can I use a file instead of a stone?
A mill file is acceptable for coarse tools like shovels, but for bypass pruners, a whetstone is superior. The stone provides a finer grit that creates a smoother edge, reducing the surface area where pathogens can lodge.
What is the best lubricant for sharpening?
Use honing oil or water depending on the stone type. Lubricants float metal "swarf" away from the stone's pores, preventing the surface from becoming "glazed" or clogged, which maintains the stone's abrasive efficiency during the sharpening process.