7 Smart Steps to Design a Tool Organization App
The scent of damp earth and the high turgor pressure of a crisp leaf signify a garden in peak physiological health. Achieving this state requires more than intuition; it demands a systematic approach to resource management. To maximize efficiency, one must learn how to prepare a garden for a tool organization app by first auditing every physical asset within the growing space. Inventorying hand tools and power equipment alongside soil amendments allows for a seamless transition into a digital tracking system. This integration ensures that every hori-hori knife and soil moisture meter is accounted for before the heavy labor of the season commences. Proper preparation involves mapping the layout of the tool shed in relation to the rhizosphere of your most demanding crops. By digitizing your inventory, you eliminate the downtime spent searching for specialized gear during critical planting windows. This technical alignment between physical labor and digital logistics creates a streamlined workflow that supports plant health through timely intervention and precise maintenance.
Materials:
Success begins with the substrate. The ideal growing medium is a **friable loam** consisting of approximately 40 percent sand, 40 percent silt, and 20 percent clay. This balance ensures a high **Cation Exchange Capacity (CEC)**, allowing the soil to retain and release essential nutrients to the root zone. You must maintain a **soil pH between 6.2 and 6.8** for most temperate crops to ensure nutrient bioavailability.
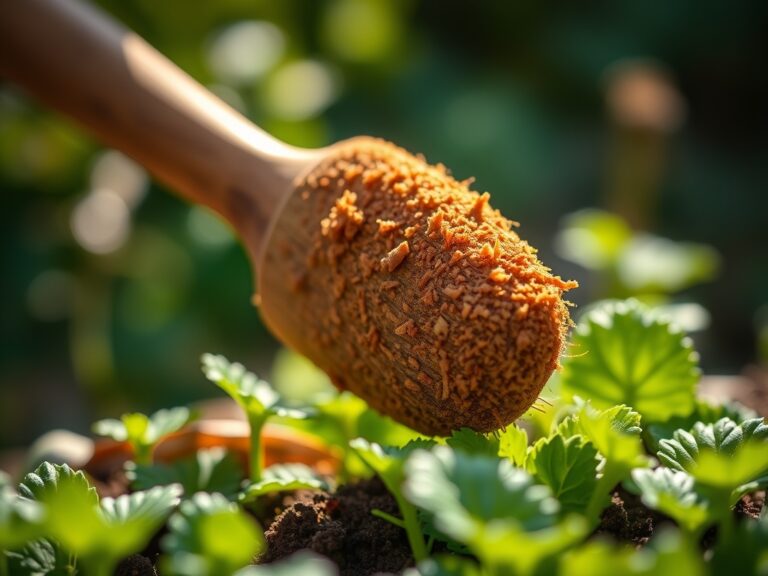
Prepare your amendments based on specific NPK ratios tailored to the growth stage. For initial soil building, utilize a 10-10-10 balanced fertilizer to establish a baseline of Nitrogen, Phosphorus, and Potassium. Nitrogen (N) is essential for leaf development; Phosphorus (P) supports root architecture and flower induction; Potassium (K) regulates cellular osmotic pressure and overall plant resilience. When preparing for your tool organization app, categorize these inputs by their chemical composition and expiration dates within the software. This data allows for precise application rates, preventing the nutrient runoff that occurs when fertilizers are applied without a documented schedule.
Timing:
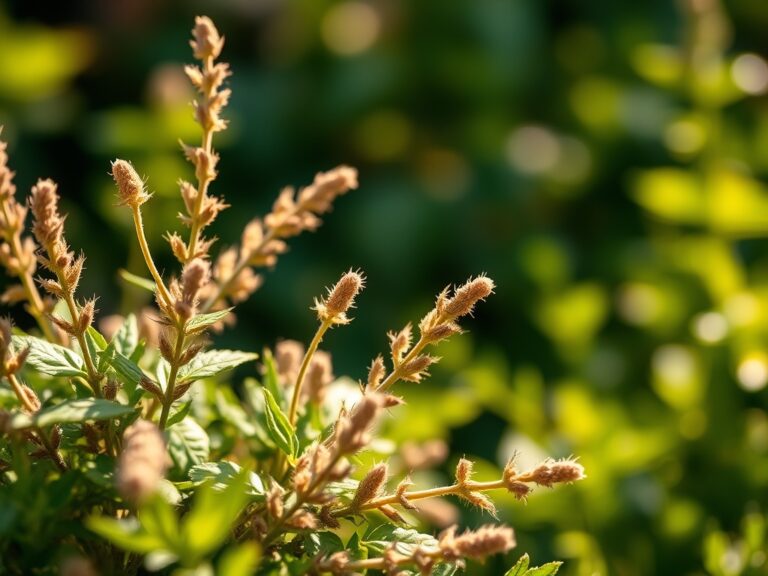
Agricultural success is dictated by the Hardiness Zone and the local frost-date window. In Zones 5 through 7, the window for spring planting typically opens between late March and early May. You must track the Biological Clock of your cultivars, noting the transition from the vegetative stage to the reproductive stage. This transition is often triggered by the photoperiod, where the ratio of light to darkness dictates when a plant will begin flowering or setting seed.
Use your organization app to set alerts for these transitions. For example, cold-hardy crops like brassicas require a soil temperature of at least 45 degrees Fahrenheit for germination, while heat-loving solanaceous crops like tomatoes demand a minimum of 60 degrees Fahrenheit. Aligning your tool maintenance schedule with these biological milestones ensures that your bypass pruners are sharpened and sterilized before the first signs of senescence appear in early-season crops.
Phases:

Sowing
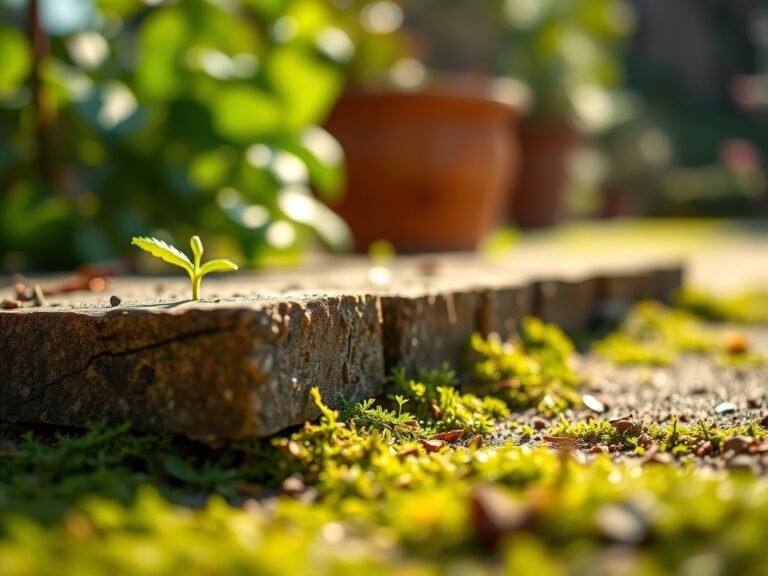
Direct sow seeds at a depth approximately three times the diameter of the seed. Maintain consistent moisture to facilitate the imbibition process, where the seed absorbs water to activate metabolic functions.
Pro-Tip: Proper sowing depth is critical because of photomorphogenesis. Certain seeds require total darkness to trigger the hormonal shift necessary for radical emergence, while others need light to break dormancy.
Transplanting
When moving seedlings from flats to the field, minimize root disturbance to prevent transplant shock. Dig a hole twice as wide as the root ball and ensure the soil is settled to eliminate air pockets that cause root desiccation.
Pro-Tip: Apply a mycorrhizal inoculant during this phase. This creates a mycorrhizal symbiosis where fungal hyphae extend the root system's reach, increasing the uptake of Phosphorus and water.
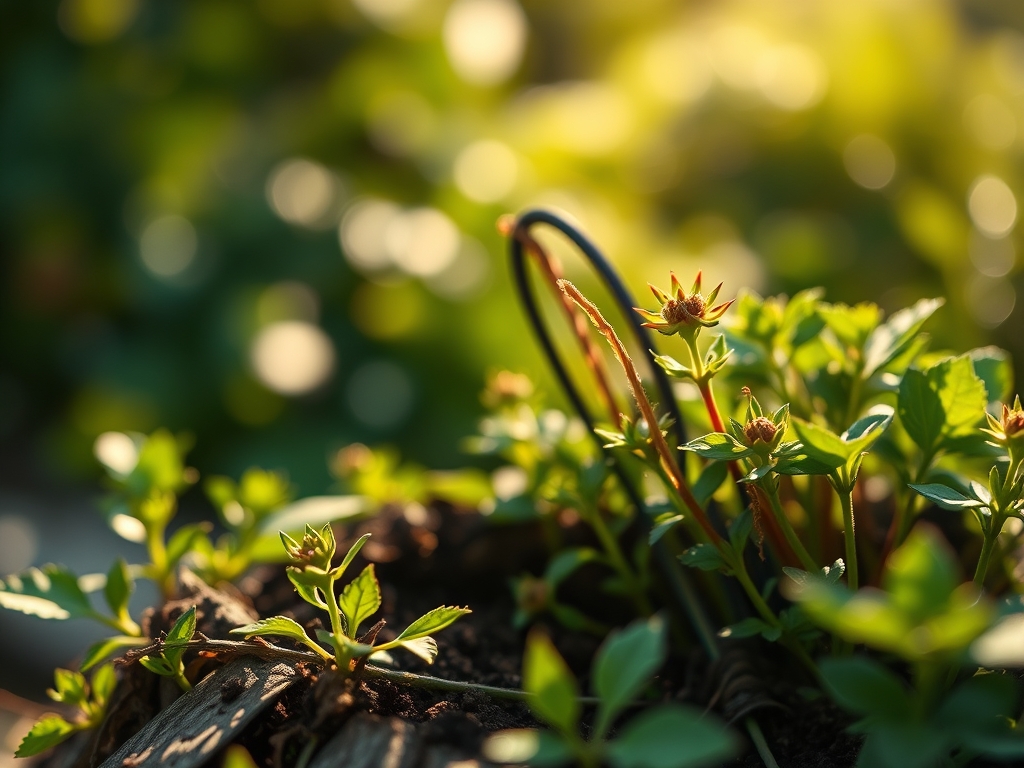
Establishing
Once the plant is in the ground, focus on structural integrity. Monitor the auxillary buds and ensure the central leader is dominant if the species requires it.
Pro-Tip: Use strategic pruning to manage auxin suppression. By removing the apical meristem (the tip), you reduce the flow of the hormone auxin, which encourages lateral branching and a bushier growth habit.
The Clinic:
Physiological disorders often mimic infectious diseases but result from environmental stress or nutrient imbalances.
- Symptom: Interveinal chlorosis on young leaves.
Solution: This indicates an Iron deficiency, often caused by a pH above 7.0. Lower the pH using elemental sulfur.
2. Symptom: Blossom end rot on fruit.
Solution: This is a Calcium deficiency caused by inconsistent moisture levels. Maintain a steady irrigation schedule to ensure Calcium transport through the xylem.
3. Symptom: Purpling of older foliage.
Solution: This signals a Phosphorus deficiency. Apply a high-phosphate fertilizer or bone meal to the root zone.
4. Symptom: Marginal leaf burn or scorching.
Solution: This is typically a Potassium deficiency. Check the soil for high salinity and flush with fresh water if necessary.
Fix-It: For general Nitrogen chlorosis (yellowing of the entire leaf), apply a quick-release liquid fertilizer with a high N-value to restore chlorophyll production immediately.
Maintenance:
Precision is the hallmark of a professional garden. Deliver 1.5 inches of water per week at the drip line rather than the foliage to prevent fungal pathogens. Use a soil moisture meter to verify that the water is penetrating at least 6 inches deep into the soil profile.
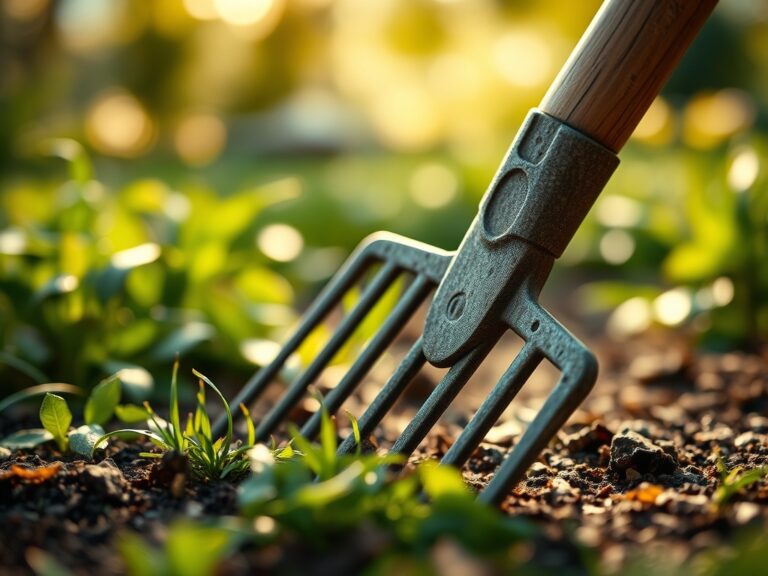
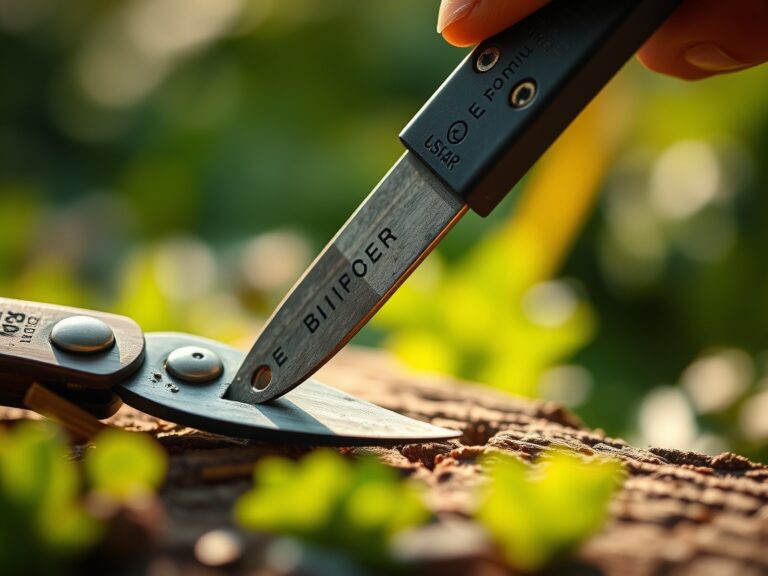
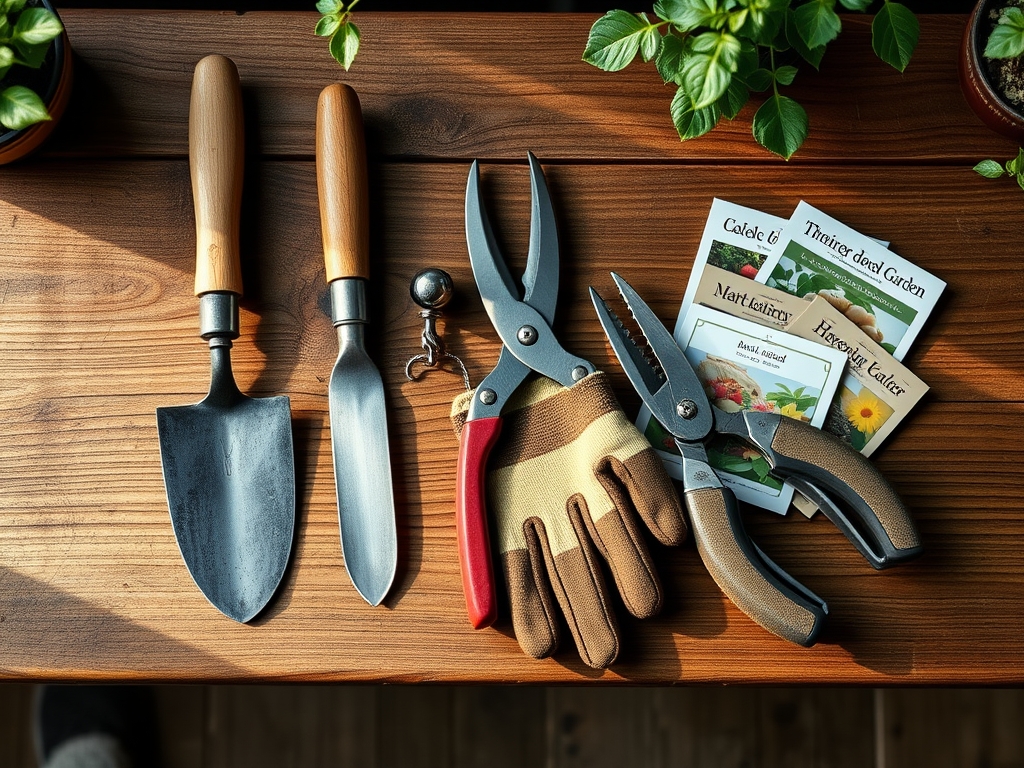
Keep your hori-hori knife honed for weeding and light digging; a dull blade creates jagged wounds on plants that serve as entry points for bacteria. Sanitize bypass pruners with a 10 percent bleach solution or 70 percent isopropyl alcohol between every plant. Record these maintenance tasks in your app to track the lifespan of your hardware and the health of your perennials.
The Yield:
Harvesting is a race against senescence. For leafy greens, harvest in the early morning when turgor pressure is highest and temperatures are lowest. This prevents wilting and preserves the cellular structure. Use a sharp, sterilized blade to make clean cuts, allowing the mother plant to heal rapidly.
Post-harvest handling is critical for longevity. Immediately submerge harvested produce in 40-degree Fahrenheit water to remove field heat. This process slows the respiration rate of the plant tissue. Store the yield in a high-humidity environment to maintain "day-one" freshness and prevent the degradation of vitamins and sugars.
FAQ:
How do I categorize tools in the app?
Group tools by function: cutting, digging, or measuring. Include the last sharpening date and current condition. This data allows for proactive maintenance before the peak growing season begins, ensuring every tool is ready for immediate field use.
What is the best soil for a new garden?
A friable loam with a pH of 6.5 is the gold standard. It provides the ideal balance of drainage and nutrient retention. Ensure the organic matter content is at least 5 percent to support a healthy microbial population.
How often should I calibrate my soil meter?
Calibrate your soil moisture meter and pH probe at the start of every season. Use a standardized buffer solution to ensure accuracy. Precise data is the only way to make informed decisions regarding irrigation and fertilization.
When is the best time to prune?
Prune most woody plants during their dormant phase in late winter. This minimizes sap loss and prevents the stimulation of new growth that could be damaged by late frosts. Always use sterilized bypass pruners for clean, surgical cuts.